Replacing the coil springs

everything but the drivetrain

Moderators: Greenleaf, BC847, Richie O

Replacing the coil springs

Postby FRadisi » Sun Jan 03, 2010 7:52 pm

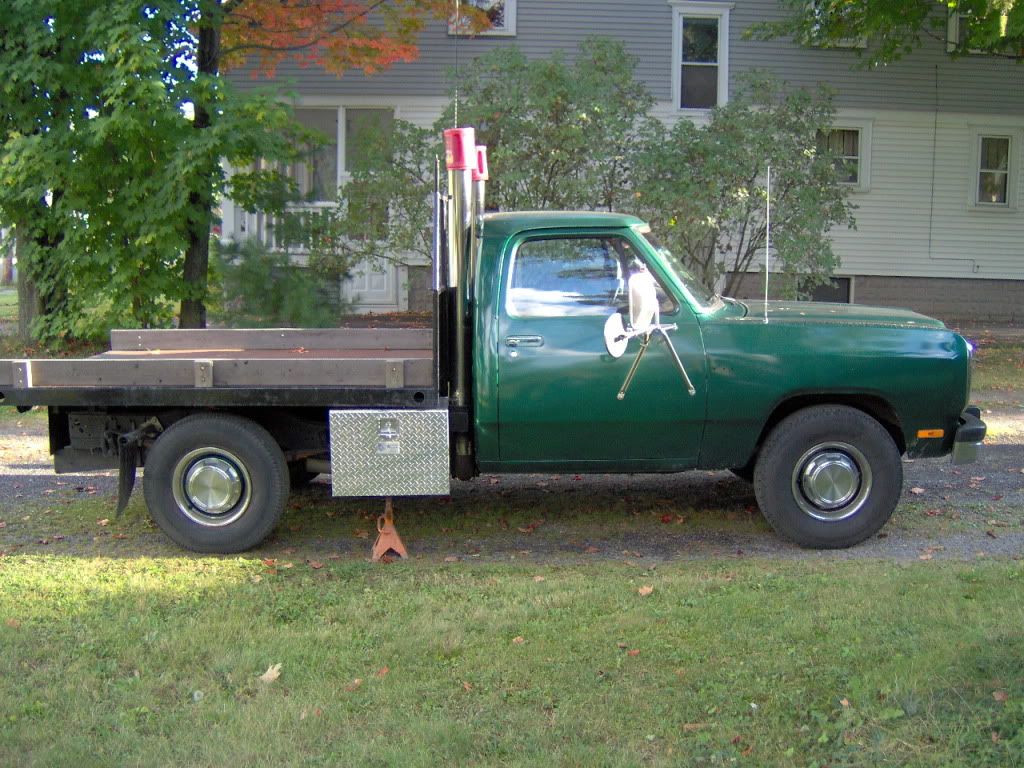
From the looks of it... I might be having a hell of a time replacing the front springs. Anyone have tips/tricks?
Image
Image
FRadisi
fuel screw!!!!
 
Posts: 112
Joined: Sun May 31, 2009 12:46 pm
Location: Cypress, TX

Postby TRENDZ » Mon Jan 04, 2010 6:36 pm

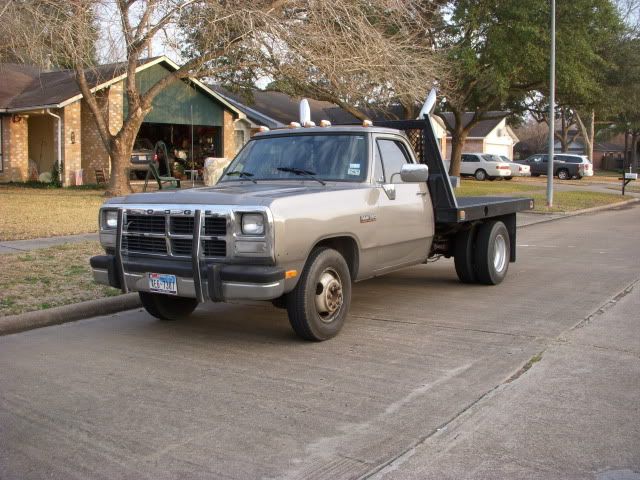
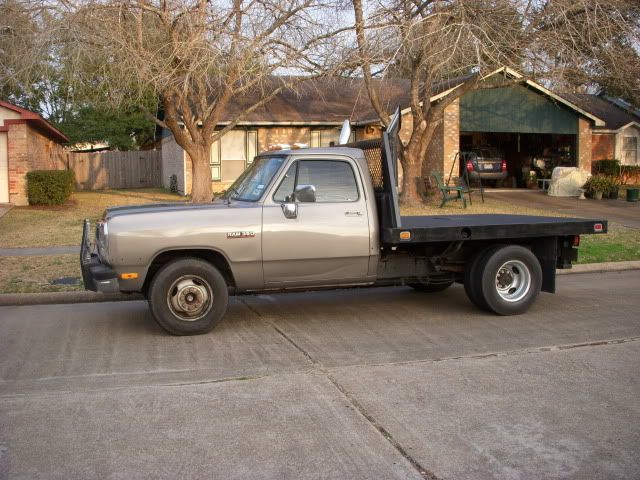
You will find that these are the easiest springs you will ever change. You wont even need a spring compressor. I've done two sets and both were very easy compared to any other coil springs I've changed.
91 d350 1/2" supply lines, 2nd gen lift pump, regulator, 366, screwed, homebrewed afc pin, linkage mods, ported head, ported ex manifold, 351ve electrically controlled, 3" boost tubes, 2nd gen I/C, 4" ex, goerand
TRENDZ
fuel screw!!!!
 
Posts: 131
Joined: Wed Apr 15, 2009 8:26 pm
Location: milwaukee wi

Postby PToombs » Mon Jan 04, 2010 6:51 pm

I did the Moog 7226S springs in mine, and 1 side I had to use a mini chain binder to draw the spring down so I could start the nut on the ball joint stud. The other side I did with just a floor jack.
pete

Just enough power to break everything behind the crankshaft.
User avatar
PToombs
14mm rotor
 
Posts: 11369
Joined: Sun Jan 07, 2007 6:13 pm
Location: Syracuse NY. Snow central!
Top

Postby Mark Nixon » Mon Jan 04, 2010 8:15 pm

TRENDZ wrote:You will find that these are the easiest springs you will ever change.

Don't remind me!
I'd love to change out mine, but easy or not, with 15* temps and 2 feet of snow on my work area, it ain't happening soon! :(

Mark.
Mark Nixon
 
Top

Postby FRadisi » Mon Jan 04, 2010 8:19 pm

So how would I make it easy while changing them out?
Image
Image
FRadisi
fuel screw!!!!
 
Posts: 112
Joined: Sun May 31, 2009 12:46 pm
Location: Cypress, TX
Top

Postby dpuckett » Tue Jan 05, 2010 2:59 pm

I used two floor jacks.
Raise the center til it's about 2ft off the ground.
Undo your ball joints and get the spindle out of the way.
Let the lower control arm fall (gently- dont want to warp that mother any more than it probably already is). Spring should fall right out.

TO install the ball joints, position the spring where you want it, then put the second jack under the control arm and raise it up til you can install the ball joints.

Daniel
His- 93 W250 club cab LE, auto to Getrag conversion, piston lift pump, 3.54 LSD. 400k+
Hers- 04 QC 4x4. Built auto, Triple Dog, Air Dog. Funny Round truck that aint so quiet.
dpuckett
14mm rotor
 
Posts: 2196
Joined: Wed Jan 03, 2007 4:33 pm
Location: Perryville MO
Top

Postby PToombs » Tue Jan 05, 2010 6:36 pm

And the spring fits in a rubber pocket, with a step in it. It'll be real clear when you see it. I put my spring in with the rubber, then rotated it to get it in the last 1/4 turn to where it belongs. Not really a bad job at all.
pete

Just enough power to break everything behind the crankshaft.
User avatar
PToombs
14mm rotor
 
Posts: 11369
Joined: Sun Jan 07, 2007 6:13 pm
Location: Syracuse NY. Snow central!
Top

Postby adam greene » Sun Jan 10, 2010 9:03 am

PToombs wrote:I did the Moog 7226S springs in mine, and 1 side I had to use a mini chain binder to draw the spring down so I could start the nut on the ball joint stud. The other side I did with just a floor jack.

how much did those springs lift ur truck
adam greene
fuel screw!!!!
 
Posts: 41
Joined: Wed Nov 18, 2009 6:12 pm
Top

Postby PToombs » Sun Jan 10, 2010 9:06 am

Well, the tires were about 2 inches up into the wheel well, and there was about 4 inches of clearance when I was done. Now that I've driven it for a year and a 1/2 it has settled a couple inches. I'll find a pic so you can see.


Image
pete

Just enough power to break everything behind the crankshaft.
User avatar
PToombs
14mm rotor
 
Posts: 11369
Joined: Sun Jan 07, 2007 6:13 pm
Location: Syracuse NY. Snow central!
Top

Postby FRadisi » Sun Jan 10, 2010 11:17 am

What size tires are those? 235's?
Image
Image
FRadisi
fuel screw!!!!
 
Posts: 112
Joined: Sun May 31, 2009 12:46 pm
Location: Cypress, TX
Top

Postby PToombs » Sun Jan 10, 2010 6:24 pm

235/85-16's, I think, stock size anyways. I'm not about to go climb in the snowbank and look right now, it's about 0* out. ;)
pete

Just enough power to break everything behind the crankshaft.
User avatar
PToombs
14mm rotor
 
Posts: 11369
Joined: Sun Jan 07, 2007 6:13 pm
Location: Syracuse NY. Snow central!
Top

Postby FRadisi » Mon Jan 11, 2010 11:24 am

It sits nicely with those tires... I'm trying to figure out what I'm going to do with my 215's. I want to upgrade to 17" or 19" direct bolt-on Alcoa's
Image
Image
FRadisi
fuel screw!!!!
 
Posts: 112
Joined: Sun May 31, 2009 12:46 pm
Location: Cypress, TX
Top

Postby FRadisi » Sun Jan 31, 2010 6:24 pm

I finally got around to replacing the springs... looks and rides TONS better! I don't have any good before pics, but here's a couple to compare the after to.

Before.

Image

Image

And after.

Image

Image

Image

I took measurements from the top of the tires to the fender... before - left side was 1.5" and the right side was 2.75", after - the left side was 4" and the right side was 4.5".
Image
Image
FRadisi
fuel screw!!!!
 
Posts: 112
Joined: Sun May 31, 2009 12:46 pm
Location: Cypress, TX
Top

Postby PToombs » Sun Jan 31, 2010 6:29 pm

That looks alot better! 8) My tires were actually up inside the fender an inch or 2 the springs were so bad. I also put new Bilsteins on the front too. Rides much better.
Good looking truck too. ;)
pete

Just enough power to break everything behind the crankshaft.
User avatar
PToombs
14mm rotor
 
Posts: 11369
Joined: Sun Jan 07, 2007 6:13 pm
Location: Syracuse NY. Snow central!
Top

Re: Replacing the coil springs

Postby jlombard » Fri May 14, 2010 4:52 pm

Replaced coil springs with Moog 7226 (not extreme duty 7226s) and it lifted the front end back up and leveled it out nicely. Also put in Monroe gas magnum shocks. Hint: if one side still sags lower than the other, and if your control arm bushings are ok (mine were not, so I changed them too) then check on your cab mount bushings (4) and on the radiator support to frame mount bushings (2). One side of my radiator support mount bushings were missing the rubber completely. I went to Ace and bought three 2 1/4 outer diameter by 5/8 inch inner diameter by 1/8 inch thick neoprene washers. Removed radiator fan shroud clips and pulled the shroud out of the lower clips on the bottom edge of the radiator, and then the radiator upper support brackets. Lift the radiator up and place 2 x 4 blocks under radiator to access the radiator support mounting bolt (RSMB). Don't worry about removing hoses or anything, just lift the rad up a couple of inches and block it. Then remove the RMSB with a 5/8 wrench on the top of the bolt (under the blocked up radiator) and an 11/16 deep socket on the lower nut. The RMSB has a large oval piece of 1/2 inch rubber above the radiator support - that did not need replacing on mine. (The radiator itself sits on two rubber bumpers that are attached to the bottom of the radiator and rest on the radiator support channel - this is a good time to check those and put in new ones if needed.) The rubber washers are the ham inside of two large steel washers that are the bread; this sandwich fits in between the frame and the radiator support channel. Jack up the radiator support channel enough to allow you to put the sandwich back in, run the RSMB back down through the sandwich, and tighten the nut loosely. Be sure to lower the jack to allow the radiator support to sit down again on the new bushing sandwich before you do the final tightening on the the RSMB nut. Remove 2 x 4 blocks, settle the radiator back in to the radiator support channel, reattach the upper support brackets. This also got rid of an awful clunk that I would hear when going over potholes.
1991.5 (I.C.) D250 - Bone Stock.
jlombard
smoke screw?
 
Posts: 2
Joined: Wed May 12, 2010 9:19 am
Top

Next

Return to Chassis

Who is online

Users browsing this forum: No registered users and 54 guests

cron