Hacksters Crew Cab Cummins 5 speed swap

Cummins Conversion & Builds

Moderators: Greenleaf, BC847, Richie O

Re: Hacksters Crew Cab Cummins 5 speed swap

Postby simplysmn » Wed Sep 26, 2012 10:05 pm

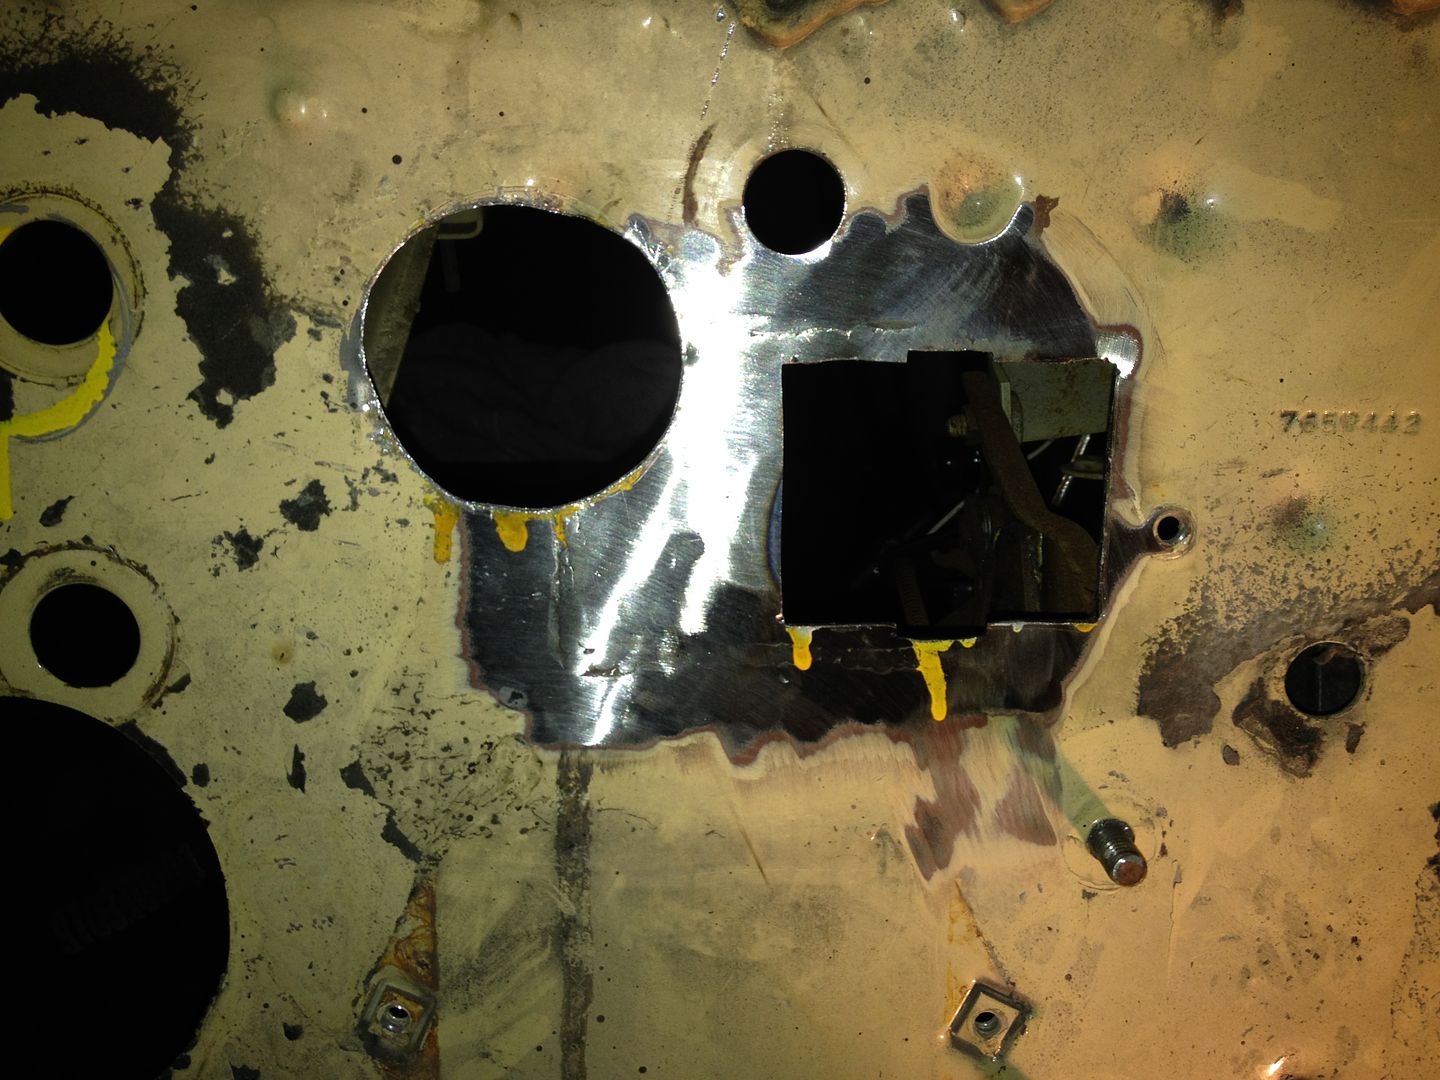
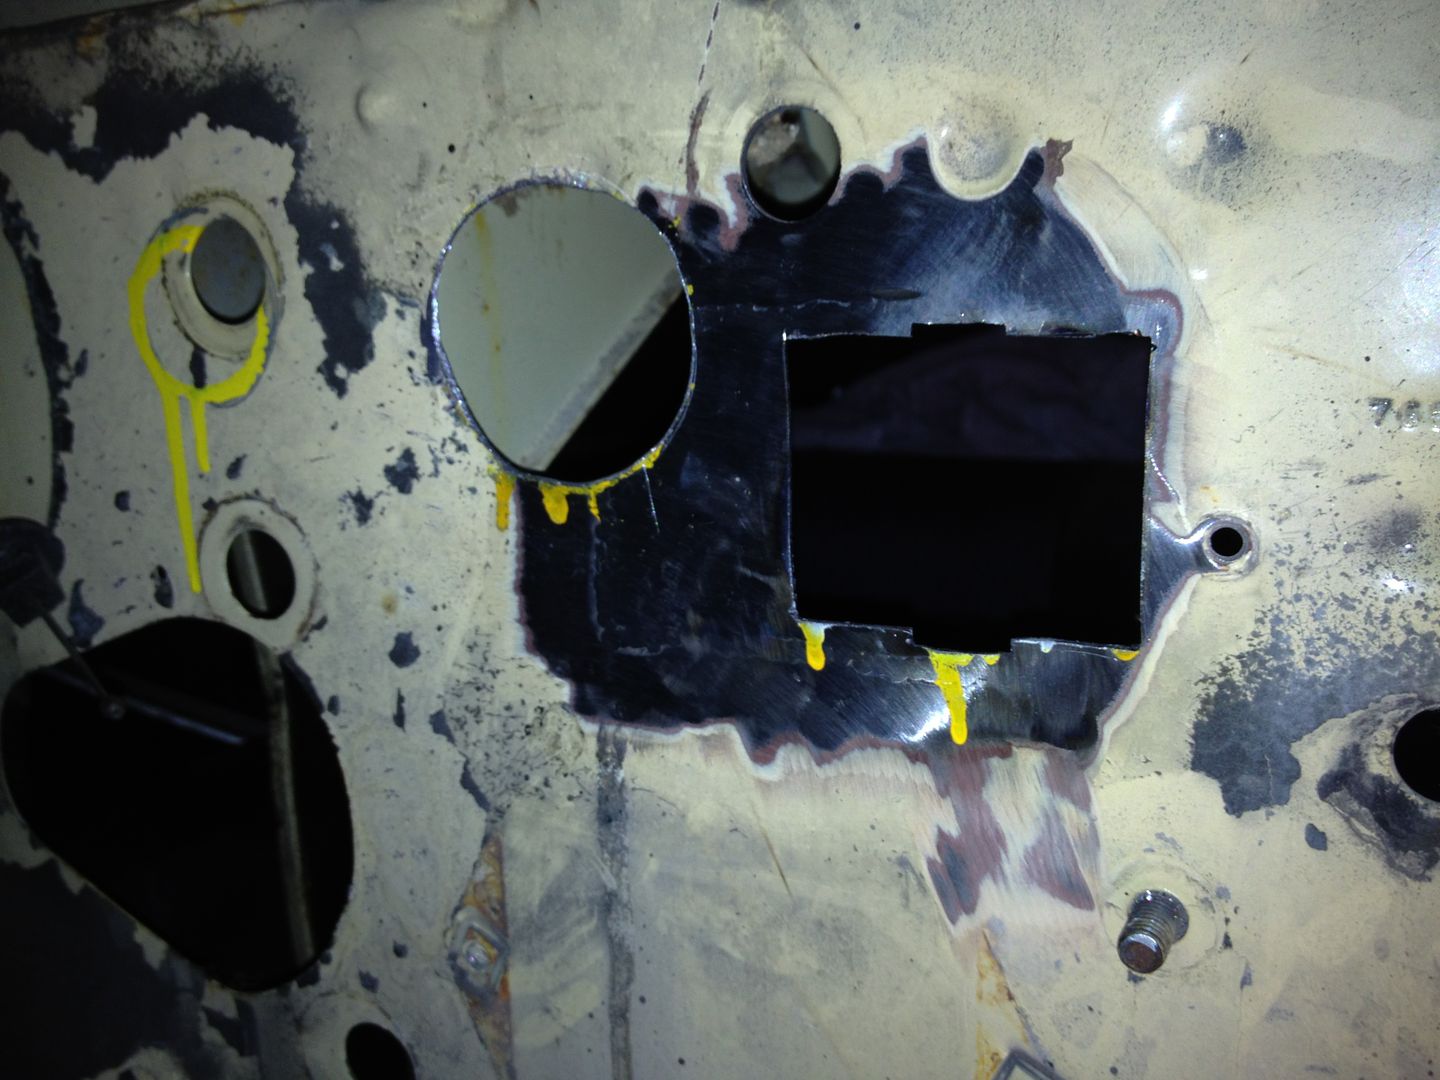
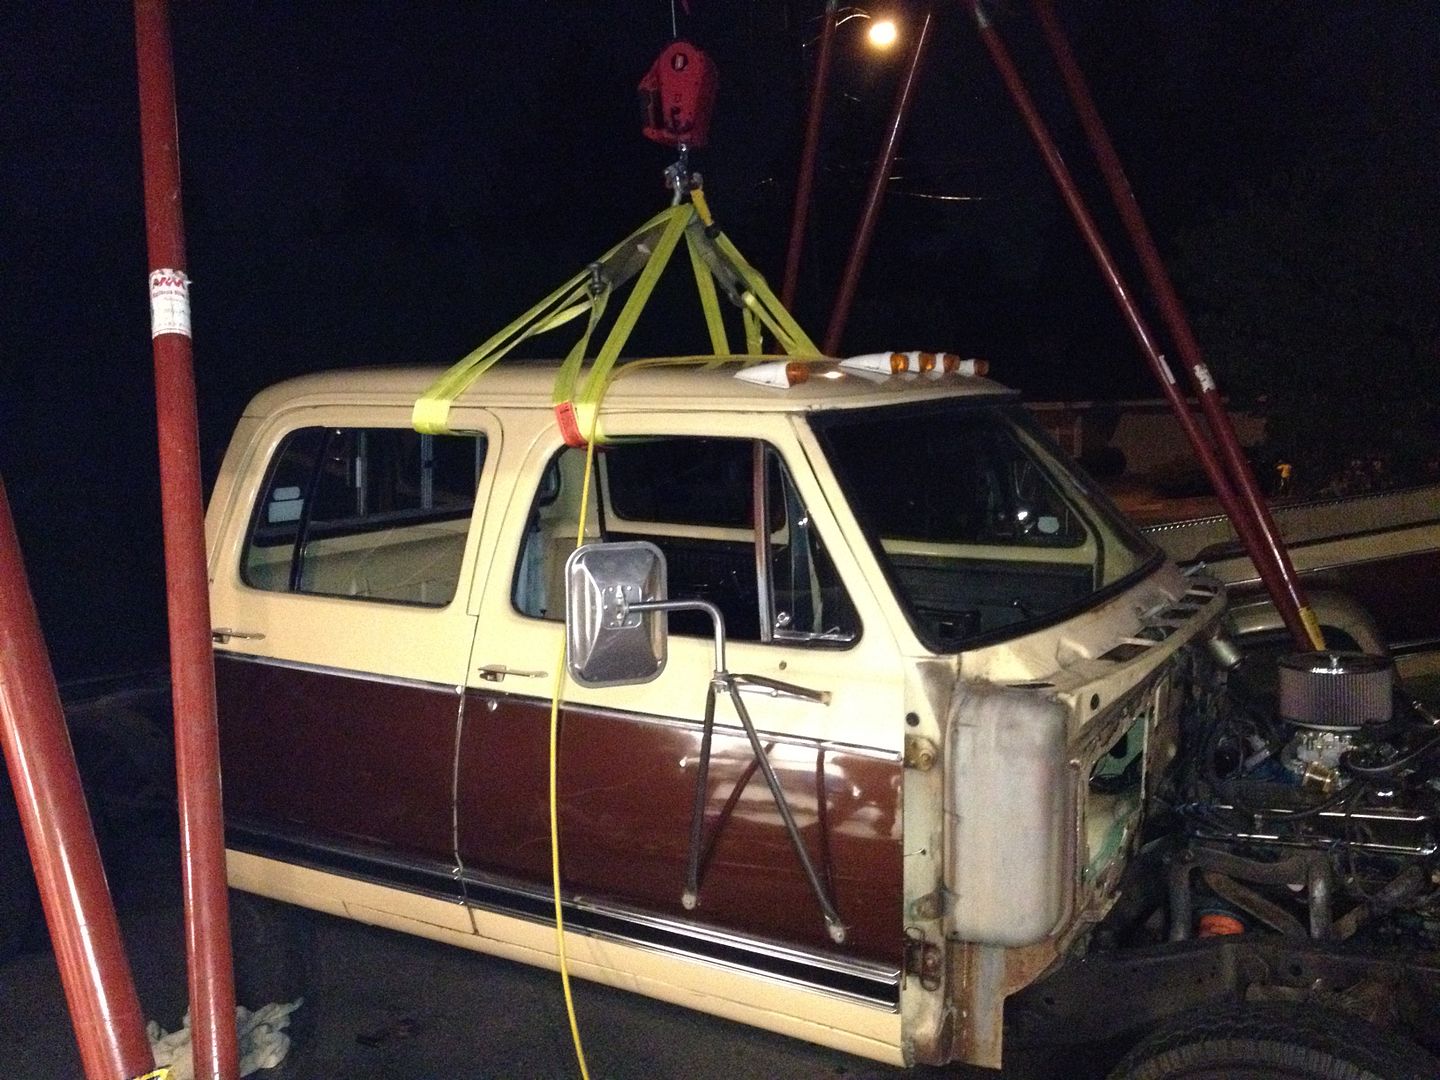
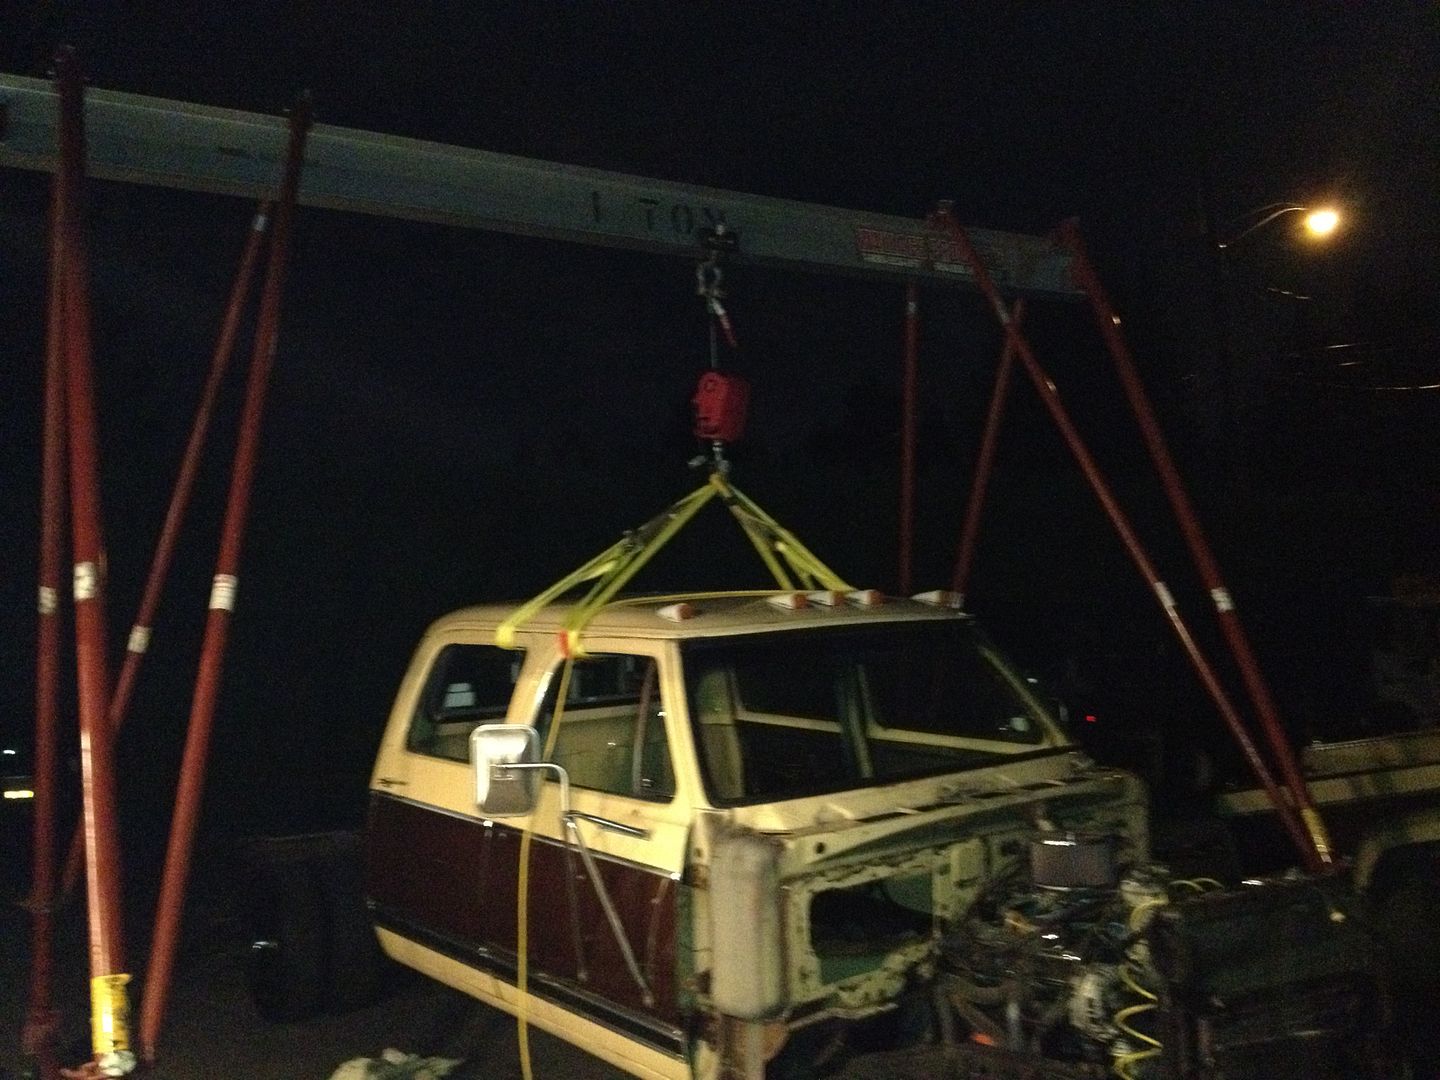
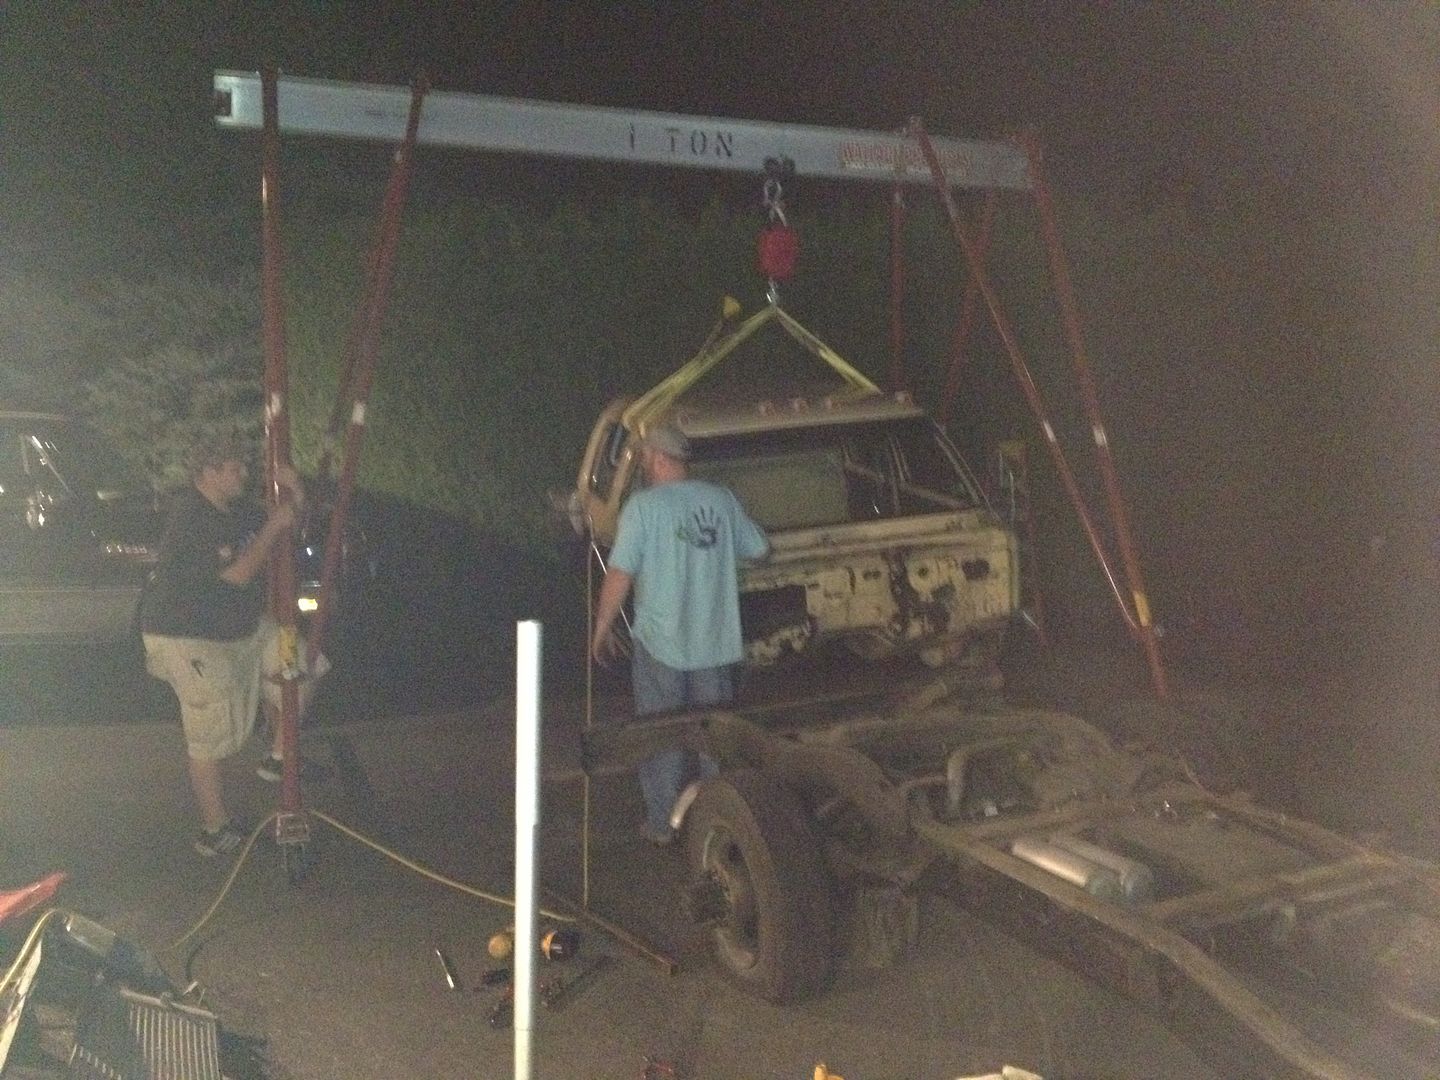
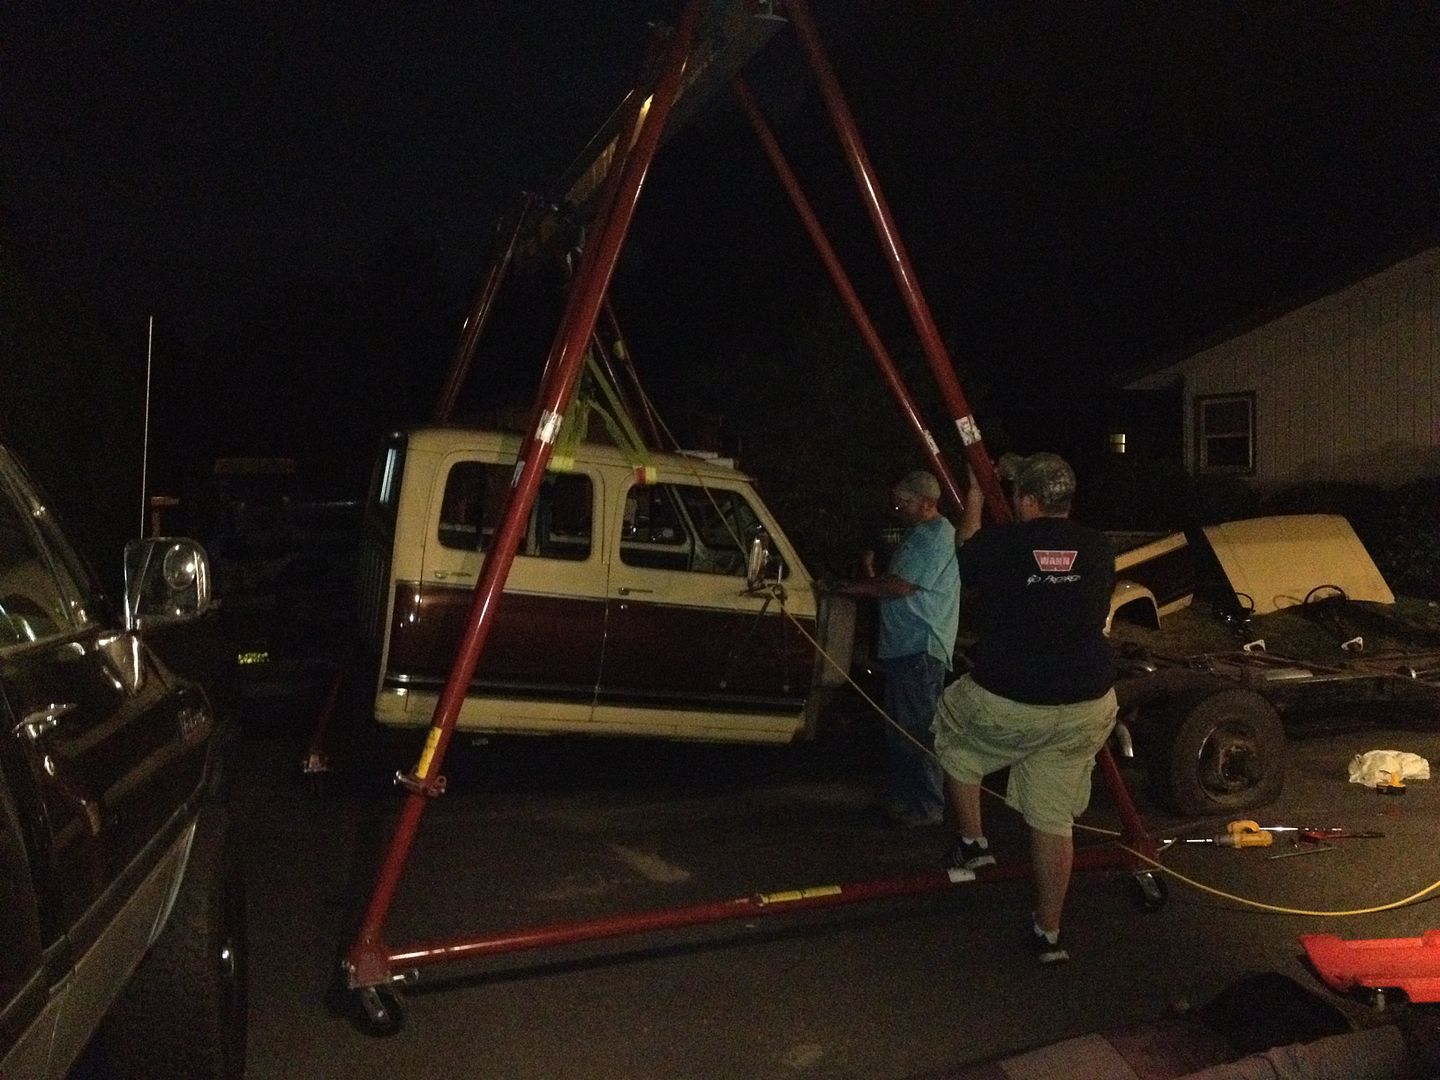
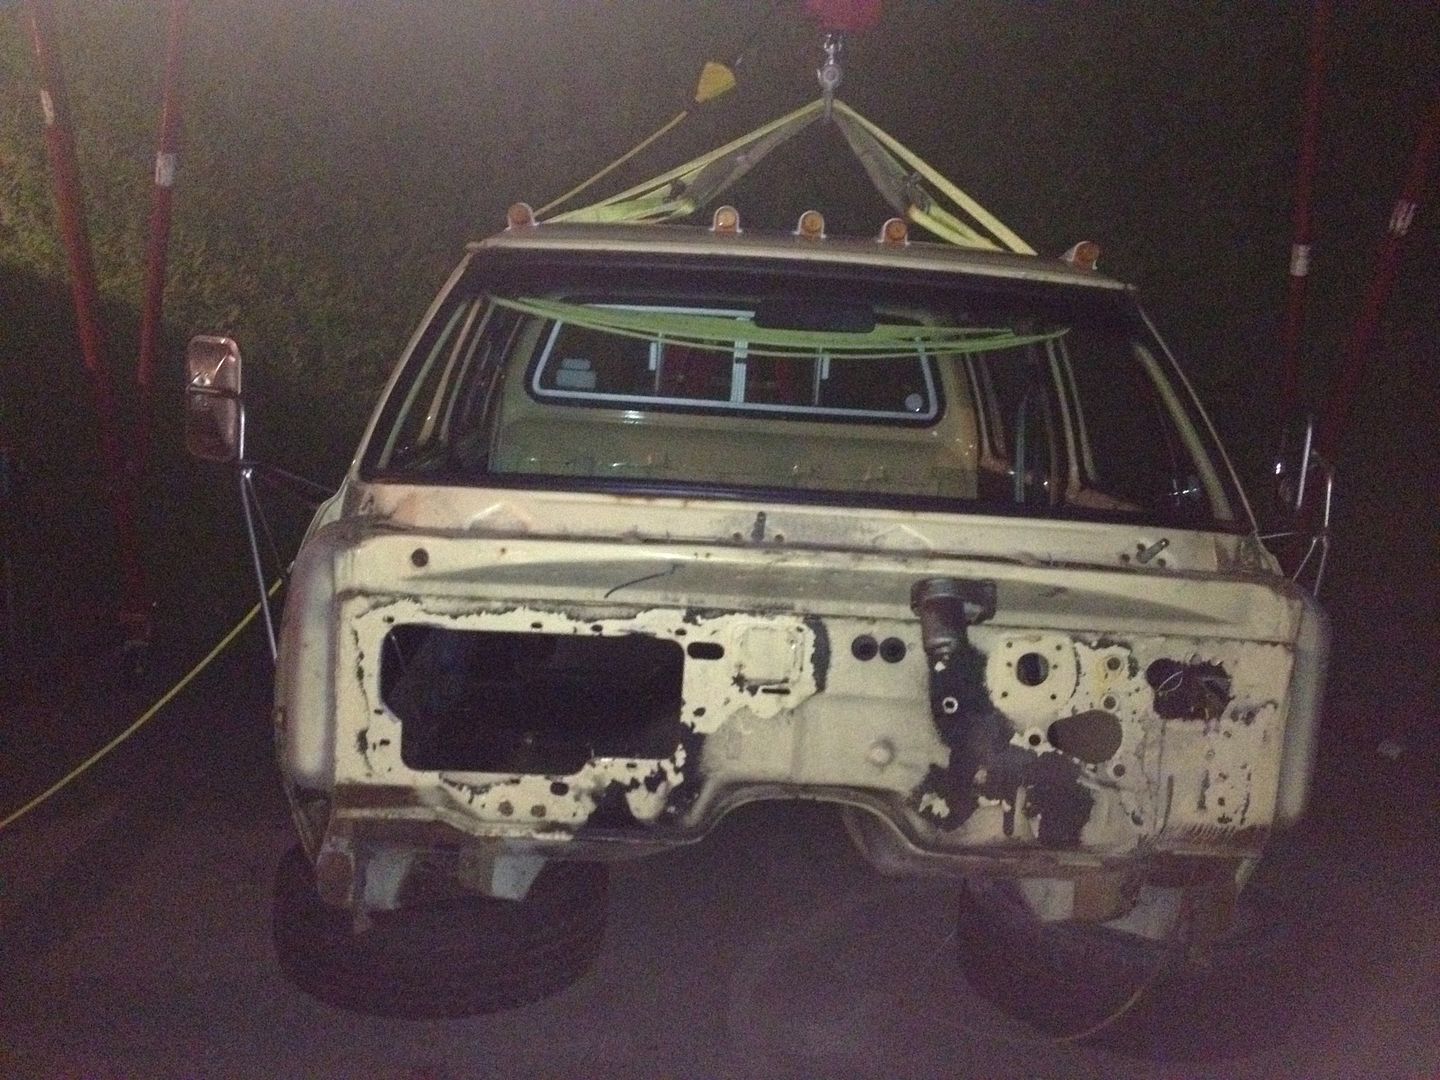
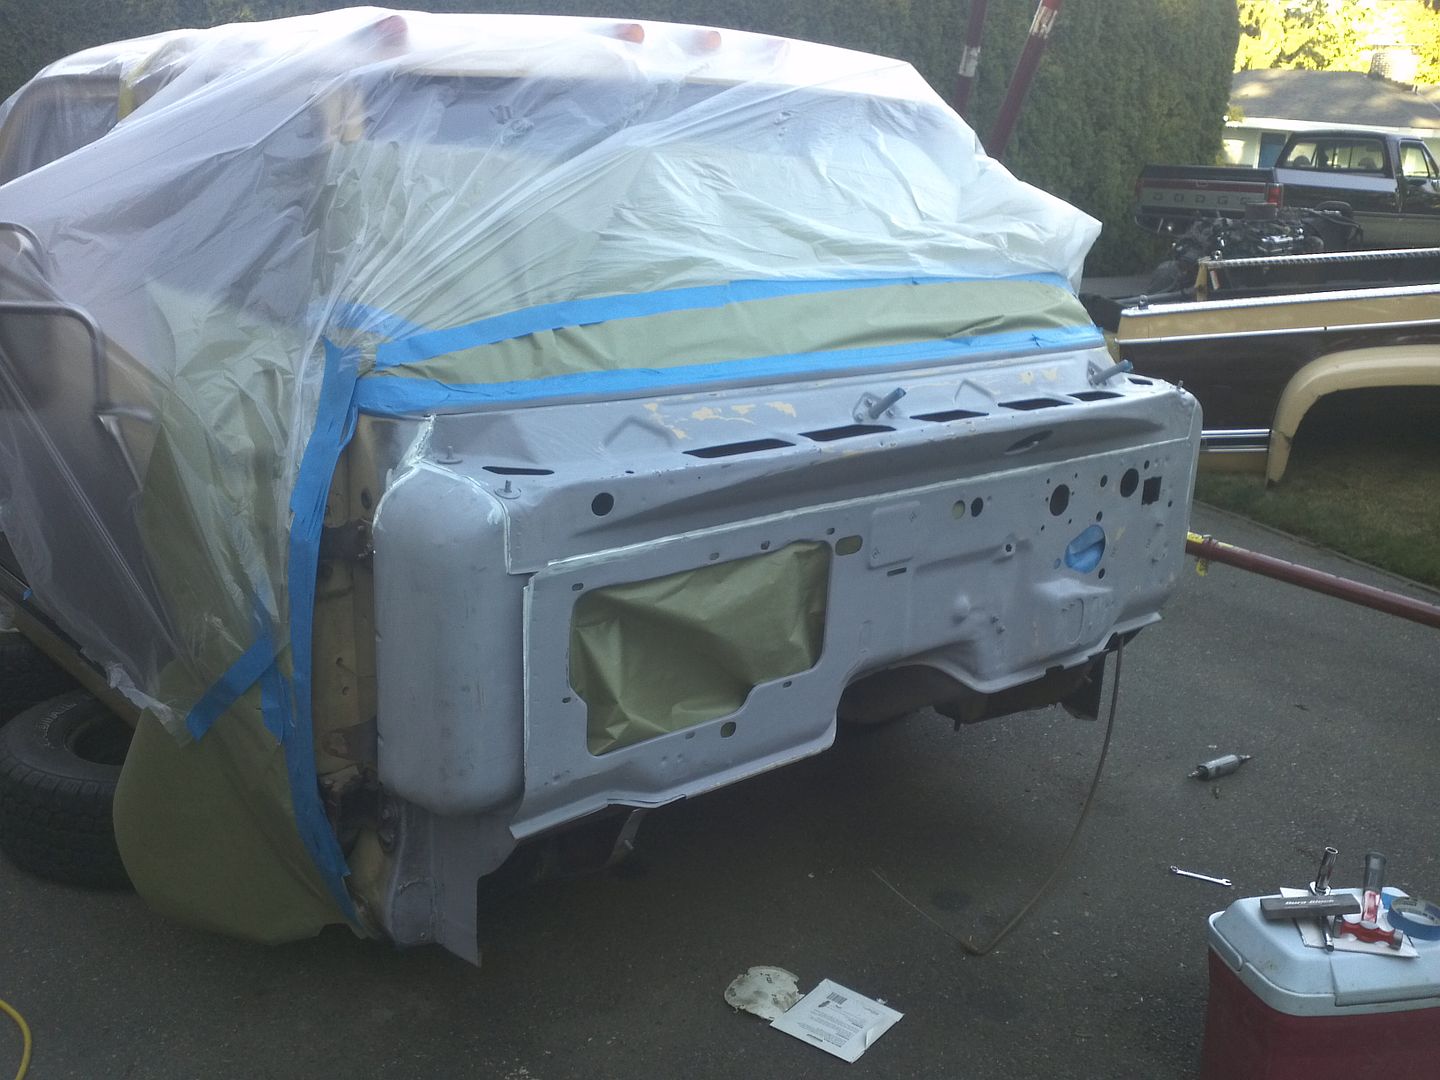
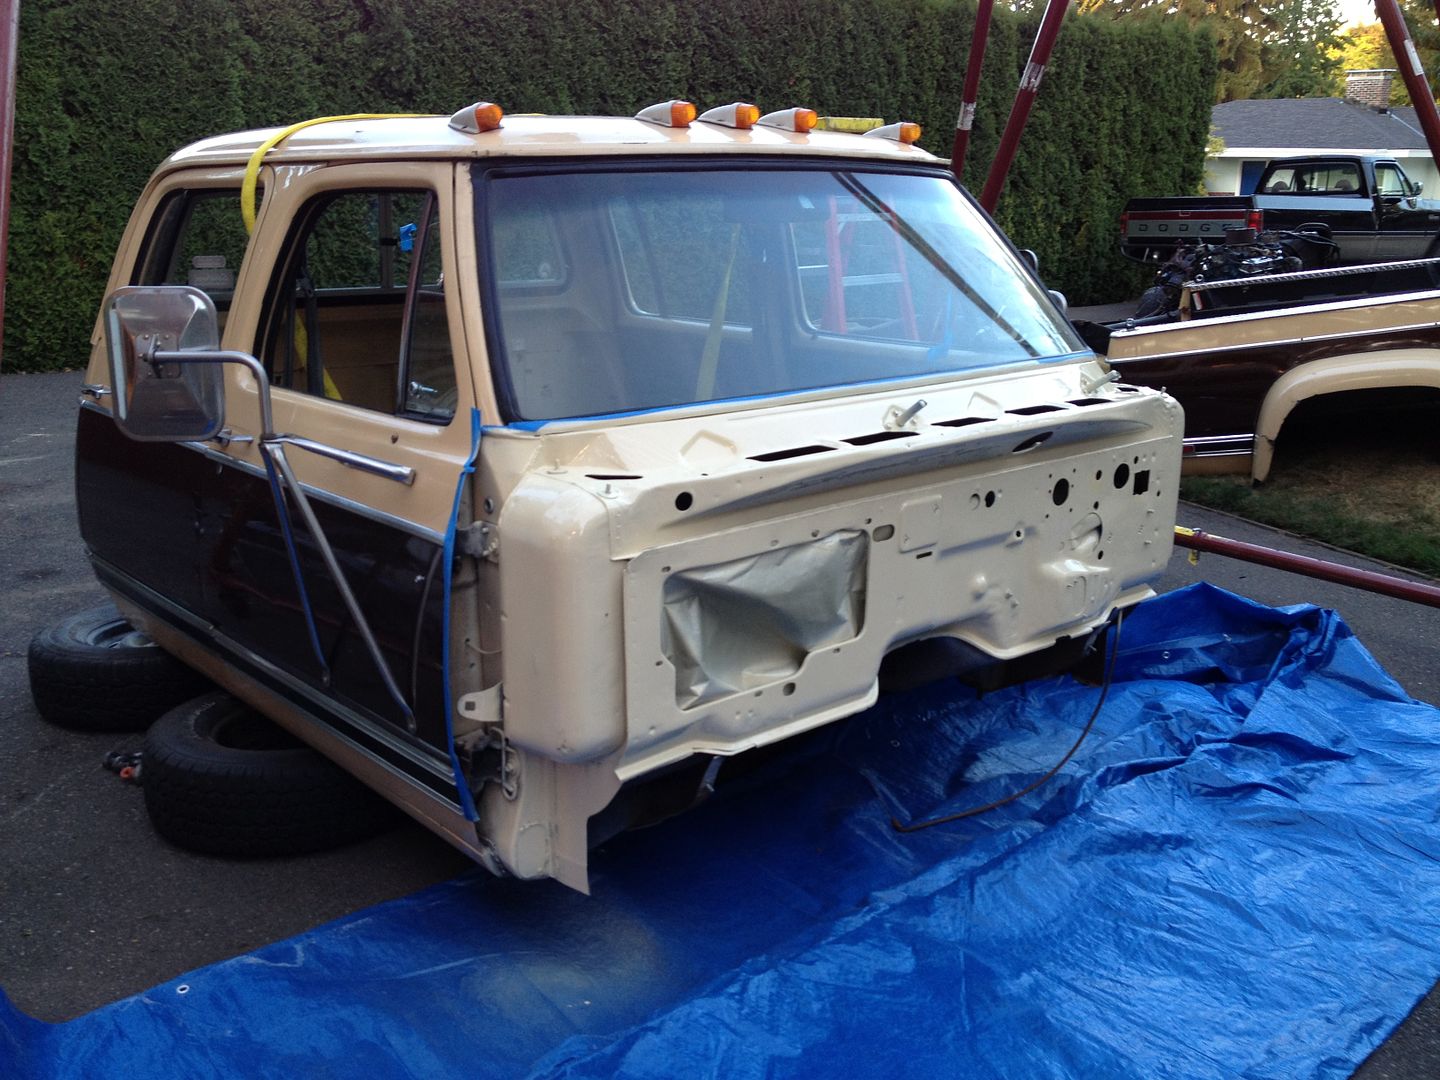
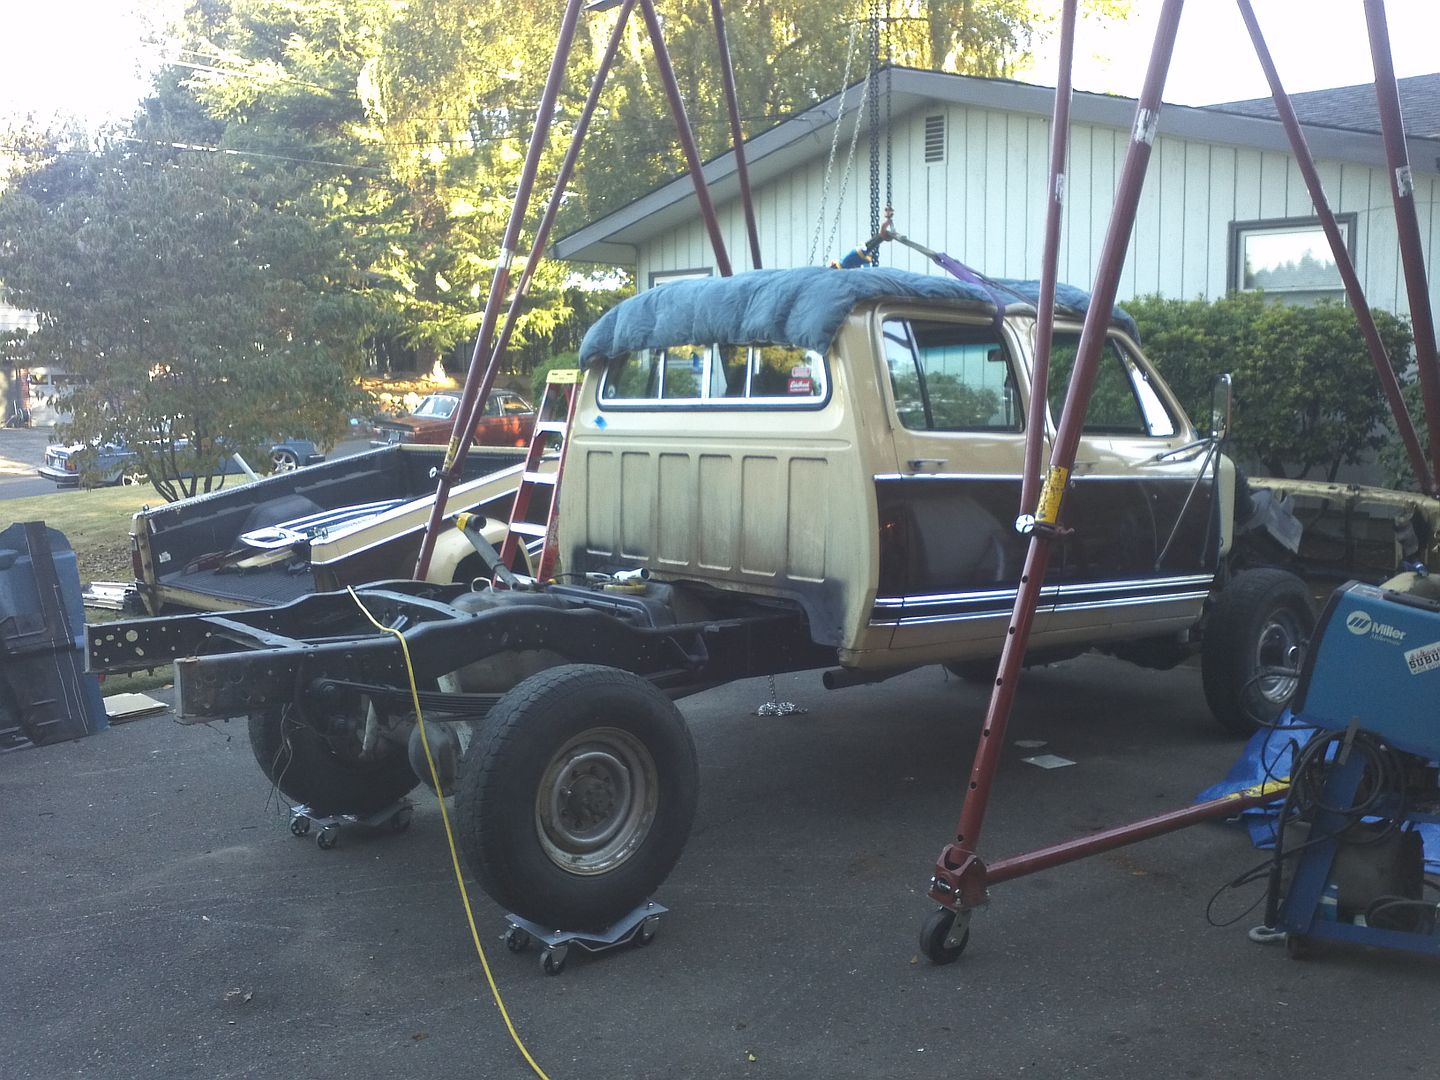
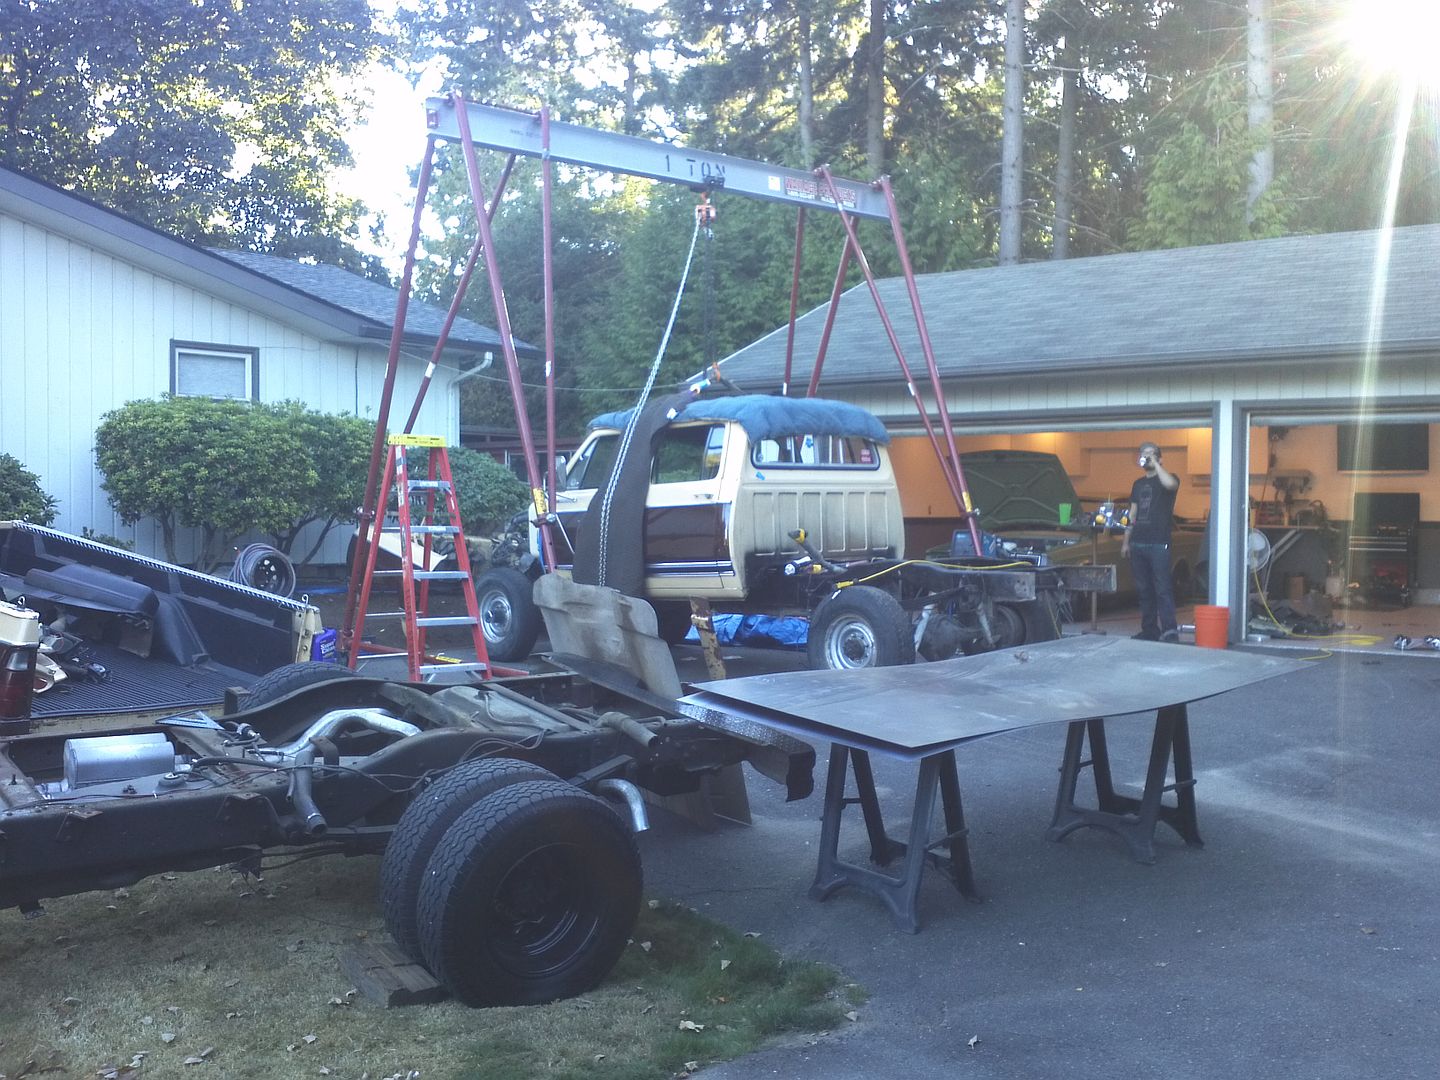
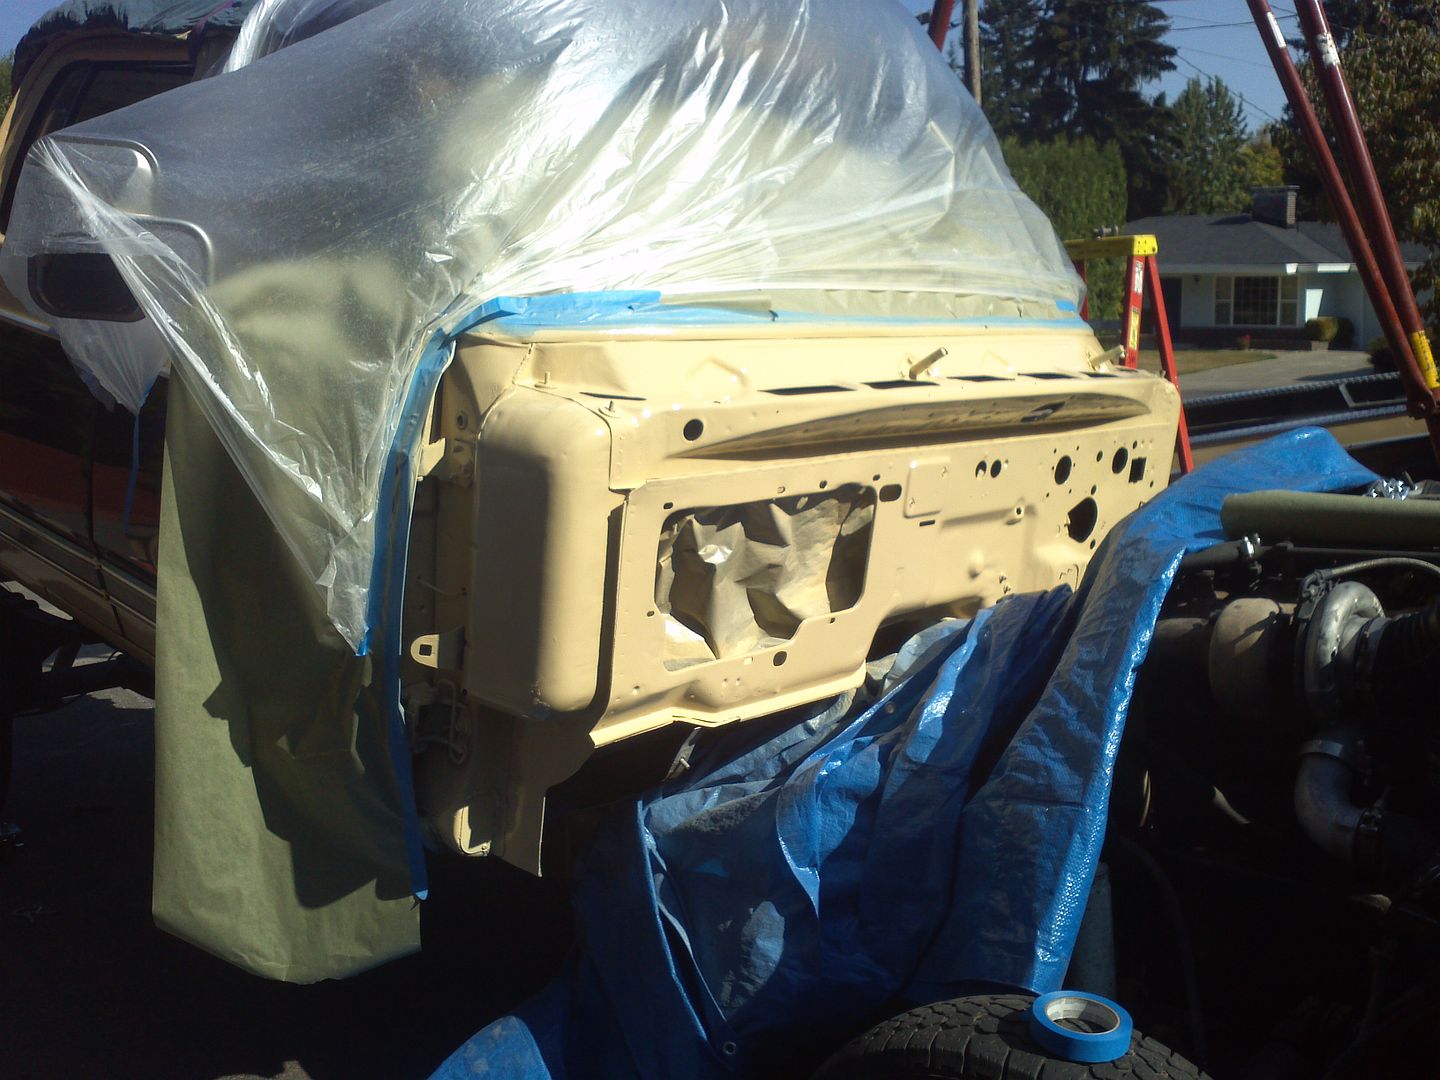
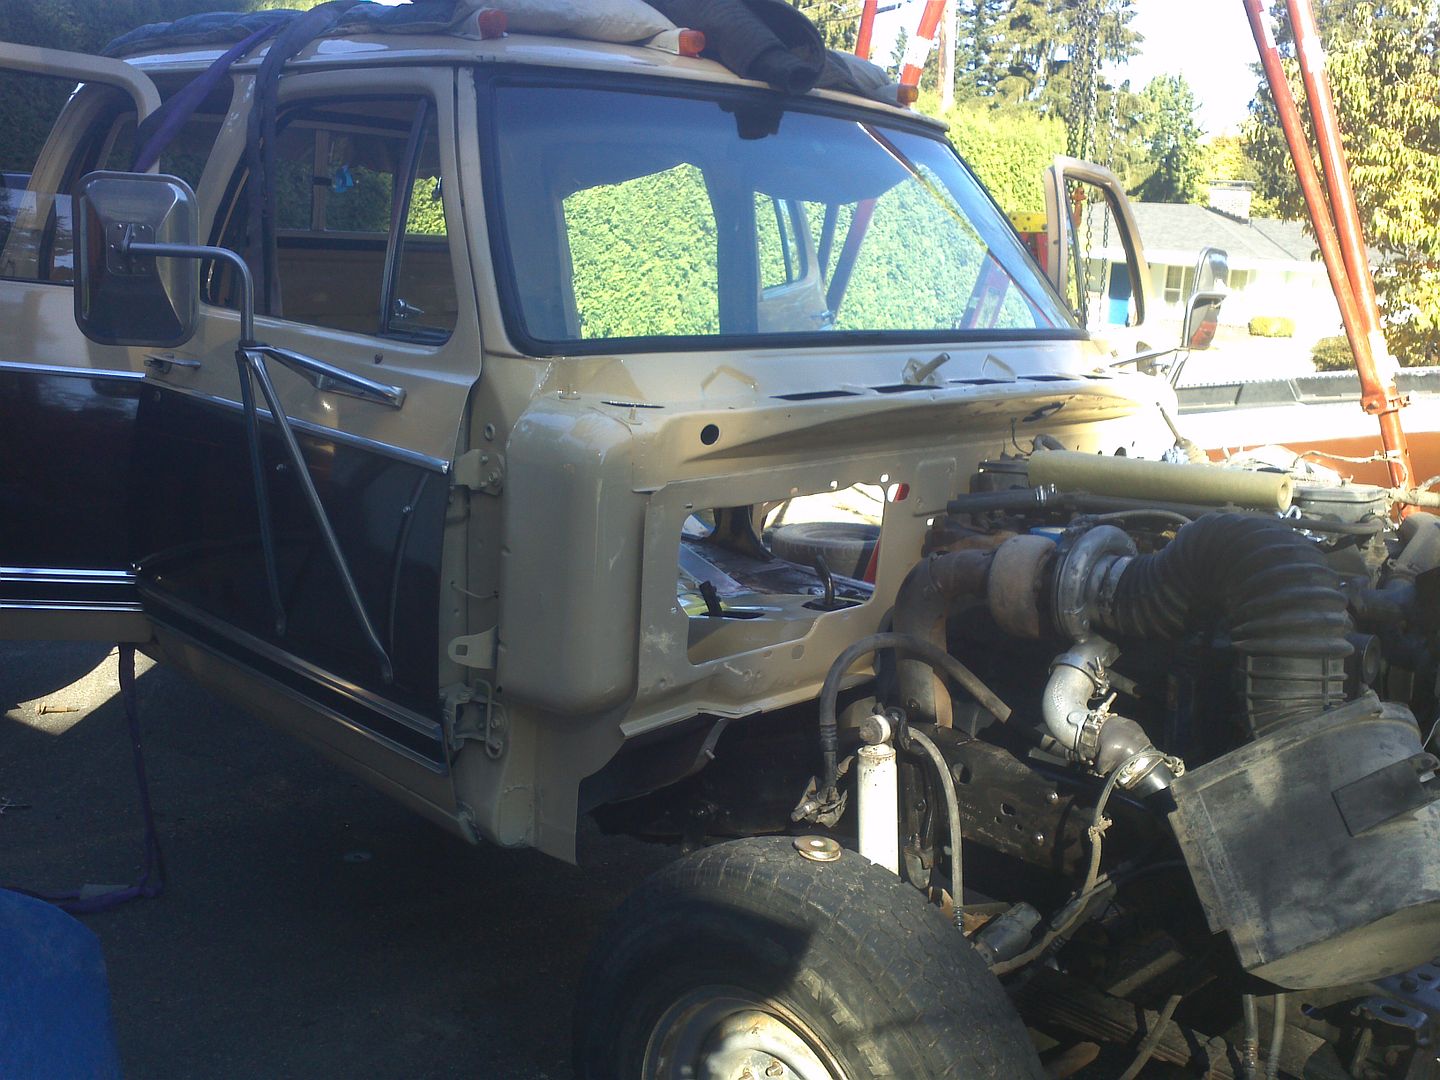
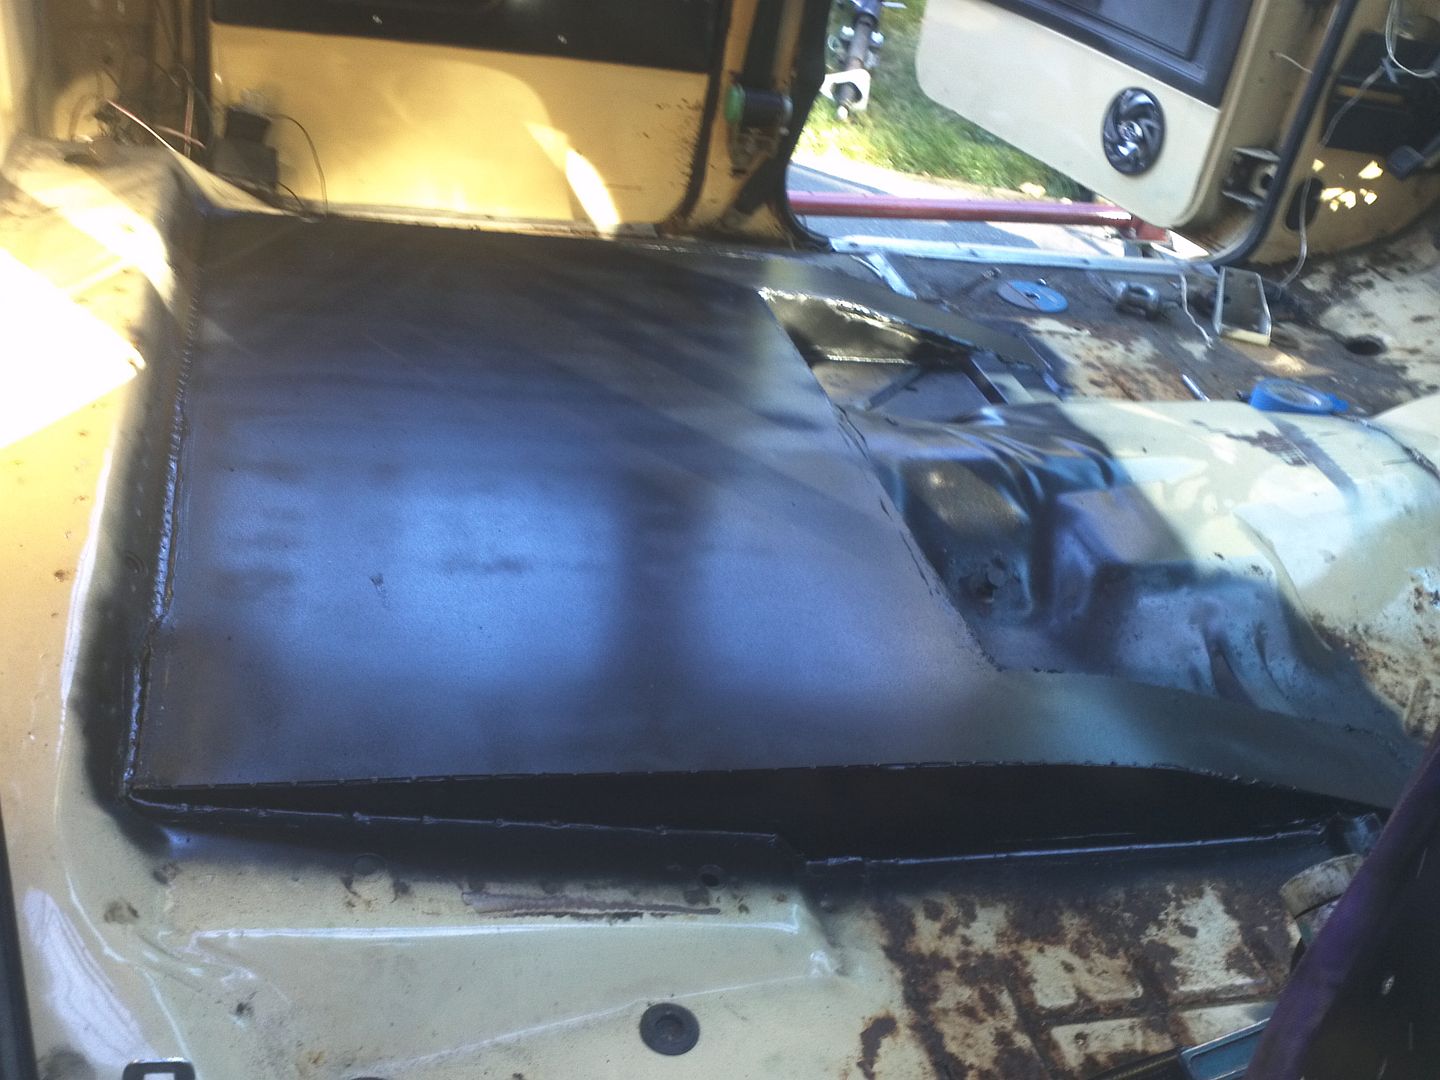
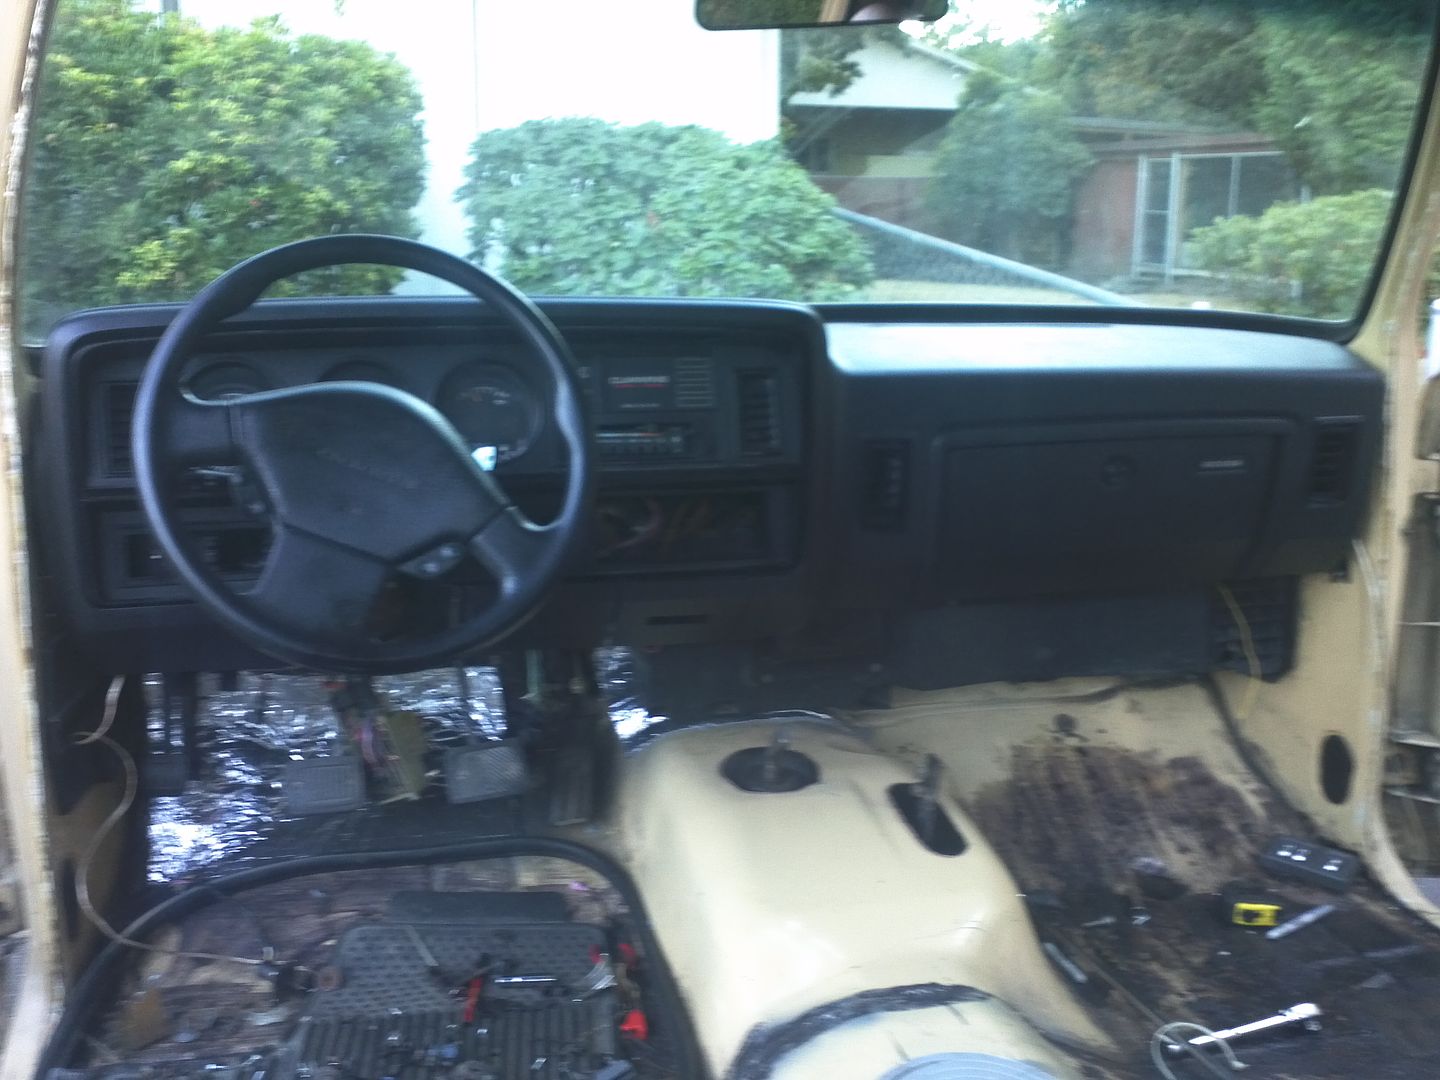
that cab is going to take more then 4 people they are flat out heavy we used a backhoe on the last 1 we had to move around . You have a Sweet starting platform keep the pictures coming
simplysmn
fuel screw!!!!
 
Posts: 250
Joined: Thu May 17, 2012 10:24 pm
Location: Southern Ca

Re: Hacksters Crew Cab Cummins 5 speed swap

Postby dazedandconfused » Thu Sep 27, 2012 3:13 am

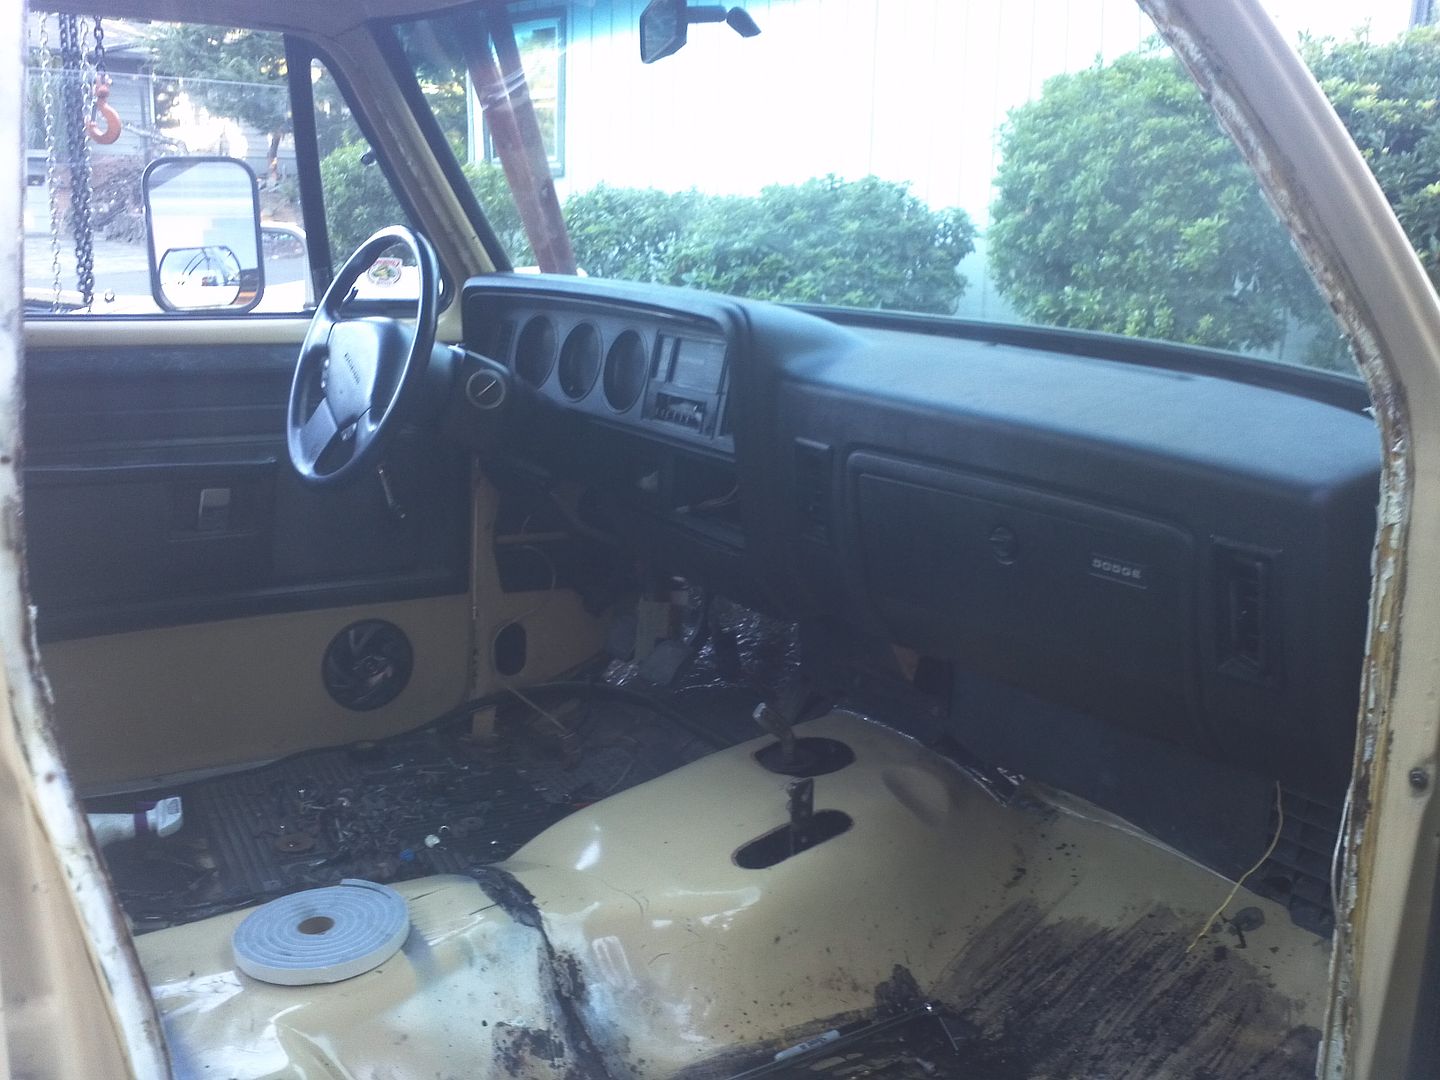
I guess we are just stronger then most. Just removed a full interior 89 Ford crew cab and it only took 4 of us. It only takes 2 people to remove my reg cab.
Big Andy
1983 Dodge D150 that has been repowered with a 93 Cummins/518 running gear AKA The Ugly Duck! I would much rather build them then buy them.[
User avatar
dazedandconfused
14mm rotor
 
Posts: 6119
Joined: Thu Apr 05, 2007 6:25 pm
Location: Walton, Kentucky

Re: Hacksters Crew Cab Cummins 5 speed swap

Postby hackster » Thu Sep 27, 2012 9:20 pm

Work week has been busy so not much progress.

I did manage to get a bit done tonight though, got home from work fed the dog ate some dinner and headed out to the big tan turd!!

Here is what I started with, a hole that is too big for the electrical and in the wrong spot and no location for the clutch master cylinder (So excited to have a clutch master cylinder at all:D )

Image

I decided against the plate on top of the firewall....It was just not going to be clean enough in the end.

Made a patch panel out of the old blue firewall since I know it is the same guage and I had plenty of it.

Image

Tacked a screw onto it for something to hold onto and tacked it in place.

Image

tac tac tac repeat over and over again

Image

So with that welded up, I cleaned up the weld with a 4" and used the firewall as a template for where the holes needed to be and were an exact template to make my marks for the electrical and clutch.

Image

It worked very well.

Image

Hole saw, die grinder tin snips and a couple files and this is what I ended up with.

Image

Image

It really was not too bad of a deal except that now I really have to paint the firewall so add that onto the list of things to do before I set the body on the extra cab frame.

We have a gantry at work that I am brining home tomorrow to lift the body off the frame and hope to get it set back down on the new frame by the end of the weekend.

Sean
hackster
fuel screw!!!!
 
Posts: 34
Joined: Sun Sep 23, 2012 8:39 pm
Top

Re: Hacksters Crew Cab Cummins 5 speed swap

Postby 1STGENFARMBOY » Fri Sep 28, 2012 1:11 pm

You are gonna use the 79 fenders and hood arent you ? ?? that is gonna be one sweet old rig.

fine tow truck also.

Darwin
93 W250 STD CAB, AUTO 3.55, GAUGES, 80HP DDP STICKS, DENNY T ,16CM HOUSING, 60MM GILLETT, VE MAXED,BHAF, BHFF, 366 SPRING,P/S INTERCOOLER, TIMS COOLER TUBS, TIMMING 1/8 BUMP,4in TURBO BACK TO DUEL 5IN STACKS,33 12.50 BFG, HOLLEY BLACK, CONVERTER COOMING.
User avatar
1STGENFARMBOY
14mm rotor
 
Posts: 2089
Joined: Mon Sep 28, 2009 2:23 pm
Location: PITTSBURG ILL
Top

Re: Hacksters Crew Cab Cummins 5 speed swap

Postby hackster » Fri Sep 28, 2012 3:08 pm

The plan is to use the 79 hood and fenders and grille but it seems like I have not seen a single rig running that setup with the intercooled cummins setup so I guess I need to figure out if that is even possible to do.

Sean
hackster
fuel screw!!!!
 
Posts: 34
Joined: Sun Sep 23, 2012 8:39 pm
Top

Re: Hacksters Crew Cab Cummins 5 speed swap

Postby dazedandconfused » Fri Sep 28, 2012 3:22 pm

I know The Little Cummins Express runs the old front. It is a tilt front running a big intercooler.
Big Andy
1983 Dodge D150 that has been repowered with a 93 Cummins/518 running gear AKA The Ugly Duck! I would much rather build them then buy them.[
User avatar
dazedandconfused
14mm rotor
 
Posts: 6119
Joined: Thu Apr 05, 2007 6:25 pm
Location: Walton, Kentucky
Top

Re: Hacksters Crew Cab Cummins 5 speed swap

Postby PToombs » Fri Sep 28, 2012 5:01 pm

I cut that section of firewall out of the old cab and welded it into the new (older) cab. I cut it where the steering column support was on the the inside so i could weld the seam and tie in the column support too. I coated it with bedliner stuff to cover it all up and as a sound deadener, and you can't even tell.

It's looking good, keep the reports coming!
pete

Just enough power to break everything behind the crankshaft.
User avatar
PToombs
14mm rotor
 
Posts: 11367
Joined: Sun Jan 07, 2007 6:13 pm
Location: Syracuse NY. Snow central!
Top

Re: Hacksters Crew Cab Cummins 5 speed swap

Postby hackster » Sat Sep 29, 2012 8:02 am

Got home from work late yesterday after loading up the Gantry and all my other crap in the Isuzu.

Got to work right away though and began setting up the Gantry. This thing is pretty large and quite a pain to setup. Scott and Motornoggin were tricked in to helping me get this setup so we can get the cab off.

Got the Cab all unbolted setup the gantry...had a couple beers all around and setup the Warn Pullzall and got the straps setup. Took some creative strapping but finally got it figured out.


Ended up having to pull the bed off as we could not get the cab high enough to get over the bed so we pulled that too.


Image

Image

Image

Image

Image

Image

So here is where whe sat for the night. The side yard is an absolute disaster, looks like a truck blew up over there, tan and brown crap everywhere.

Ill snap a pic later this morning of the damage. Hope to be able to get the firewall cleaned up and painted and get the floor notched out and patched up. Gotta move the body mounts on the frame back today too....Its gonna be a busy day. :p
hackster
fuel screw!!!!
 
Posts: 34
Joined: Sun Sep 23, 2012 8:39 pm
Top

Re: Hacksters Crew Cab Cummins 5 speed swap

Postby hackster » Sat Sep 29, 2012 8:50 pm

Good day of progress sort of....

Got started early by starting a little bit of cleanup in the driveway, there is crap everywhere, tools, beer cans, pizza boxes and tons of car parts.

Then picked up some 14 ga sheetmetal for the impending floor board work, some .023 wire and tips for the welder and refilled a tank of shielding gas in case we get some good progress.

Came back home and got to work, removed the last bits from the firewall, installed the new manual pedal assembly (Thanks Asher) cleaned and cleaned the firewall, found the cracks in the cowl, drilled the ends of them and welded them all up, also found a little bit of rust in the cowl area so we made some patch panels and got to work welding them up. With the firewall all cleaned up, I da'd the entire firewall, cowl area and welded up any unused holes.

Got some high build primer on the old girl at this point.

Image

Sanded down the primer and got it pretty darn flat for a firewall that you will never see. Cleaned it up one more time, got the seam sealer on everywhere that needed it.

Image

Bagged up the truck finished masking it and got to shooting. Omni, single stage is what I picked up. Not high end but descent paint.

Loaded up some paint in the gun and got to shooting. Paint laid down nice and flat, nothing in the paint and it looks great, good shine especially for being shot outside.

Image

Too bad the color is all wrong.....crap. Guess Ill be scuffing this again and reshooting when I get the right color on Monday.

Tomorrow I think I am going to try and tackle the rear floor board areas to get some clearance for the extra cab area to clean the frame.

Still got lots of work to do...More tomorrow =)

Sean
hackster
fuel screw!!!!
 
Posts: 34
Joined: Sun Sep 23, 2012 8:39 pm
Top

Re: Hacksters Crew Cab Cummins 5 speed swap

Postby 1STGENFARMBOY » Sat Sep 29, 2012 9:28 pm

I was hopping you were gonna use the 79 front end, that is going to be cool. :D
93 W250 STD CAB, AUTO 3.55, GAUGES, 80HP DDP STICKS, DENNY T ,16CM HOUSING, 60MM GILLETT, VE MAXED,BHAF, BHFF, 366 SPRING,P/S INTERCOOLER, TIMS COOLER TUBS, TIMMING 1/8 BUMP,4in TURBO BACK TO DUEL 5IN STACKS,33 12.50 BFG, HOLLEY BLACK, CONVERTER COOMING.
User avatar
1STGENFARMBOY
14mm rotor
 
Posts: 2089
Joined: Mon Sep 28, 2009 2:23 pm
Location: PITTSBURG ILL
Top

Re: Hacksters Crew Cab Cummins 5 speed swap

Postby dazedandconfused » Sun Sep 30, 2012 5:16 am

Looking good so far.
Big Andy
1983 Dodge D150 that has been repowered with a 93 Cummins/518 running gear AKA The Ugly Duck! I would much rather build them then buy them.[
User avatar
dazedandconfused
14mm rotor
 
Posts: 6119
Joined: Thu Apr 05, 2007 6:25 pm
Location: Walton, Kentucky
Top

Re: Hacksters Crew Cab Cummins 5 speed swap

Postby hackster » Sun Sep 30, 2012 10:13 pm

Good Day today.

Worked on the crew cab cab measuring and measuring some more, then took the cut off wheel to just about the entire floor of the old girl and ended up with this.

Image

Image

Then we got to work removing the stock body mounts and front bed mounts on the extra cab frame, that was a bit of a pain but not horrible.

Then grabbed some lunch and came back with a chain fall and set the cab on the frame for the first time. Amazingly, it dropped right on with no issues, cuts were spot on with my measurements.

Image

Image

Total chaos at my place today, the boss (wife) made us clean up this afternoon so we used the buggy to move the crew cab to the side yard.

Here you can see how I am boxing everything back in, made templates and cut them all out with the plasma. You can see that its not too tight, but it is snug.

Image

Top plate all tacked in and ready to weld it all out tomorrow.

Image

Image

Hope to get some paint tomorrow and reshoot the firewall so I can get the cab on for good tomorrow night or Tuesday morning.

Oh, also got the top of the fuel tank modified to clear the crew cab.
hackster
fuel screw!!!!
 
Posts: 34
Joined: Sun Sep 23, 2012 8:39 pm
Top

Re: Hacksters Crew Cab Cummins 5 speed swap

Postby hackster » Wed Oct 03, 2012 8:11 pm

Ill check into those reinforcement plates and see if I can still locate them. Thanks for the pointer Murph

Went down to Industrial Finishes this morning and took the cowl with me down there. They had the right code and when we put the paint chip up to the cowl, it was very close, but the paint was not. I left the cowl panel with them and they got it really close and did not charge me for the paint and appologized for the mismatch.

Good bunch of people there!!

Got back home after a half day or so of work and lifted the cab up again, scuffed the firewall up, cleaned and taped up the truck again and shot some paint on the firewall again. Little too much reducer so I ended up with a run behind the block so no big deal, Paint was a bit thin going on so I layered on a few coats.

Image

Image


Looks Waaaaay better and the color match is pretty darn close.

Finished welding on the floor boards, you can see what it looks like from underneath.

Image

Ran some seam sealer all around the welds and seams to seal everything up and shot some bedliner coating on the raw metal to clean it up, protect it and give it a somewhat finished look.

Image

Image

Found some rust on the floors, so I need to cut that out and make some patch panels for those spots.

Sean
hackster
fuel screw!!!!
 
Posts: 34
Joined: Sun Sep 23, 2012 8:39 pm
Top

Re: Hacksters Crew Cab Cummins 5 speed swap

Postby hackster » Wed Oct 03, 2012 8:12 pm

My typical ocd kicked in yesterday morning and I welded up all the holes in the inner fender wells, sanded them down, shot with high build primer sanded em and shot them with some color, they are far from perfect but they are not bad for the inner fenderwells.

Image


Cut out the rest of the rusty patches on the floor (Keep in mind I was told there was no rust on this truck.) Cut out some nice new 14 ga and welded it back in.

I used some rust killer and sealer on the floor and it appears as though it ahs done the job.

Image

Image

I got the clutch master cylinder bracket all mounted up to the firewall, stabbed the brake booster through and dealt with the emergency brake cable as well.

Got some double foil sided insulation for the firewall and glued some of that down before I started to run the harness and install the dash.

Image

Tore the heater box down for cleaning and replacement of the heater core.....I was a bit suprised to find this mess in front of the evaporator.

Image

Image

I started to clean up all the wiring in the engine bay yesterday but really need to get the heater box installed. I need to build my own gasket for the firewall and am struggling with what to do there...any ideas?

Sean
hackster
fuel screw!!!!
 
Posts: 34
Joined: Sun Sep 23, 2012 8:39 pm
Top

Re: Hacksters Crew Cab Cummins 5 speed swap

Postby hackster » Wed Oct 03, 2012 8:13 pm

So started the morning with just a raw dash..... big job ahead of me.

Started by cleaning off all the old gasket from the heater box, then used armaflex cut to fit around the box. It turned out, well ok, not extatic about it but it will work.

Then put the bulkhead connector in the firewall and stated to lay out the harness. Soon found out I had missed a few items like the hole in the cowl for the heater resistor. Cut that out and got the ball rolling with the rest.

By the end of the day I ended up with this...

Image

Image

Image

I am pretty pleased with how the dash came together, It was not a nice dash by any means and will probably get changed out down the road.

I cleaned and scuffed all the dash pieces with wax and grease remover and a red scotch brite pad. It was grey before and well you can see its nice and black now.

Somehow, I ended up with an all black dash bezel and it was actually in descent shape!!

Cleaned up the firewall a bit more, ordered up new pos and neg battery cables and they should be here in the morning.

Don't know for sure, but might be able to see if the old girl will fire up again tomorrow.

Sean
hackster
fuel screw!!!!
 
Posts: 34
Joined: Sun Sep 23, 2012 8:39 pm
Top

PreviousNext

Return to Conversions & Builds

Who is online

Users browsing this forum: No registered users and 63 guests