Project Crewcab Dually has begun.
Moderators: Greenleaf, BC847, Richie O
Re: Project Crewcab Dually has begun.
![]() by dazedandconfused » Sat Dec 11, 2010 8:51 am
by dazedandconfused » Sat Dec 11, 2010 8:51 am
I've done torches as well but it's been so long since I've had my tanks filled I'm not sure they even work.
Big Andy
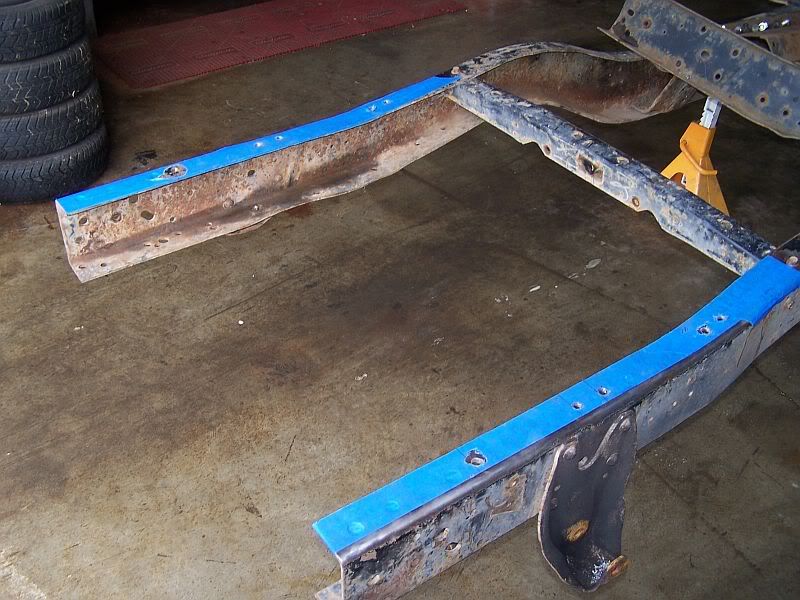
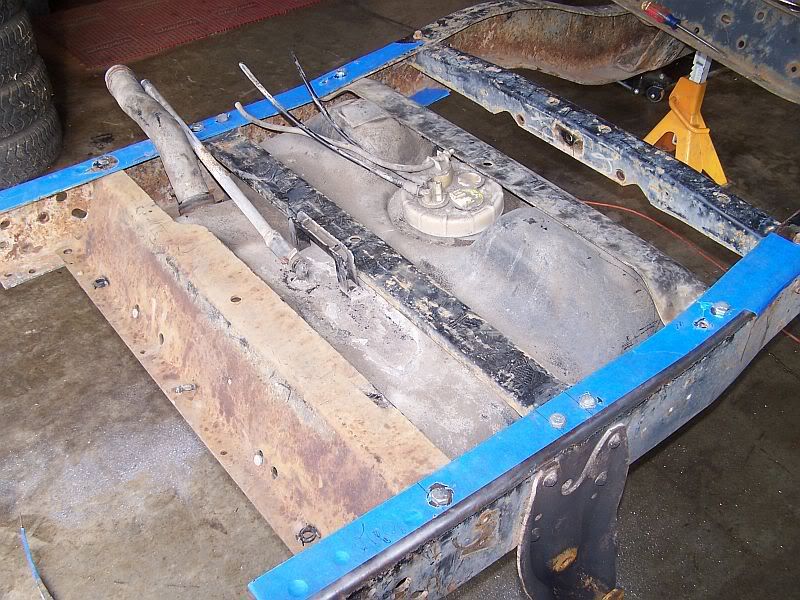
1983 Dodge D150 that has been repowered with a 93 Cummins/518 running gear AKA The Ugly Duck! I would much rather build them then buy them.[
1983 Dodge D150 that has been repowered with a 93 Cummins/518 running gear AKA The Ugly Duck! I would much rather build them then buy them.[
-

dazedandconfused - 14mm rotor
- Posts: 6119
- Joined: Thu Apr 05, 2007 6:25 pm
- Location: Walton, Kentucky
Re: Project Crewcab Dually has begun.
![]() by Fastback66 » Mon Dec 13, 2010 4:24 pm
by Fastback66 » Mon Dec 13, 2010 4:24 pm
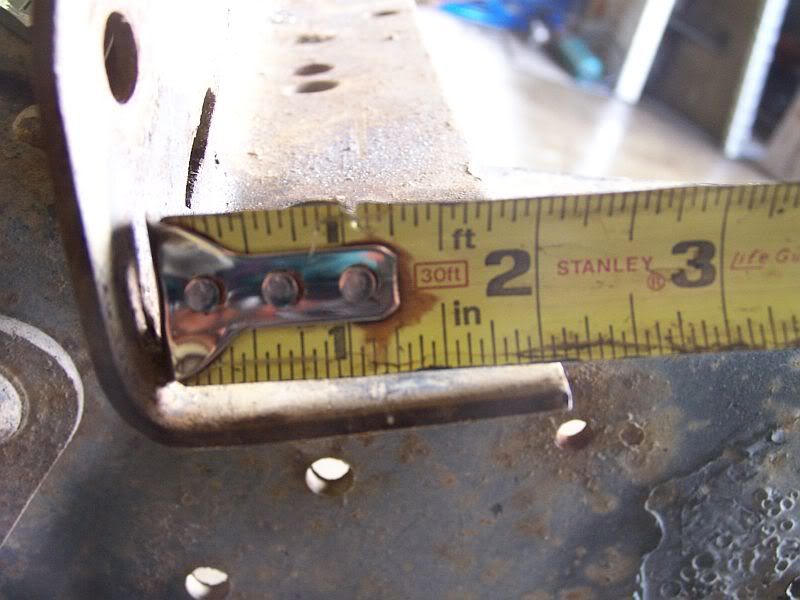
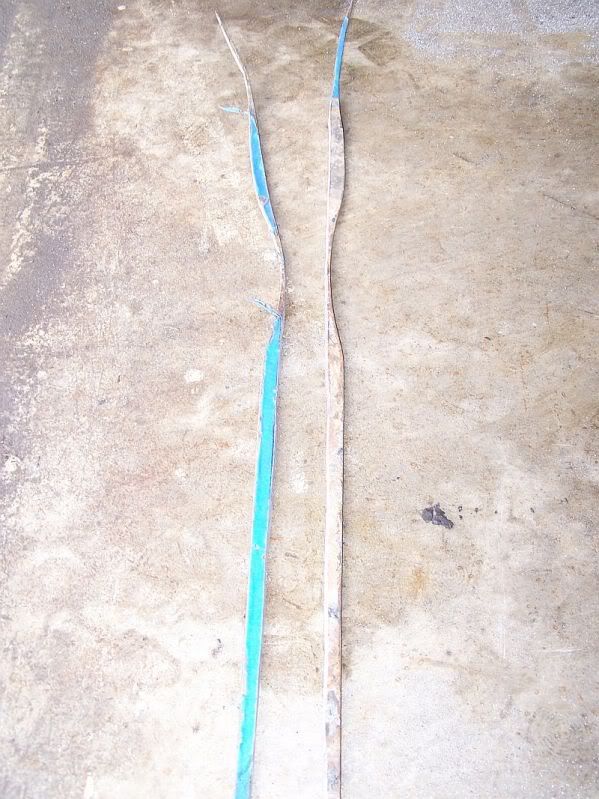
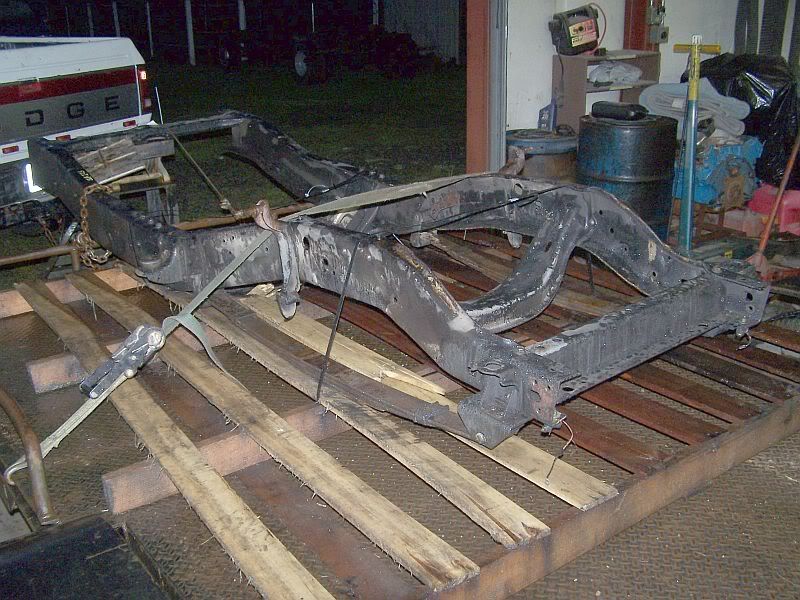
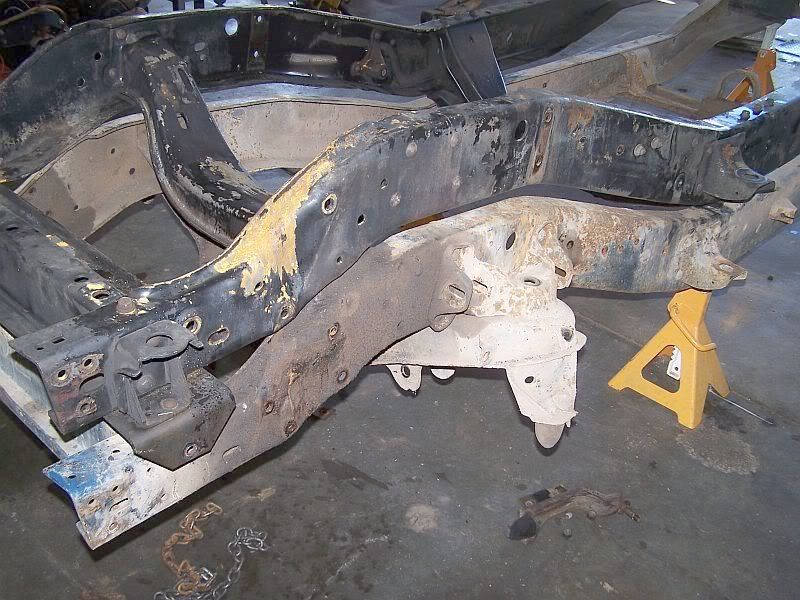
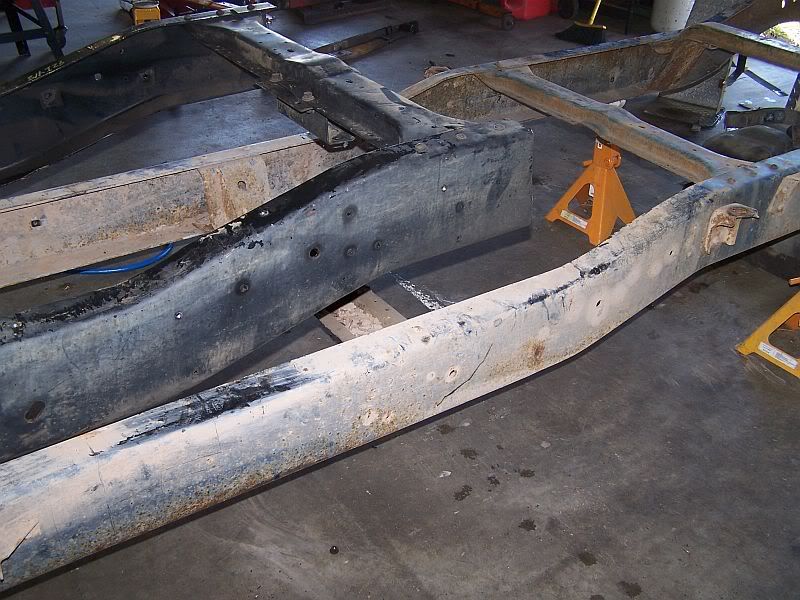
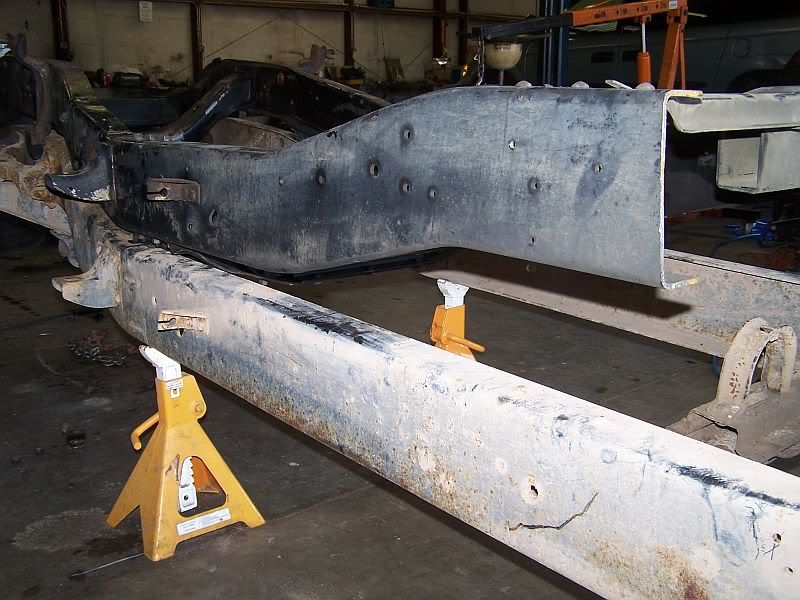
I done this same conversion earlier this year. I torched the rivets on every cross member from the front bumper back to the rear axle. One at a time of course and re-supported along the way. I did a 2wd to 4wd conversion and a diesel swap at the same time. It was a 1978 2wd crew cab to start with. Not a whole lot of pics but here's a link.
http://s726.photobucket.com/albums/ww26 ... cab%20CTD/
Vinny
http://s726.photobucket.com/albums/ww26 ... cab%20CTD/
Vinny
78 D-200 Crew cab LWB converted to 4wd then converted to Diesel. 366 spring, custom pin, timing to head and pump tweaked.
75 W-100 SWB step side under construction. Soon to be 318 magnum/518 auto.
66 Charger 383/auto
71 Chrysler Newport hardtop 4dr. 360/727. Need drivers side body panels if ya got some.
75 W-100 SWB step side under construction. Soon to be 318 magnum/518 auto.
66 Charger 383/auto
71 Chrysler Newport hardtop 4dr. 360/727. Need drivers side body panels if ya got some.
-

Fastback66 - fuel screw!!!!
- Posts: 42
- Joined: Wed Feb 11, 2009 9:14 pm
- Location: Waverly,NE