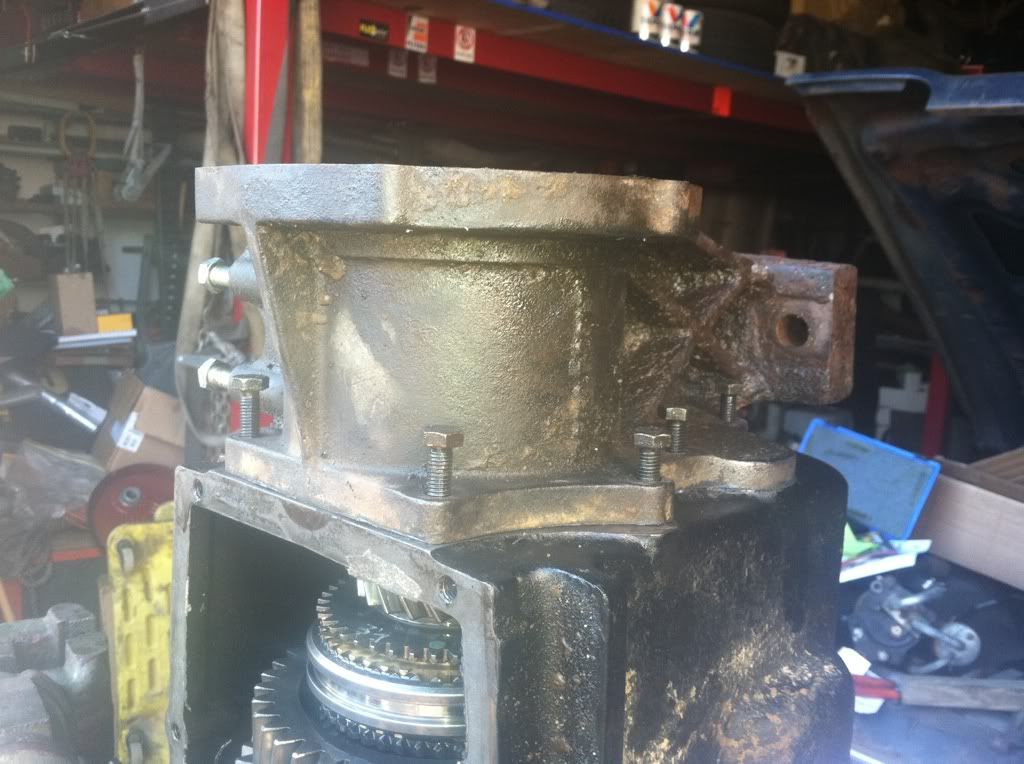
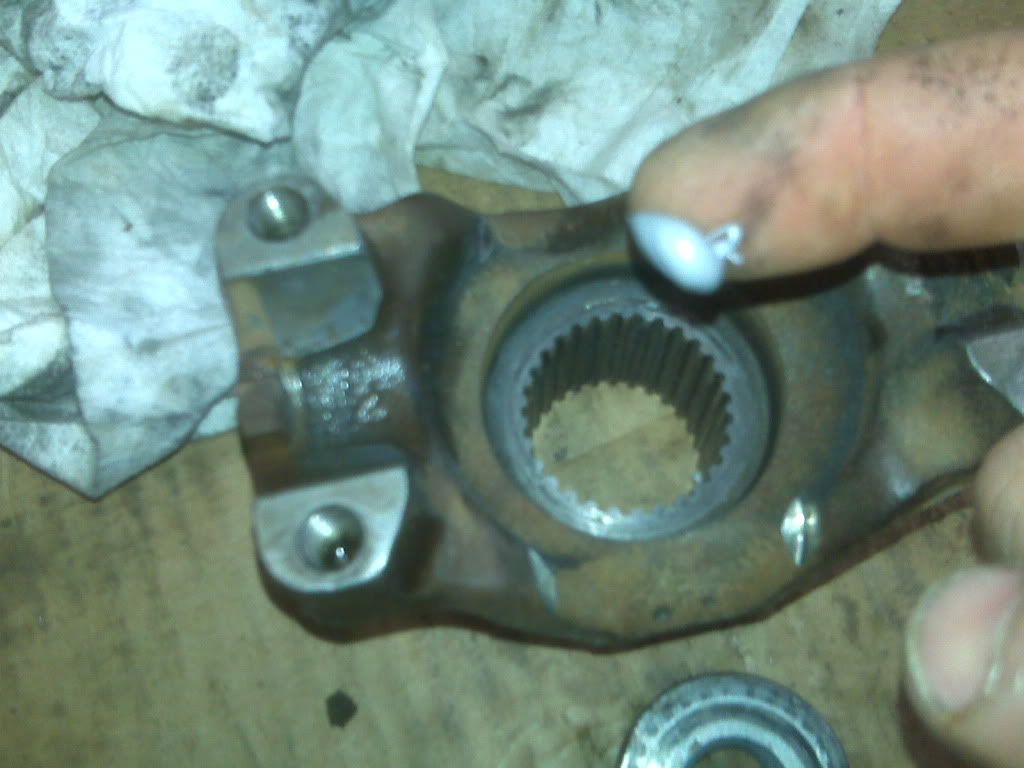
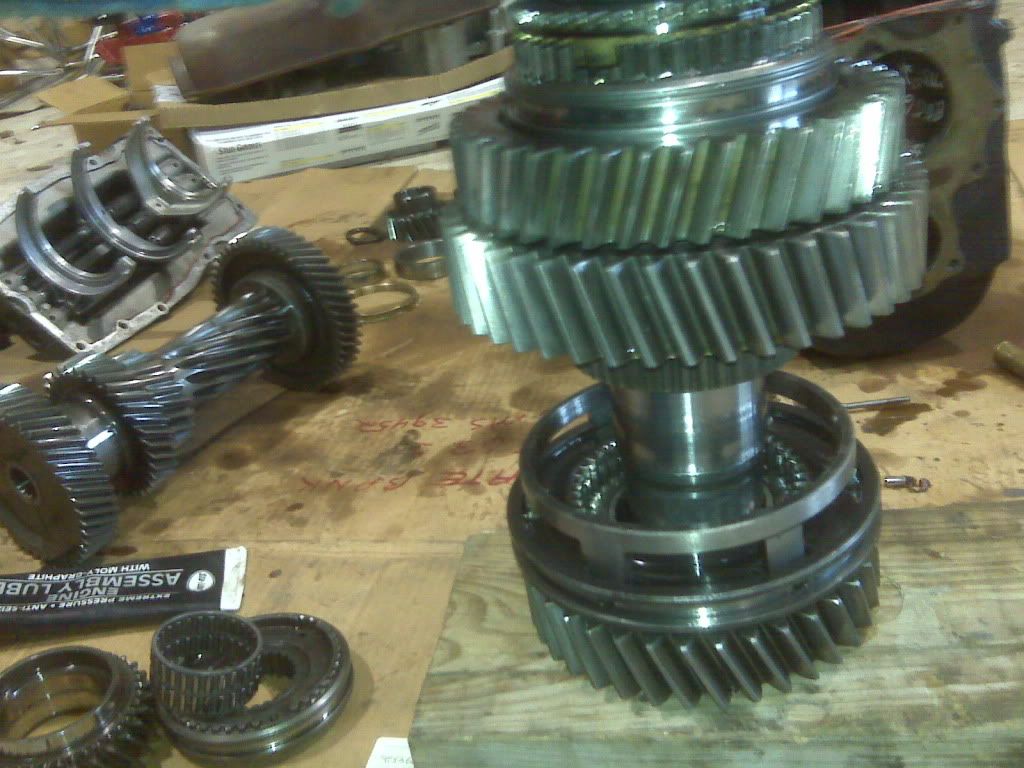
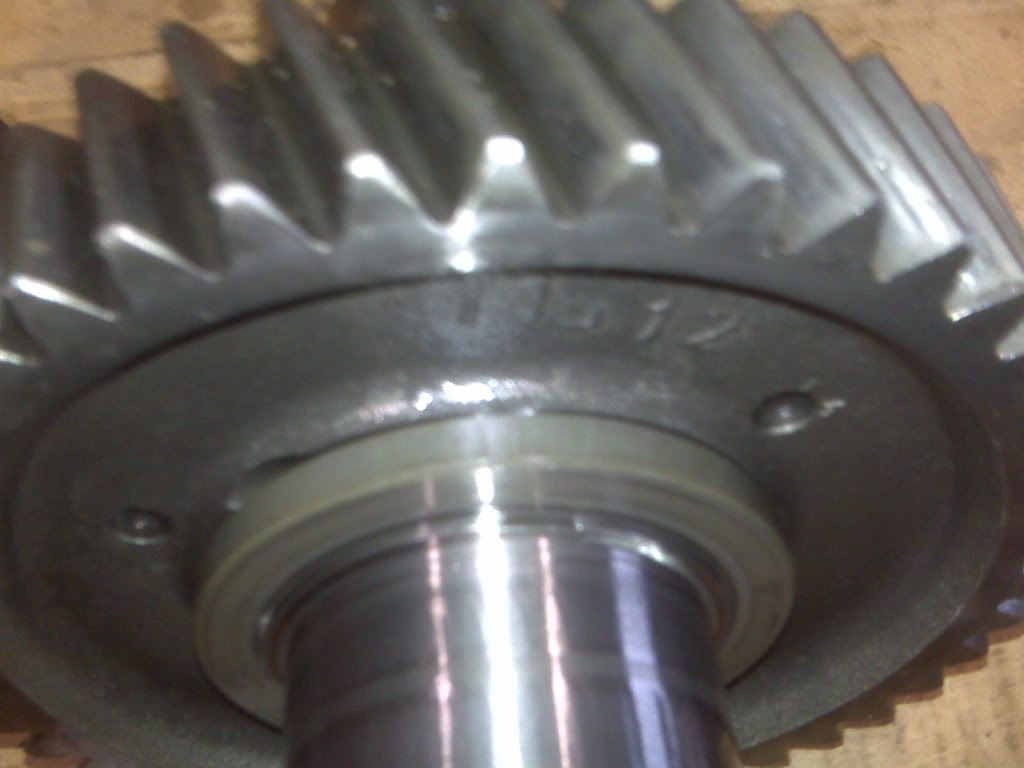
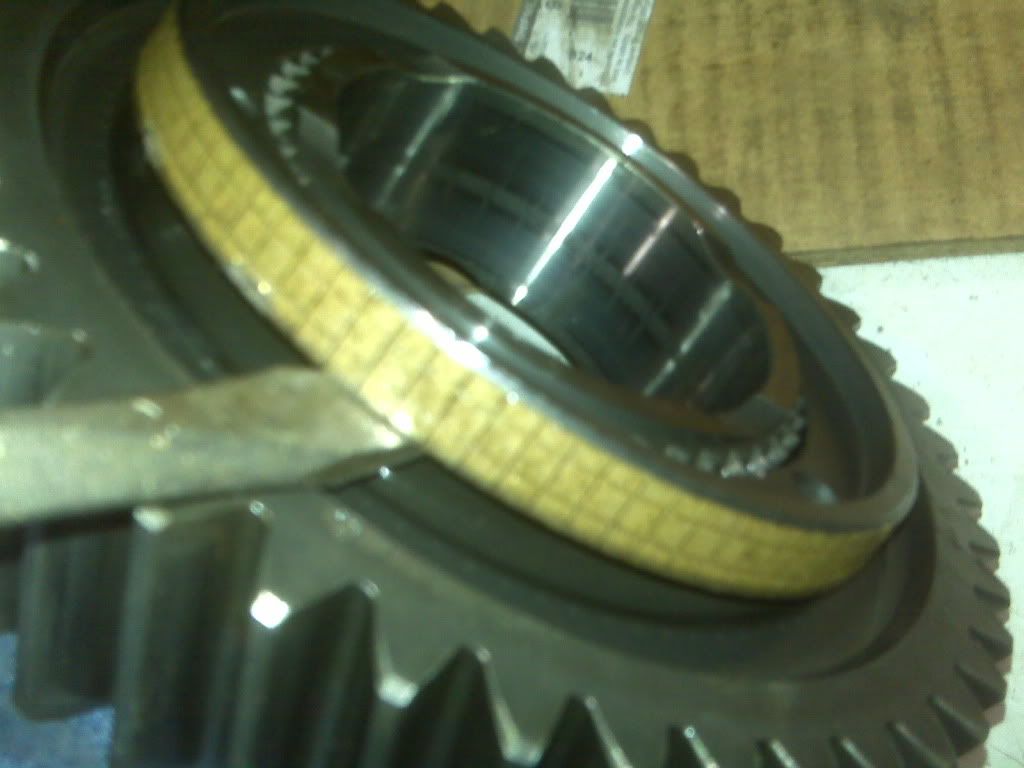
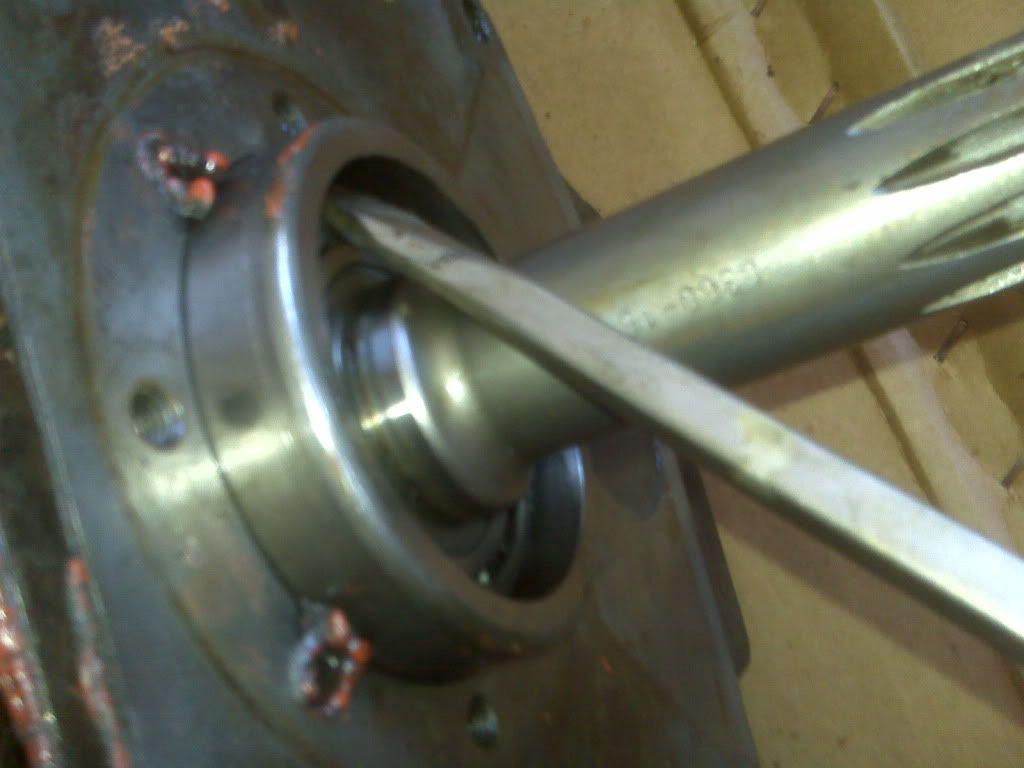
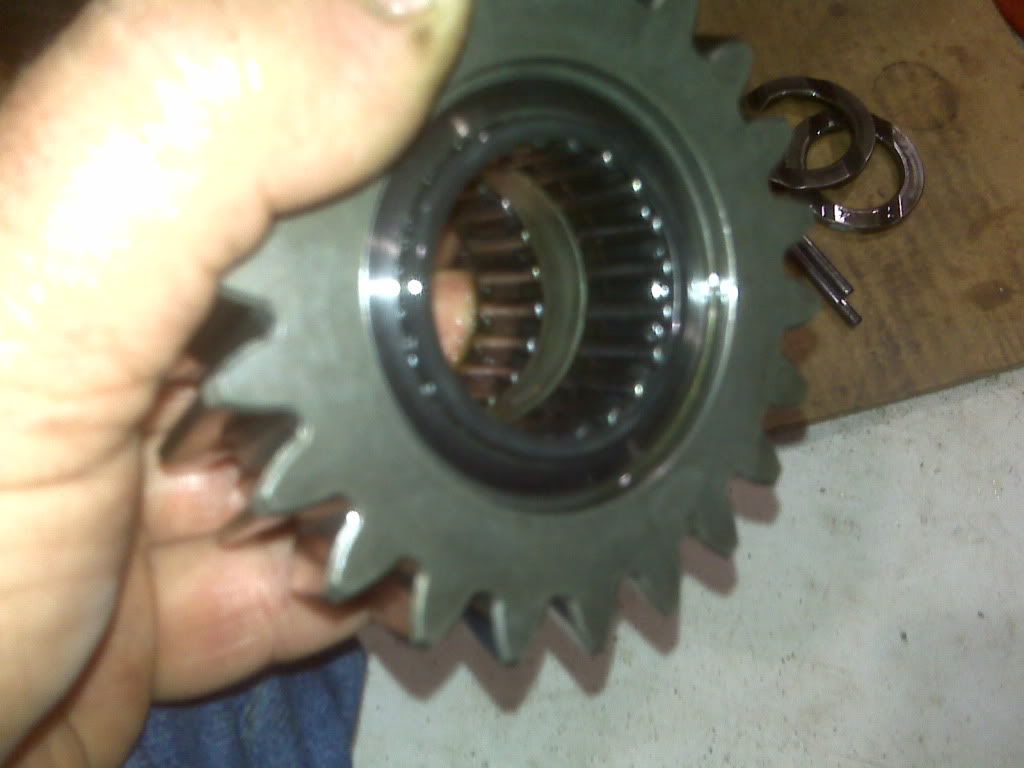
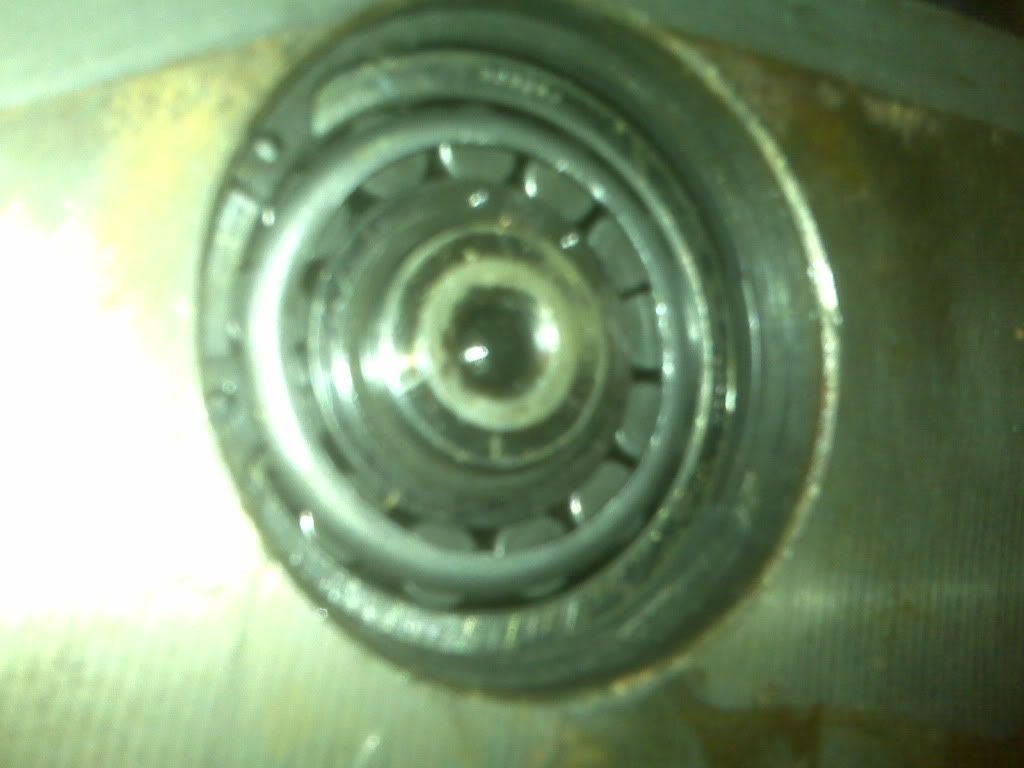
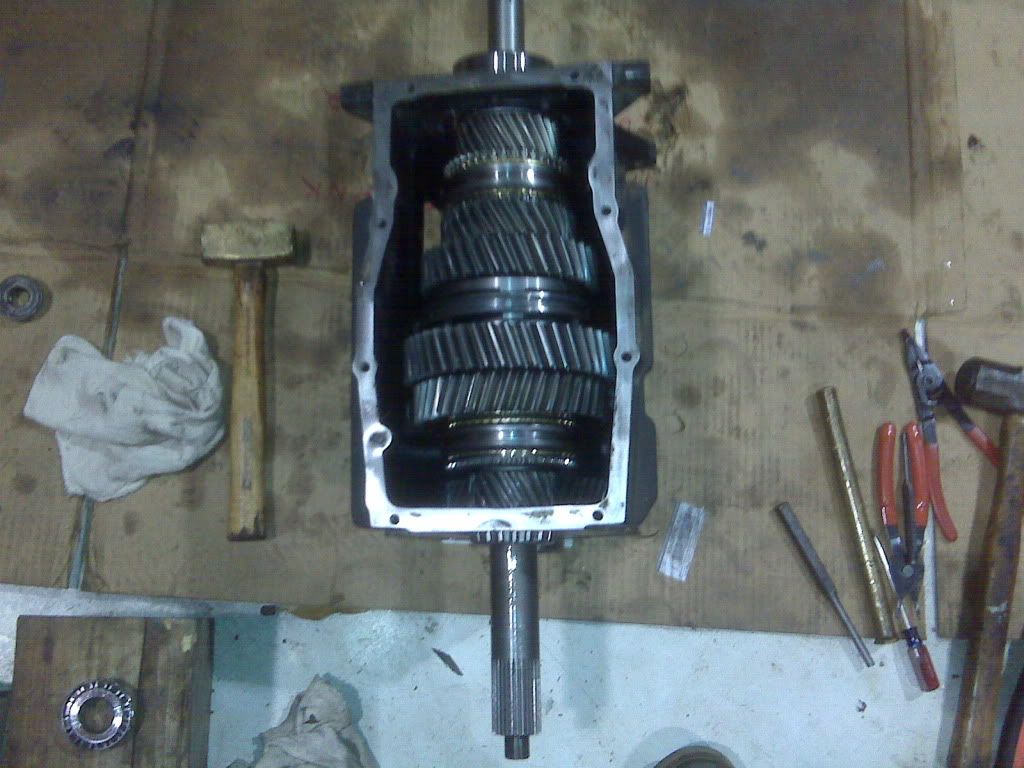
Now,looking at the rear of the trans,you'll see the counter shaft bearing and a snap ring

Pull that snap ring off and be careful with it,it'll bend easy and they won't come in the bearing/syncro kit

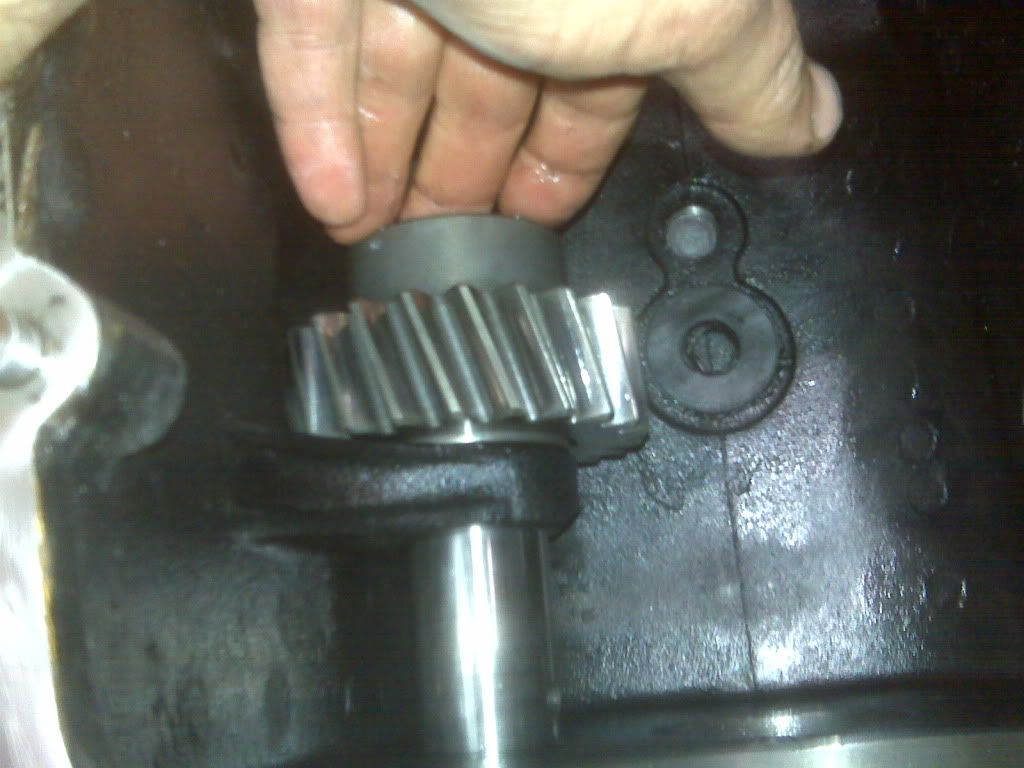
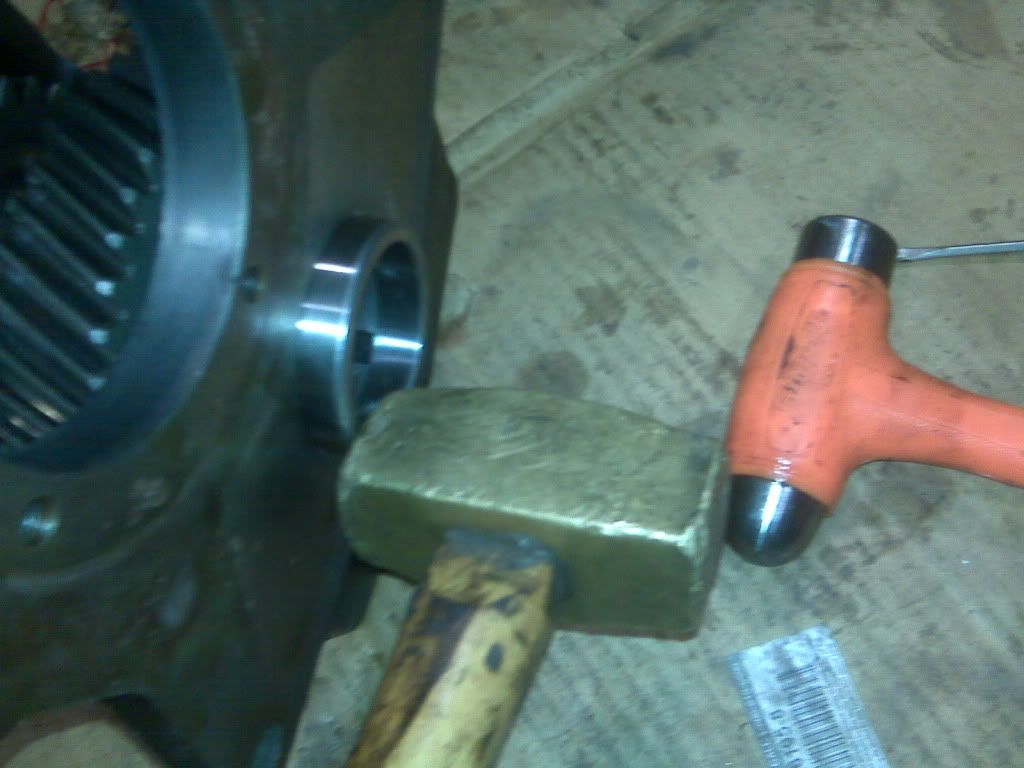
Take a drift pin,brass is my choice,and carefully drive it forward. The shaft moves inside of the counter/cluster gear.

Reason you drive it forward is to pop the sealing cap out of the front bearing journal to revile 2 other snap rings. One that holds the front race in.

Now once the caps out of the way remove the big snap ring.

Now we can go back to the other end a finish bumping that shaft out

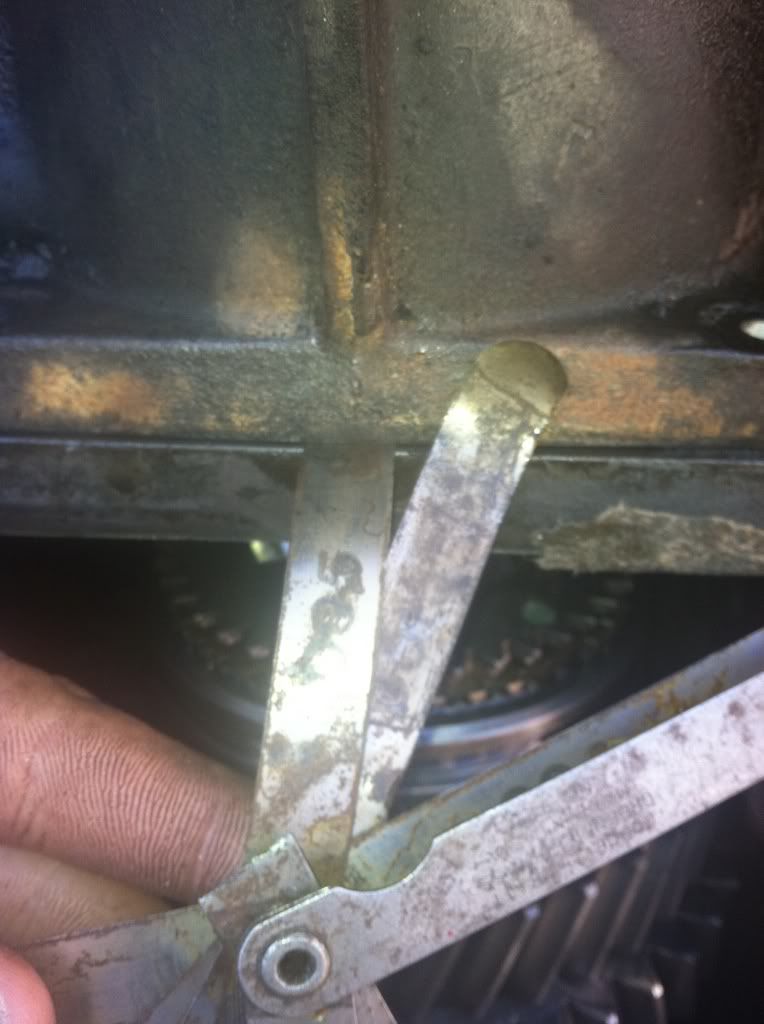
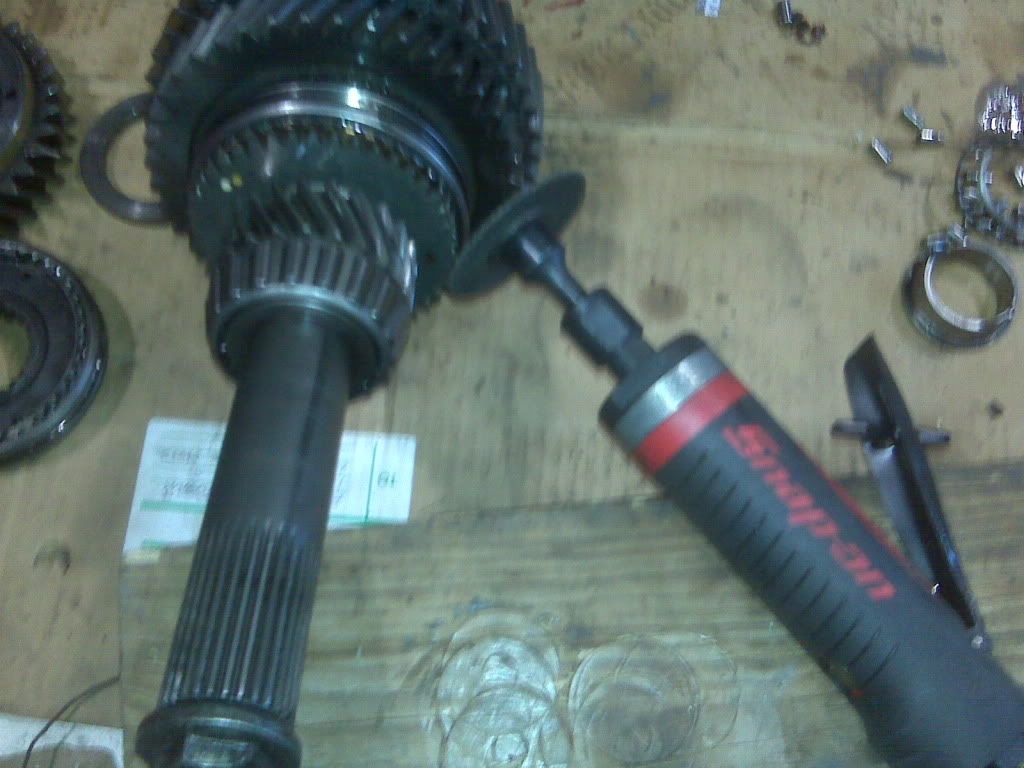
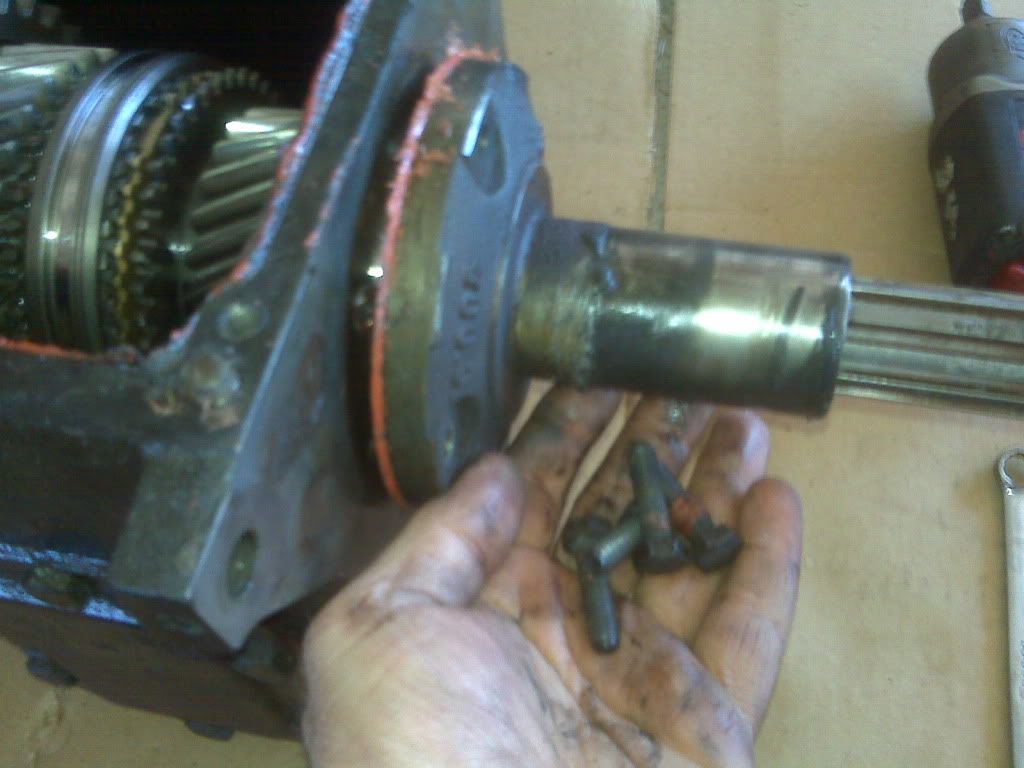
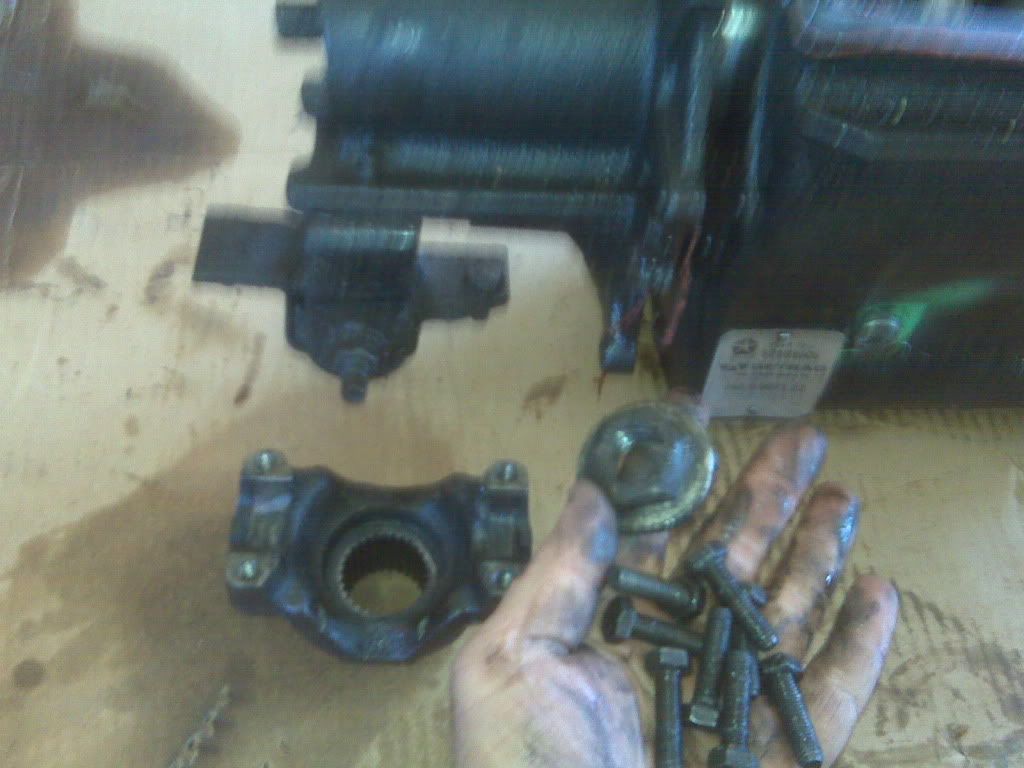
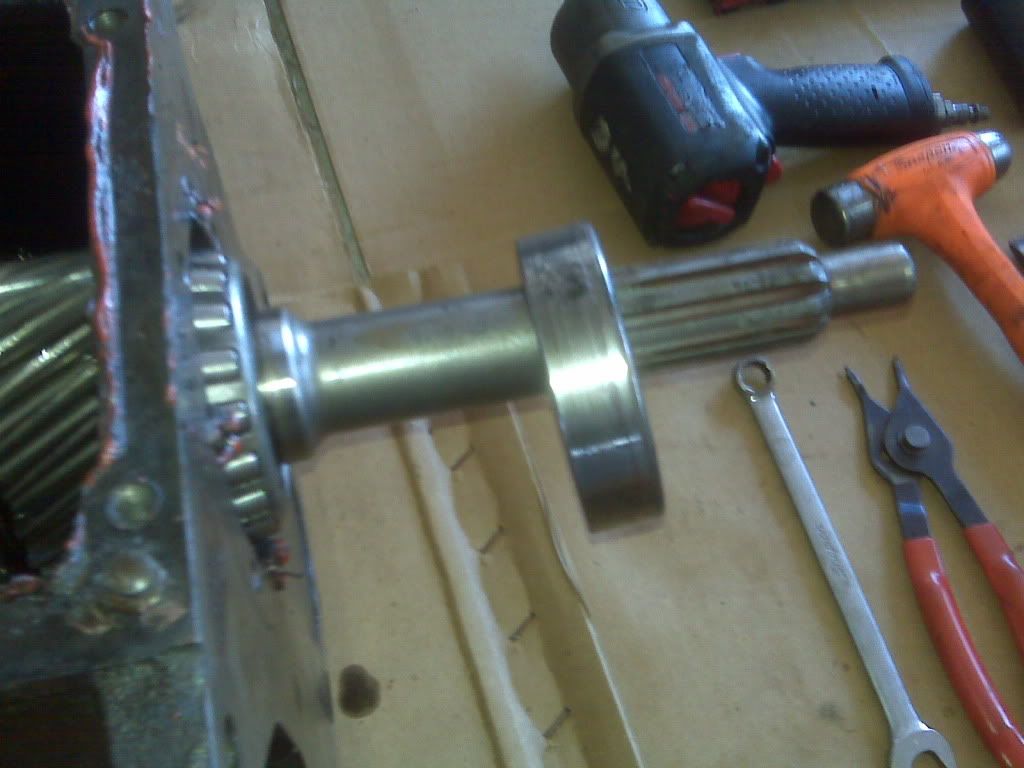
I now want to remove the reverse idler and its parts. There's a bolt on the outside of the case,it comes out first so I can angle the shaft to drive the roll pins out easier.

Now both pins


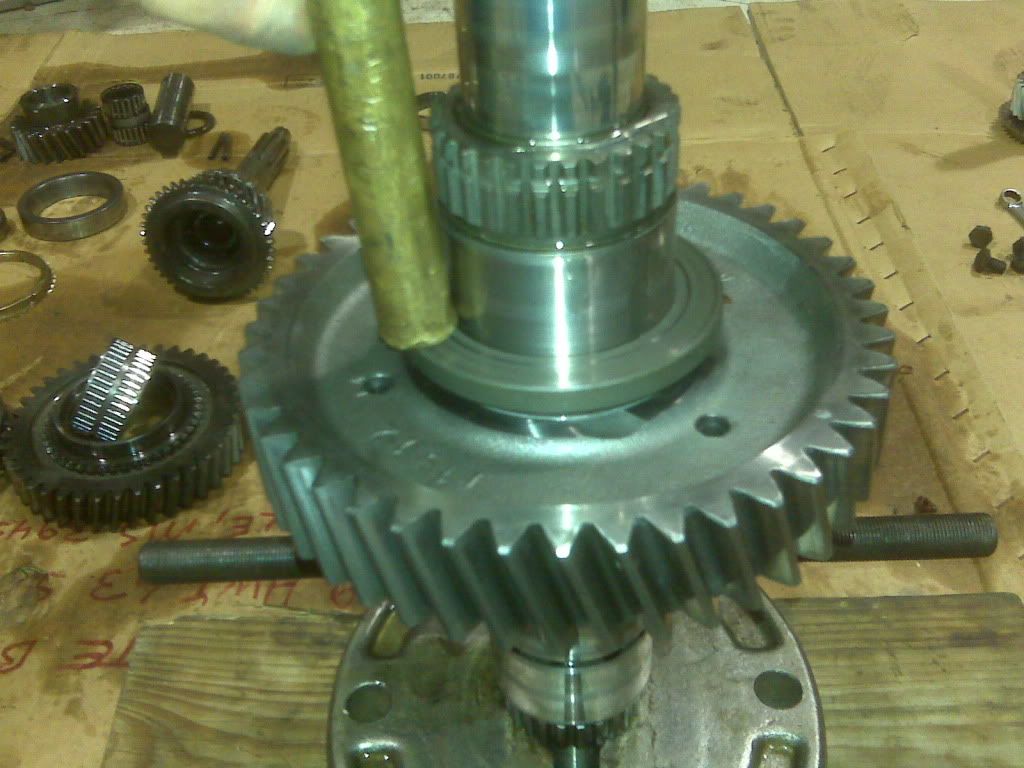
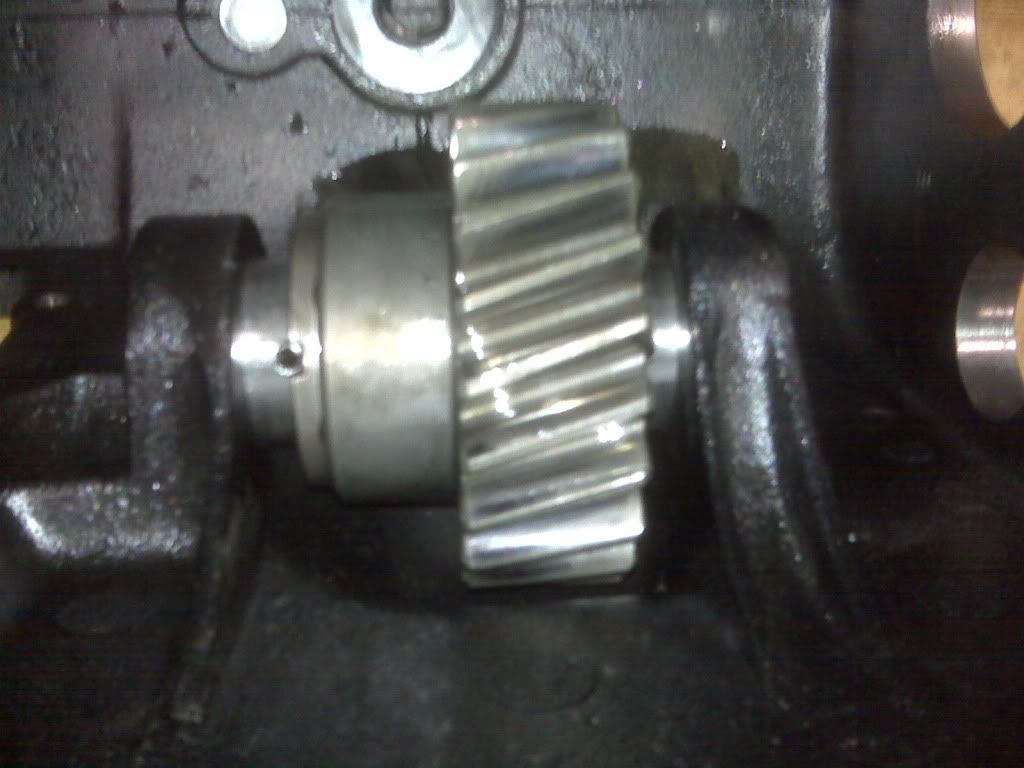
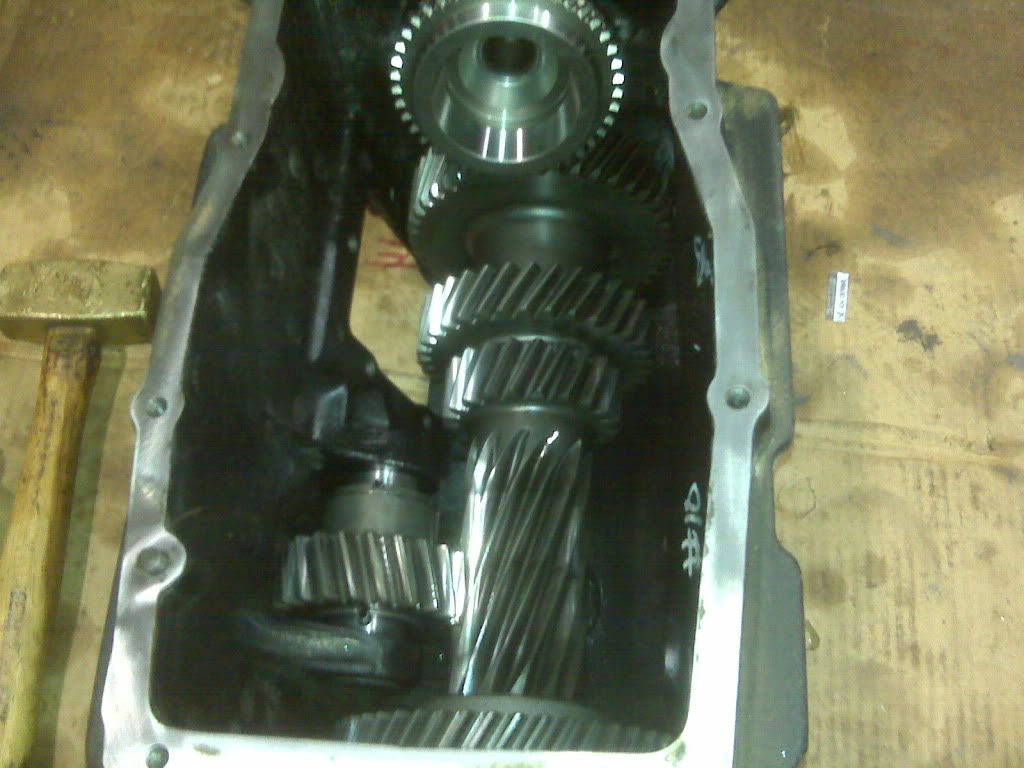
I remove the counter/cluster

Then push out the idler gear shaft

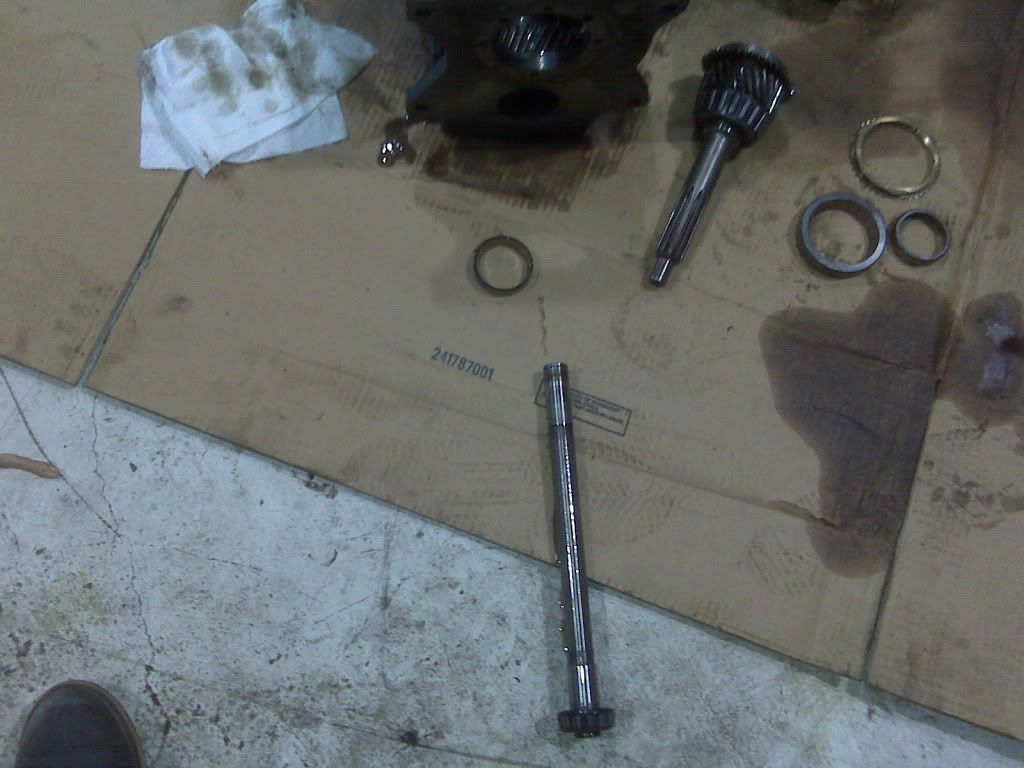
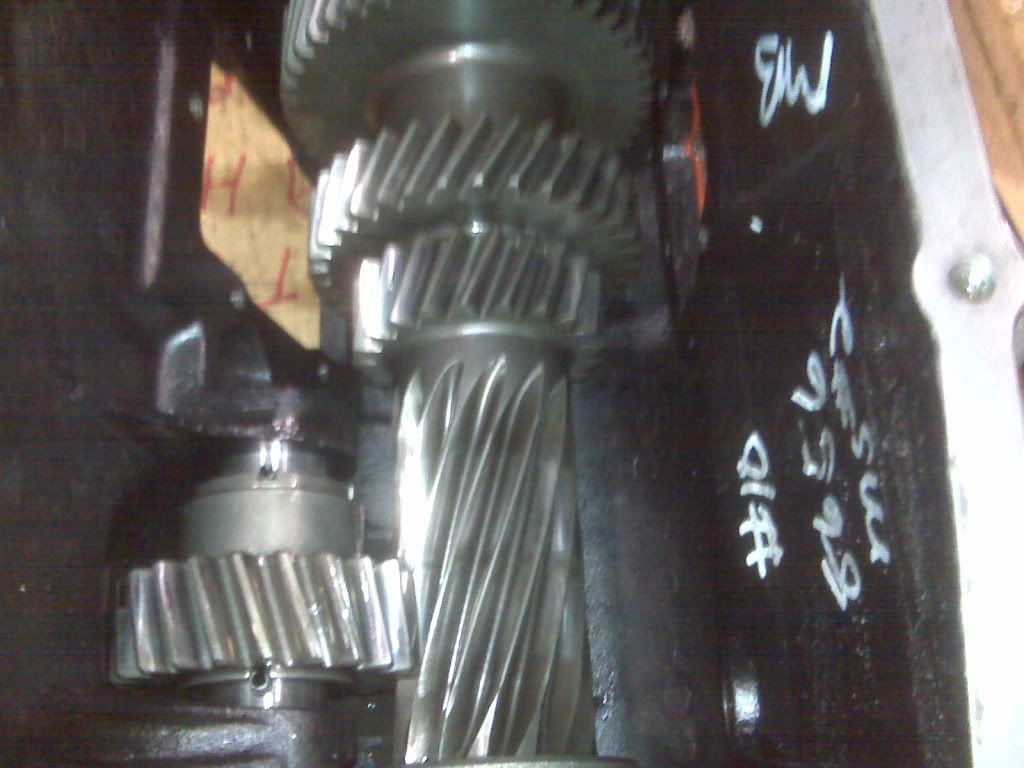
What comes out

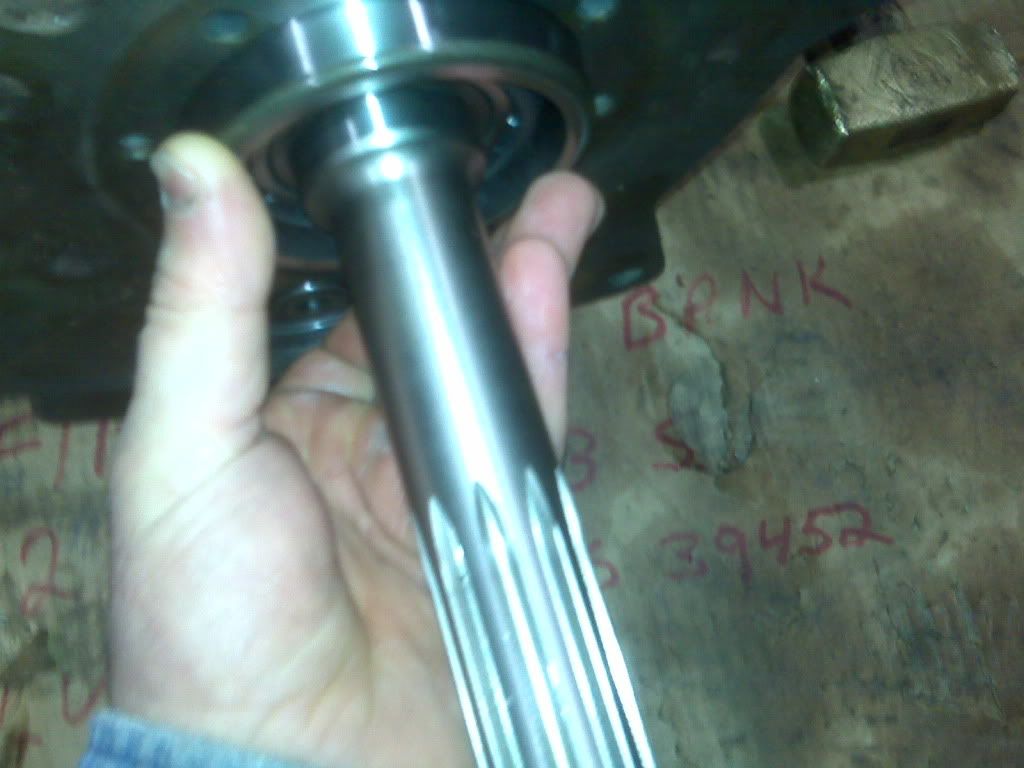
Now that the case is empty I turn all my attention to the mainshaft. I start by cutting the pocket bearing cage and race. After I've got rid of the cage and rollers I slice the race carefully,not cutting into the shaft or 3/4 syncro hub. You don't need to cut it more than 3/4 way,you'll take that chisel and hammer to split it the rest of the way. After its split then it'll slide off with a little persuasion with a pry bar or screw driver.
How I make it happen,yeaaah


Now remove the 3/4 hub assembly,remember keys,springs and balls,PITA to get back together,IF you find ALL the pieces. Best to just not let it move :p

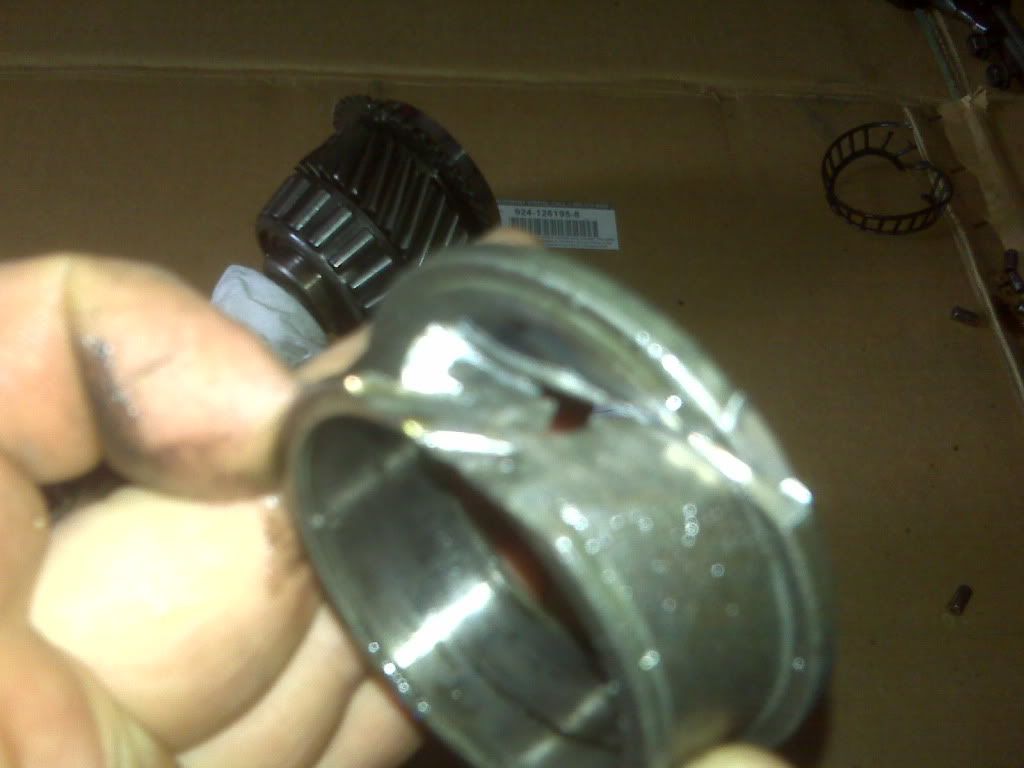
3rd gear,the bearing and old syncro

Now on the shaft is a snap ring and a retainer. They how the 2nd gear and 1/2 syncro assembly in place on the shaft. Remove the snap ring

Here's the ring

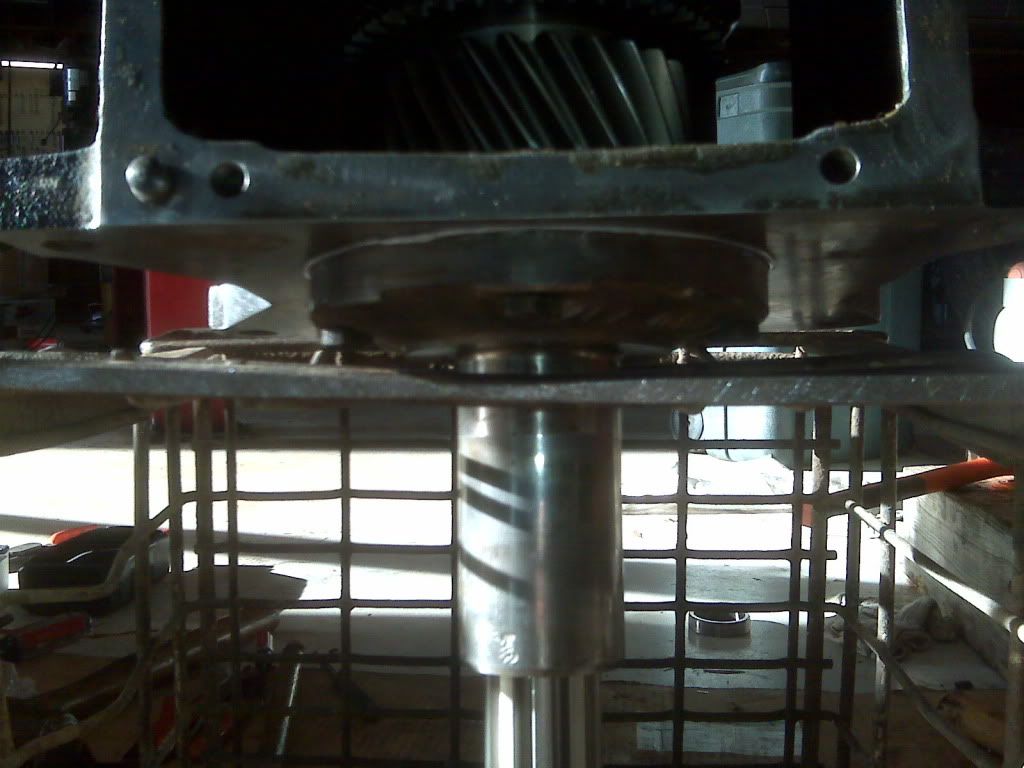
Here is how I get it off and how the 6x6 comes into play

Pick the shaft up and let it fall,nose down,agains the block. This is what should come off after a few good hard drops
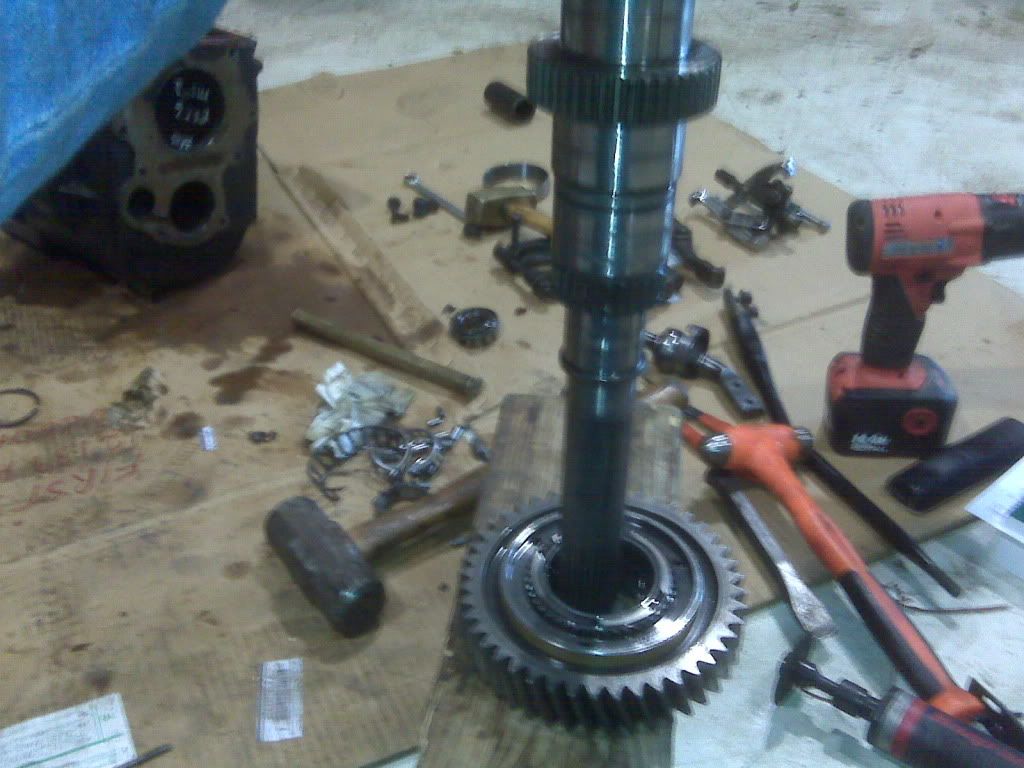
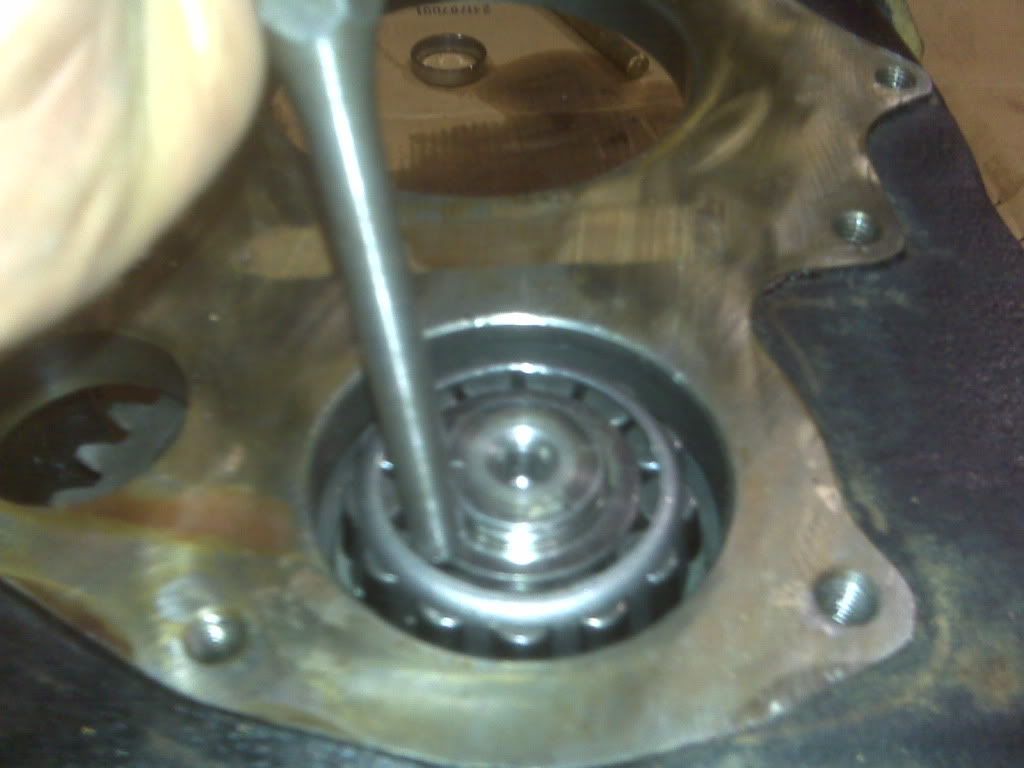
Now we'll move to the other end of our shaft and cut on the bearing
Cut the cage,remove the bearings and cage with the screw driver or pry bar
Now slice the race and split it with the chisel

Now the 5th gear falls off

Now another snap ring that holds the 5th/reverse syncro hub on.

Mine was stuck pretty good so I had to walk it off with to heel bars

Remember PITA if it comes apart.
With that removed you'll get this off
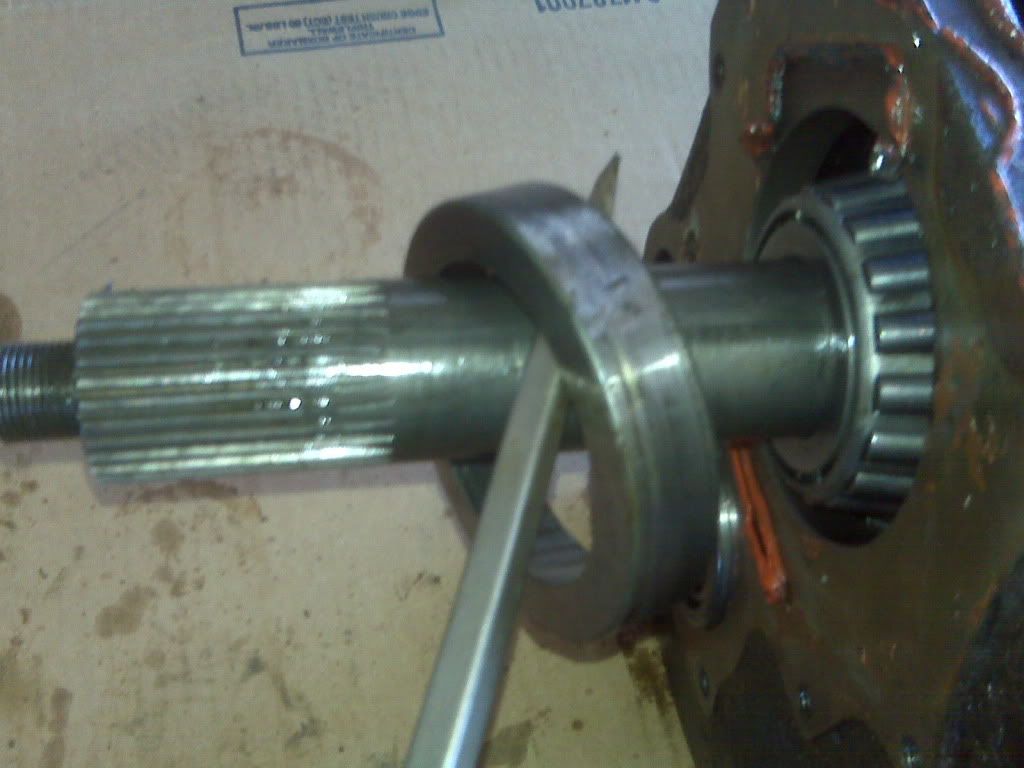
Then another snap ring and retainer
Remove the snap ring and pull the block back to you but before we pound on it with the shaft,screw the yoke nut back on the shaft, you don't want to booger up that


Bring the pain

And its off
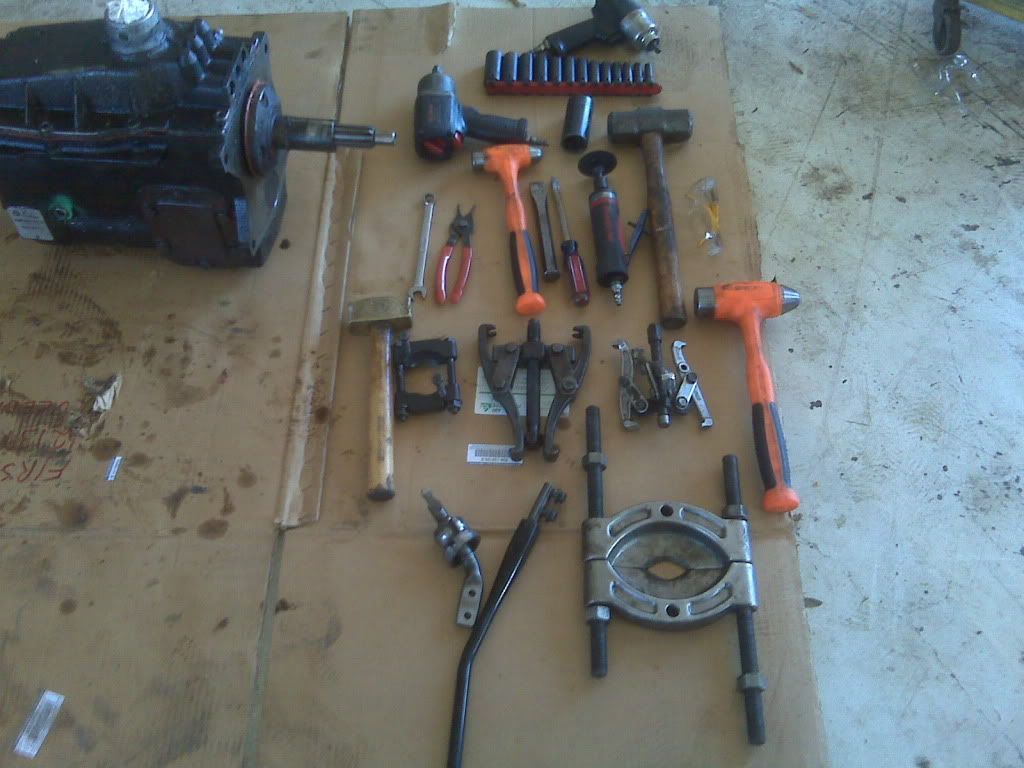
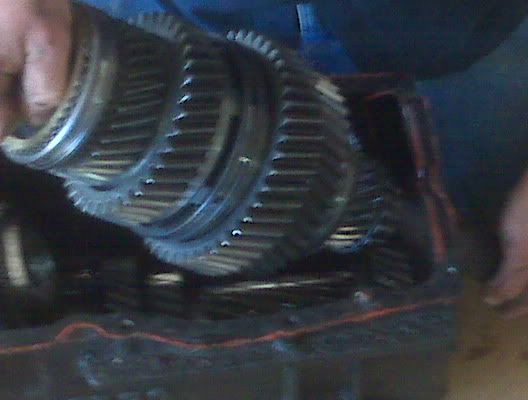
One tore apart getrag
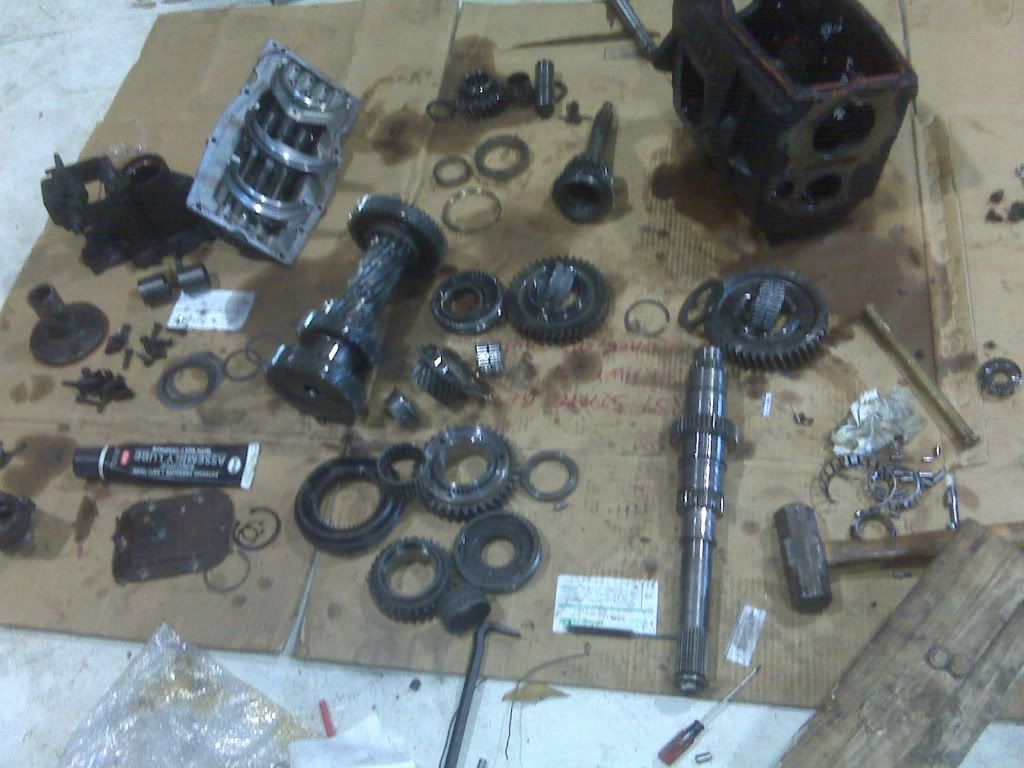
Reassembly
Ok I don't clean everything at once. I know where everything goes by how a place it on the floor/cardboard,so I'd probably be in a pickle if I jumbled it up cleaning it all at once
These four pieces are the first to be scrubbed clean of dirt,oil and shavings.

I get the mainshaft clean and stood on the front end,pinched in my bearing spliter on top of a block

Ok now I lube and install the 1st gear needle bearings
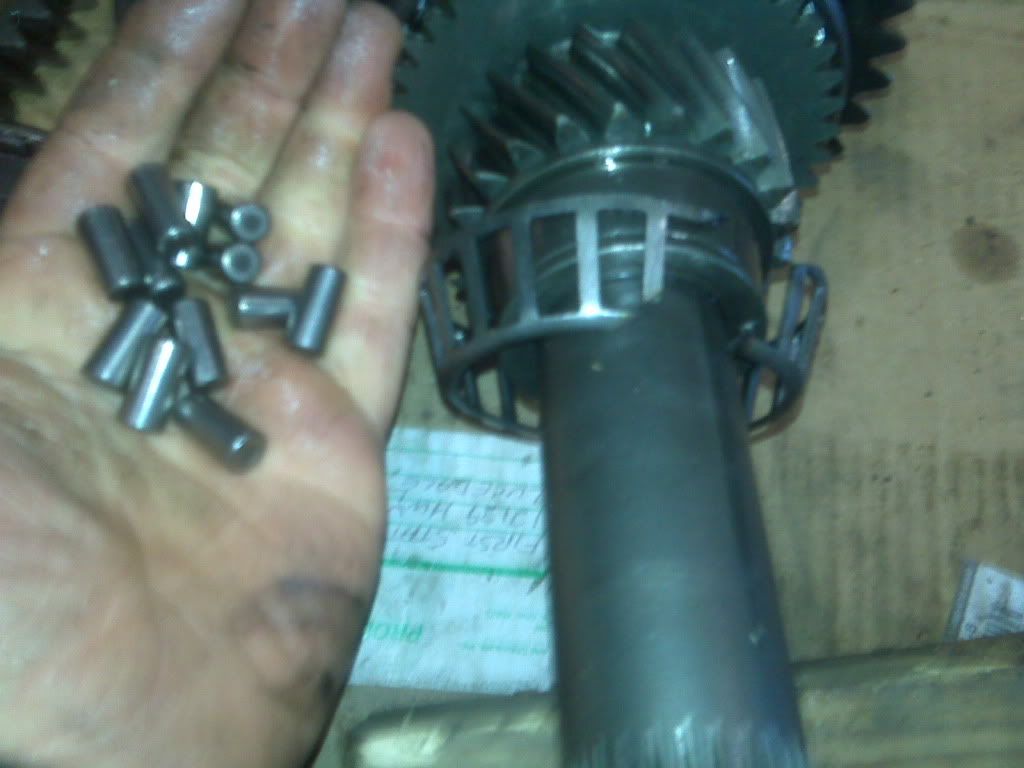
Before you slide the 1st gear on you'll need to remove the old syncro,I pry it off EVENLY and put on the new. This gear there are roll pins that have they're holes drilled all the way thru. Bump them out and back in thru the new syncro first.

Make double sure that the roll pins are flush with the inside of the syncro,otherwise you'll not have full engagement of the collector ring

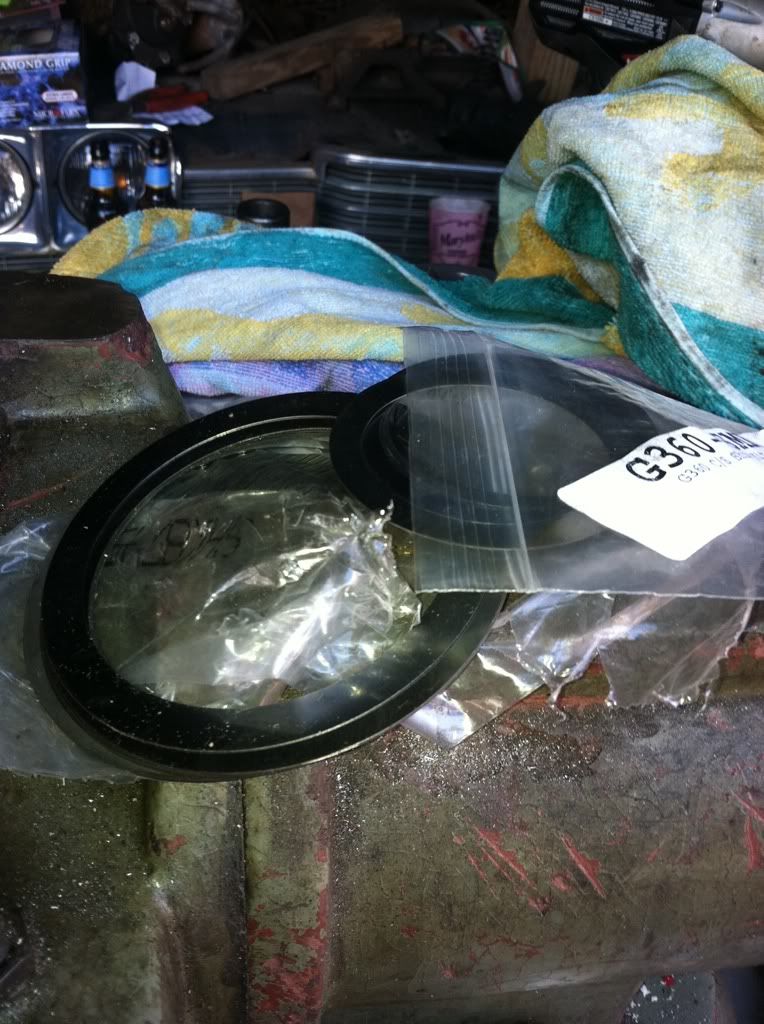
Slide the gear on and find its retainer and snap ring. It may not matter but I always make sure to keep the old surfaces against the same places. This pic shows where the needles and bearings rode against the retainer.
And I drive it down evenly and with small taps,all the way around till it seats.
after you get the retainer down,now the snap ring. I bump around it with my pin punch to make sure its seated all the way in its groove.

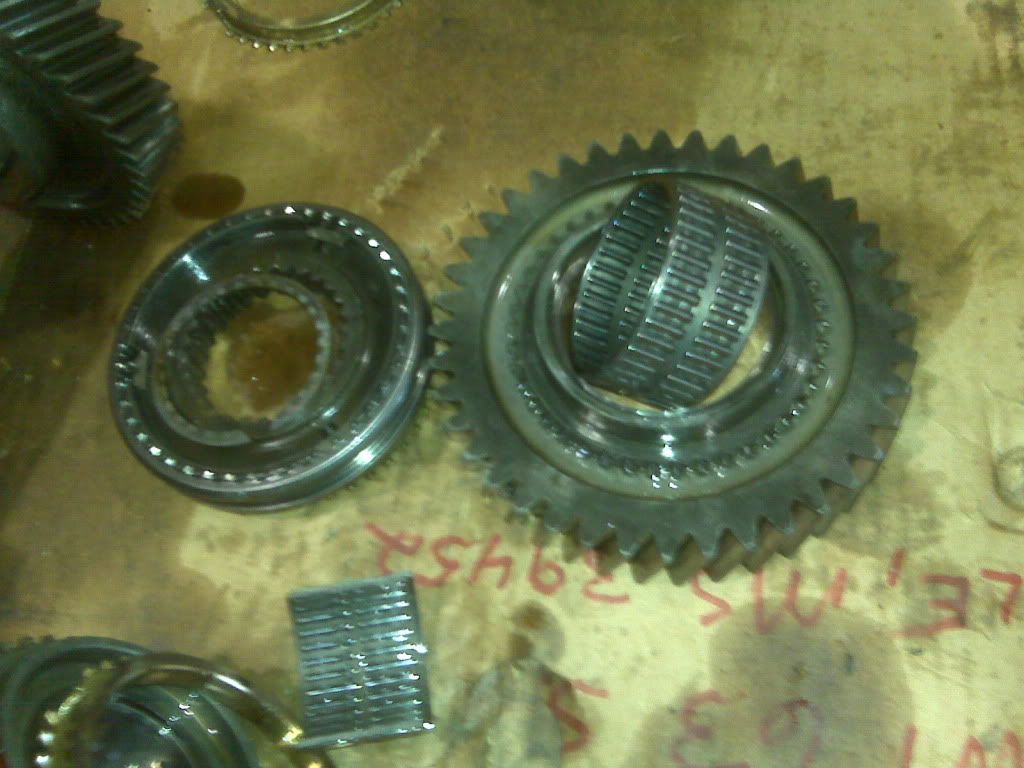
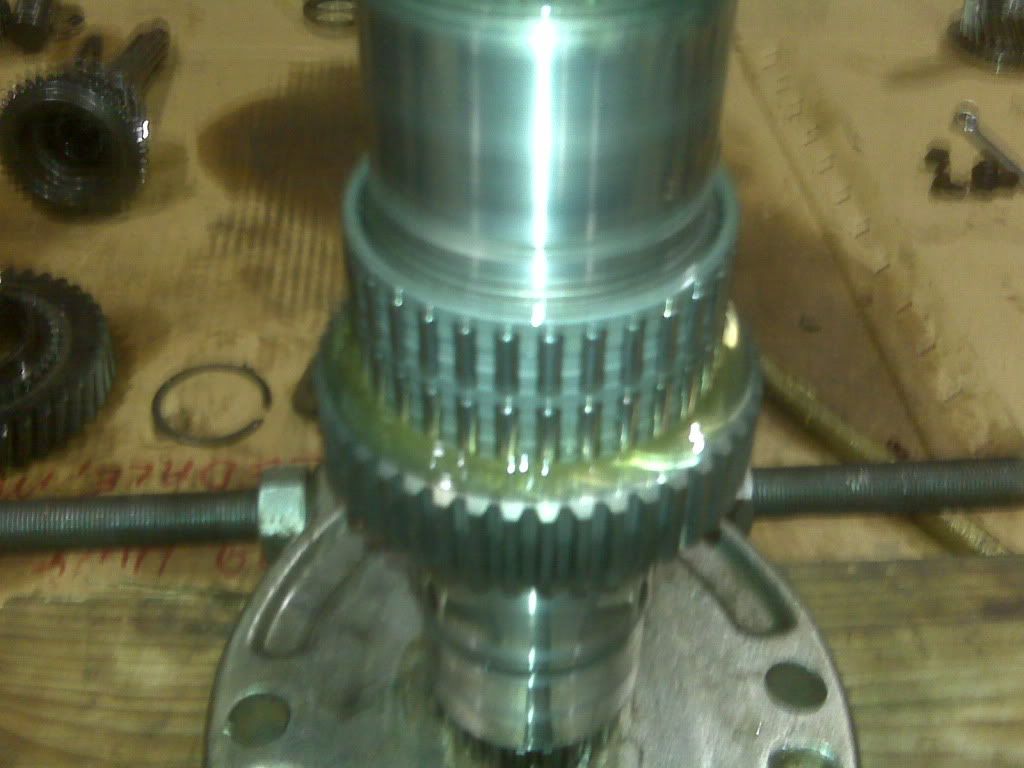
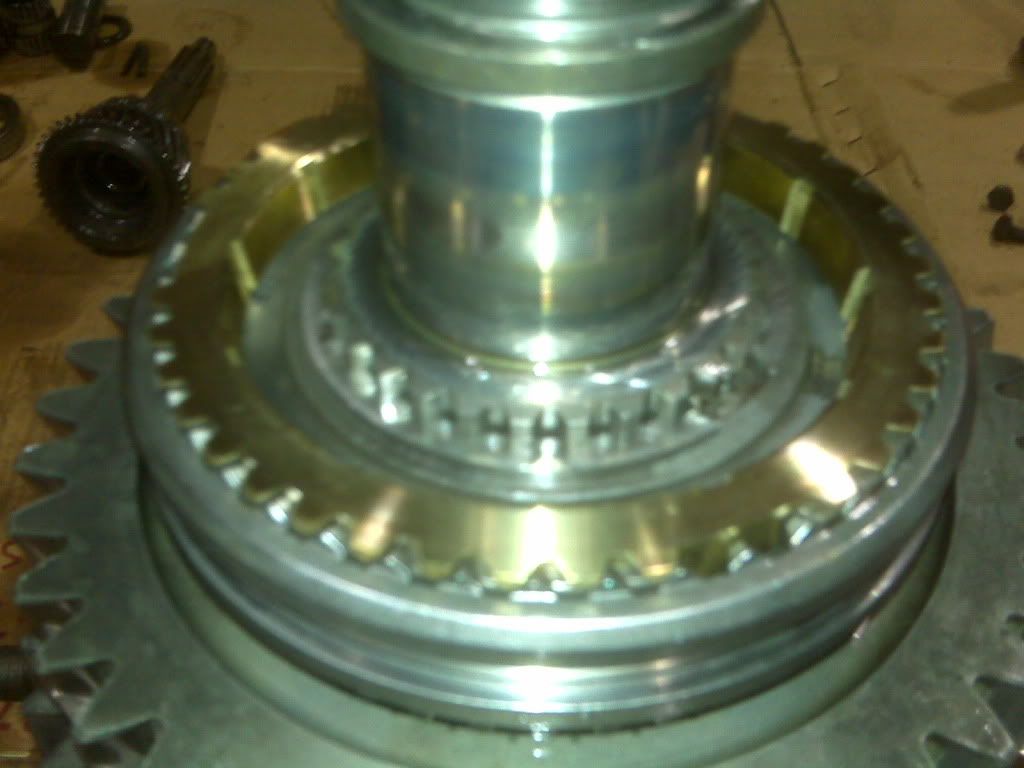
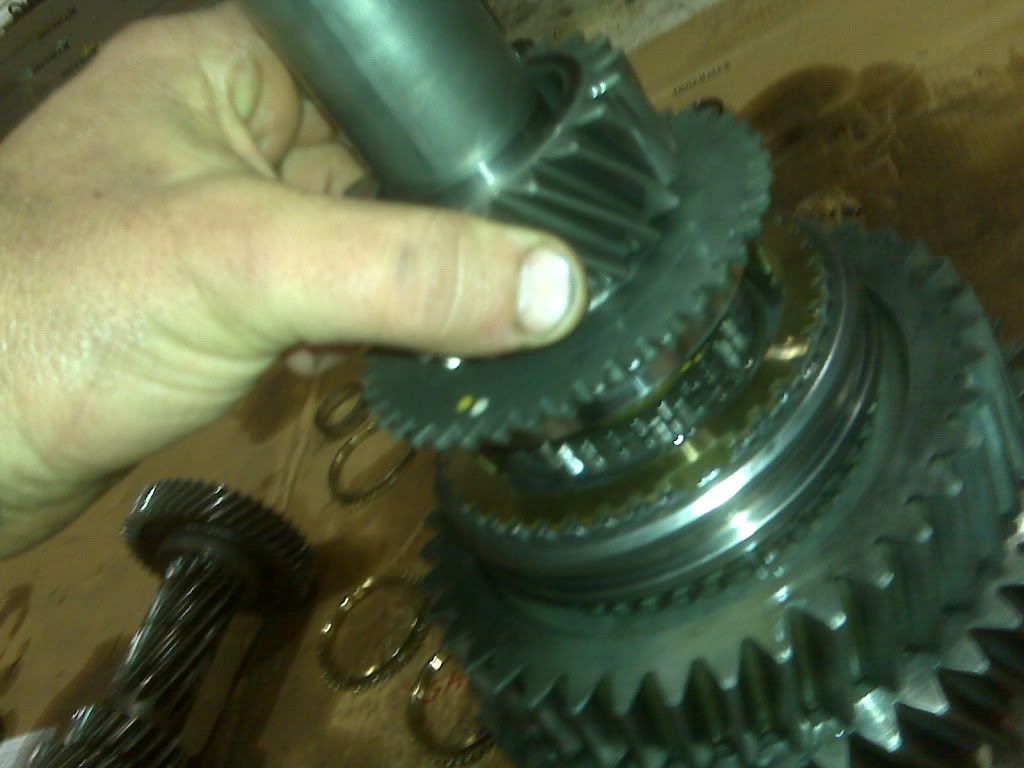
After this there's another needle bearing and the reverse gear. The next thing will be the reverse's syncro and the syncro assembly. You'll need to pay attention to the hub because there is a thick side and it goes down into the reverse gear.

Now the 5th syncro
And the 5th gear and its two piece bearing

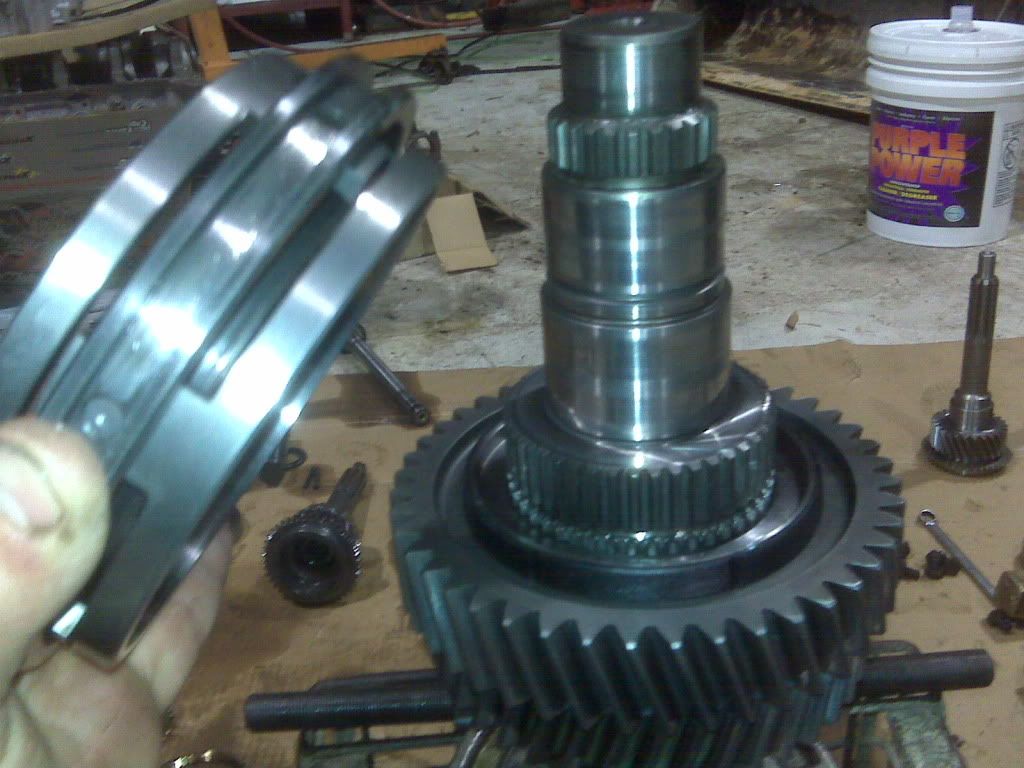
Now for the rear bearing,usually I use a press to mash them on but since most folks don't have one in their back pocket I did this to show you can do it without.
I drove in on using my brass drift and even,medium forced blows,around the inner bearing race. I was careful of the bearing cage, to avoid any contact with it, it can withstand some but its better to stay away.

After that, the rear portion of the shaft is finished and its time to flip it over and assemble the rest of it.
Slide on the 1/2 slider assembly
Replace the 1st gear syncro,not as easy as the 2nd gear. Its roll pin holes are blind,meaning they're not all the way thru the gear. You'll have to remove the old syncro with a screw driver or chisel and drive the new one back on REALLY carefully. You'll have to keep close to the holes in the syncro when installing it to keep the syncro from warping or binding. That could cause nasty shifting characteristics.


Now you can slide that gear and its needle bearing on and its retainer time again

Make sure the snap ring is seated

And the 3rd gear and needle
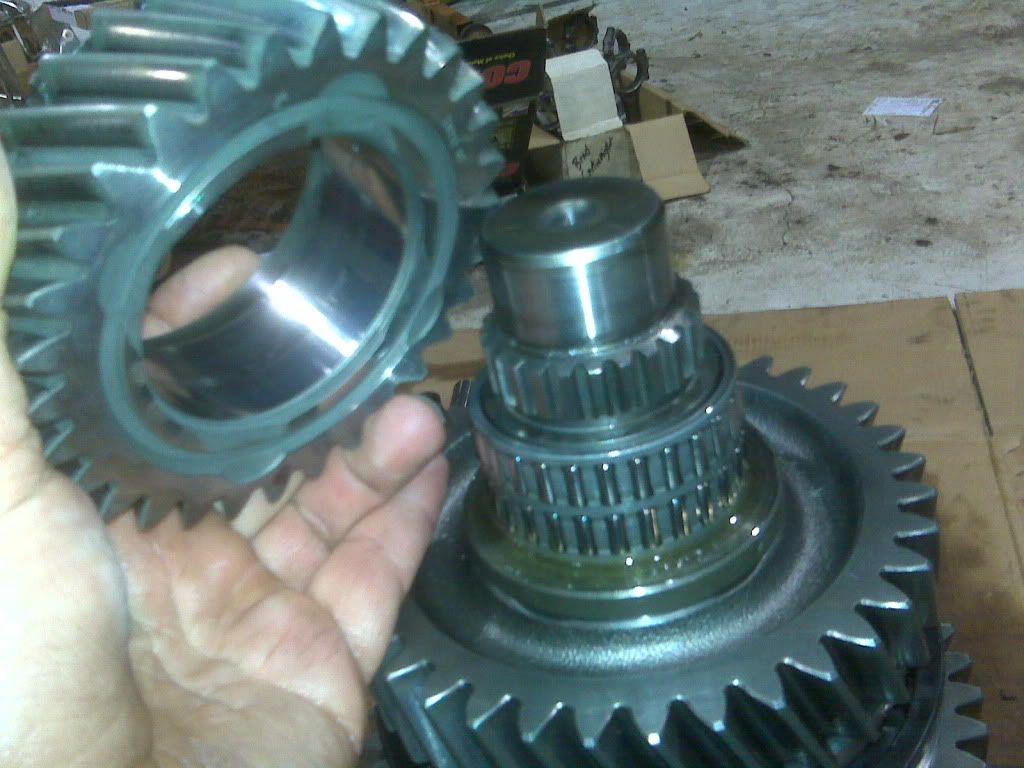
Now the 3/4 syncros and assembly

I drive the pocket bearing on the same way as I did the rear mainshaft bearing

Ok that's one complete mainshaft

93 D250 ,5 speed,4.11s,k&n autometer tach pyro trans boost guages,GDS 60mm h1c 14cm,honed 5x10,hplp/reg,1/8 timing,M+H M2 fuel pin, tims cooler tubz


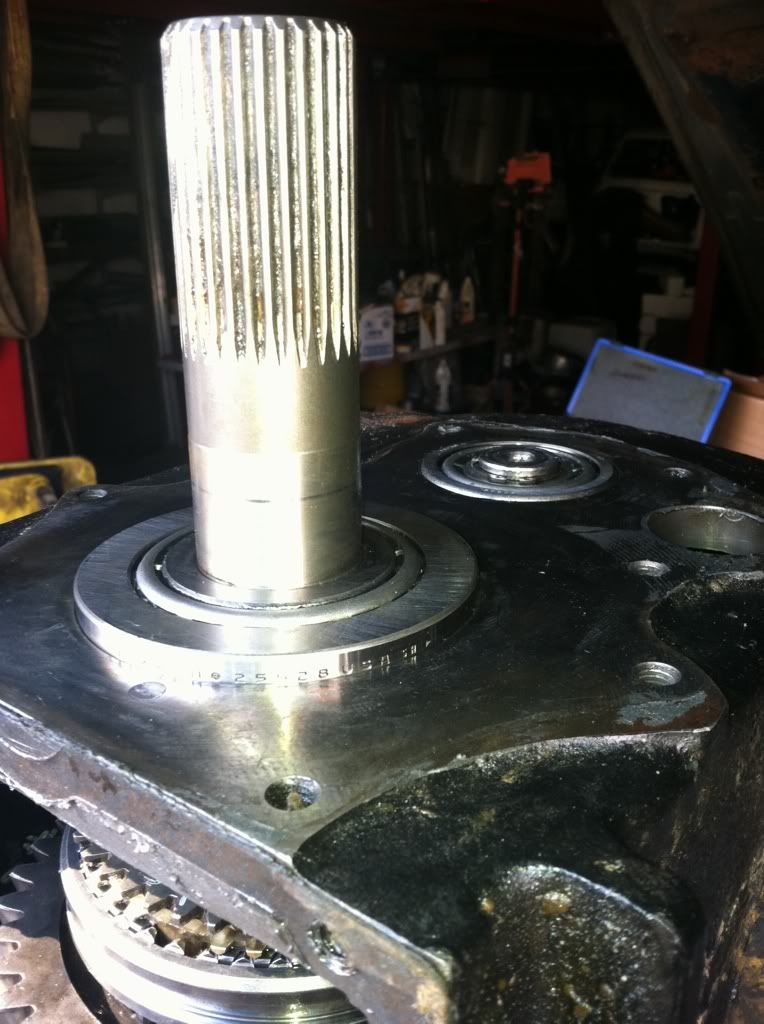
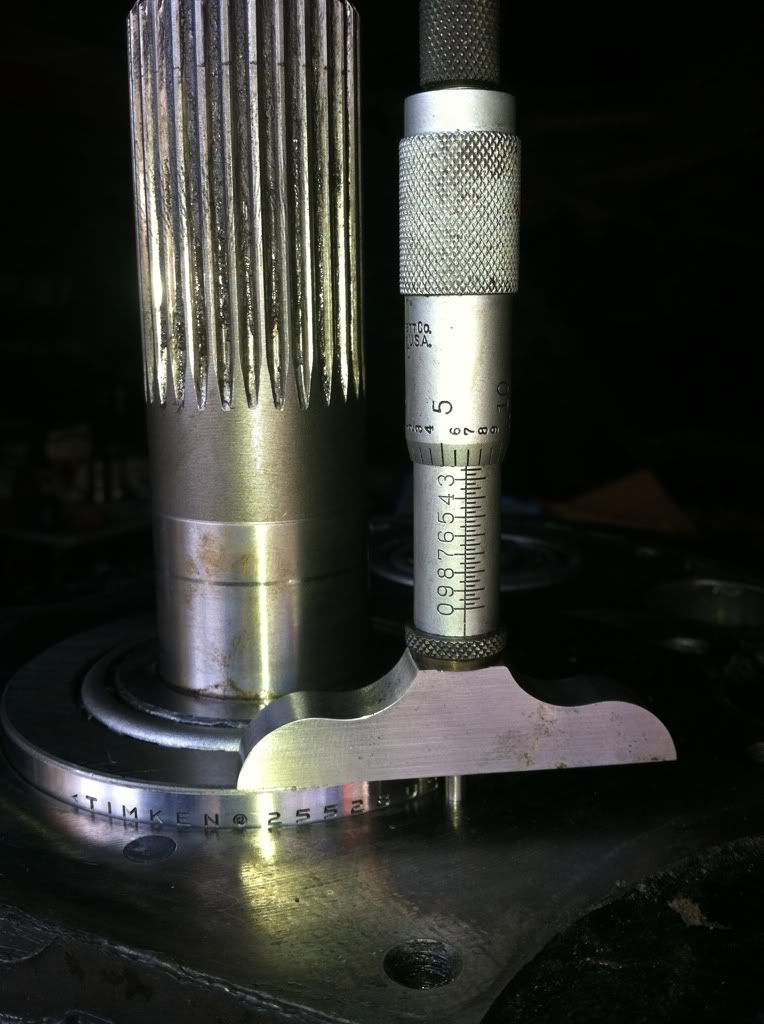
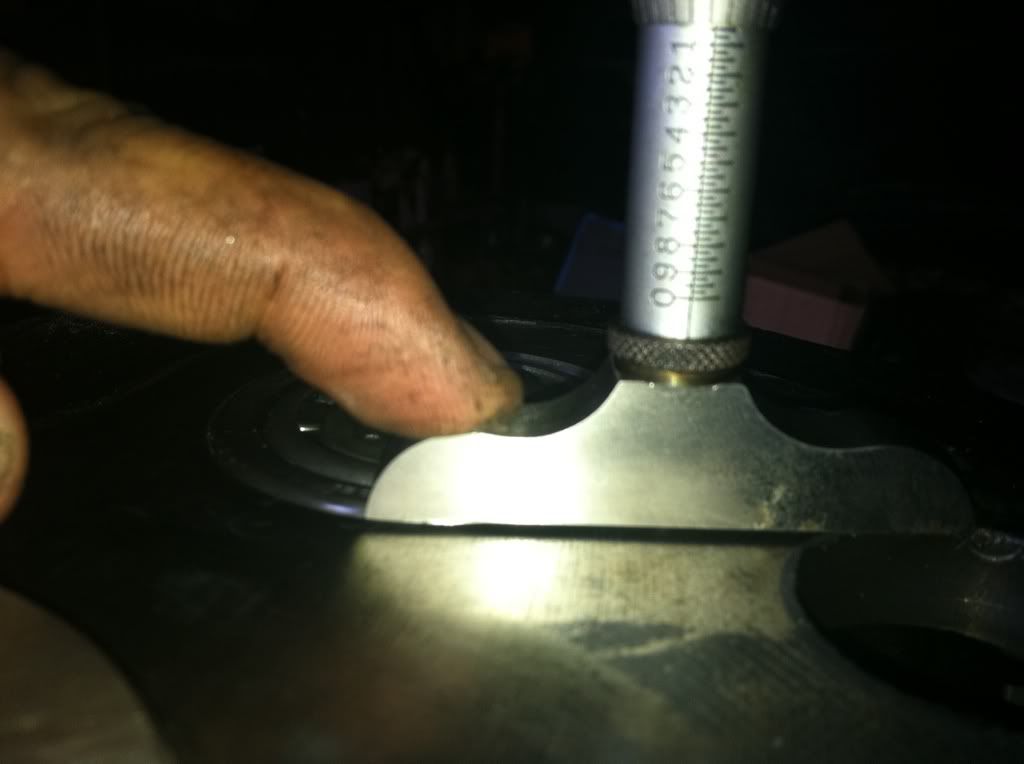
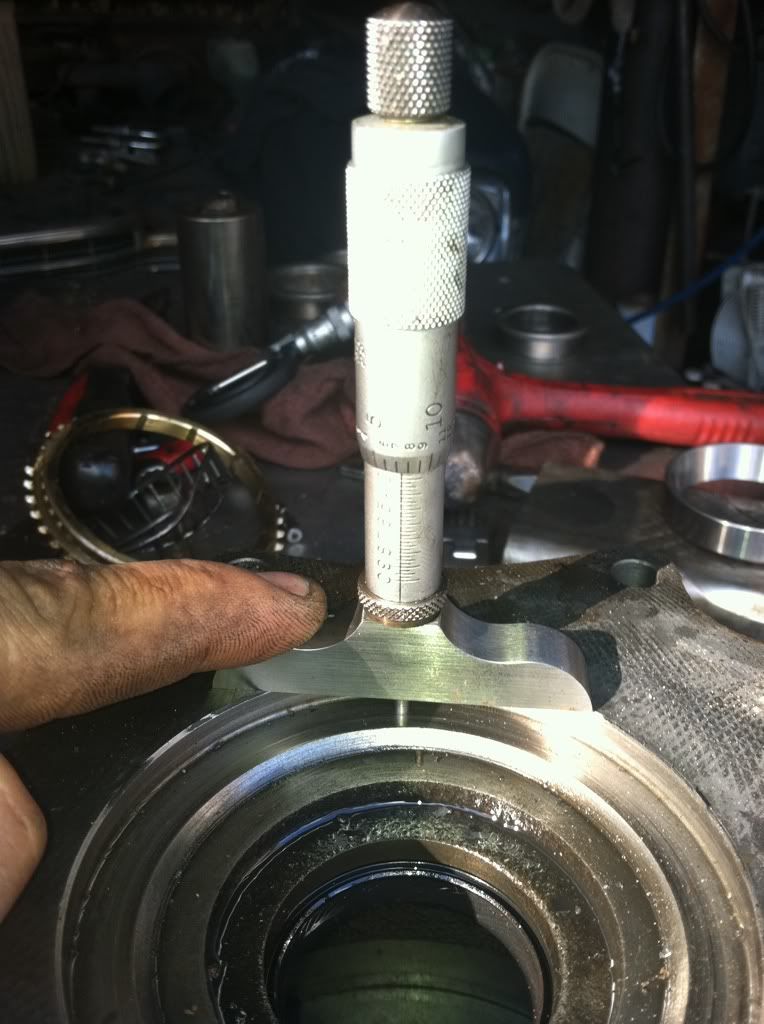
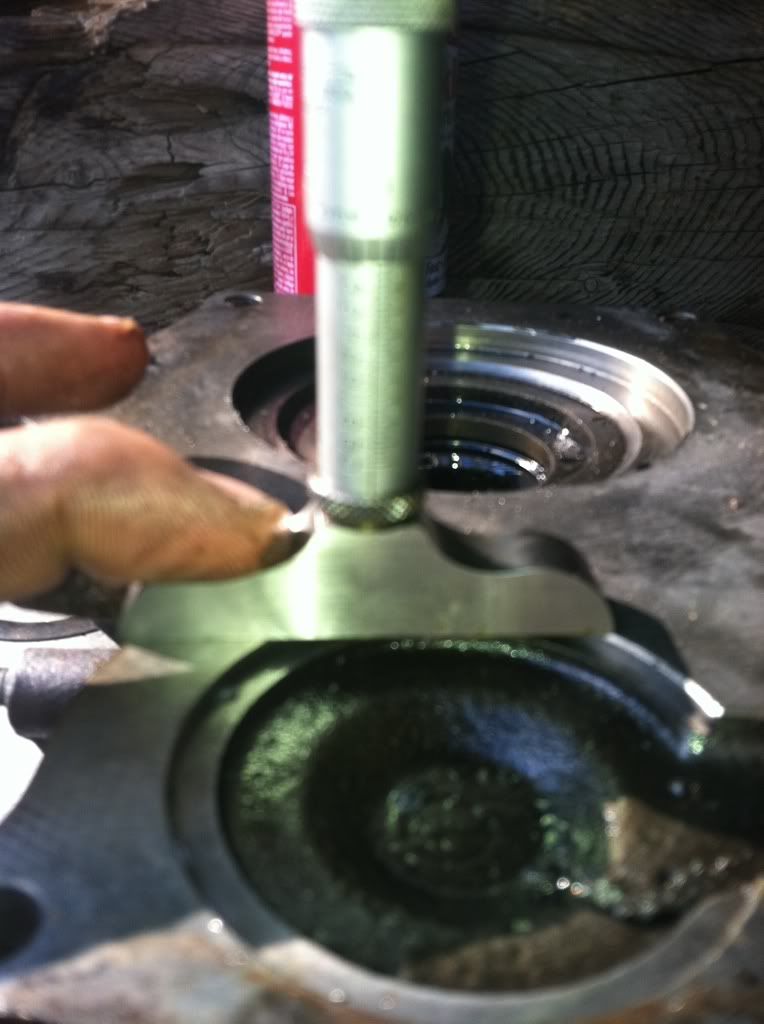
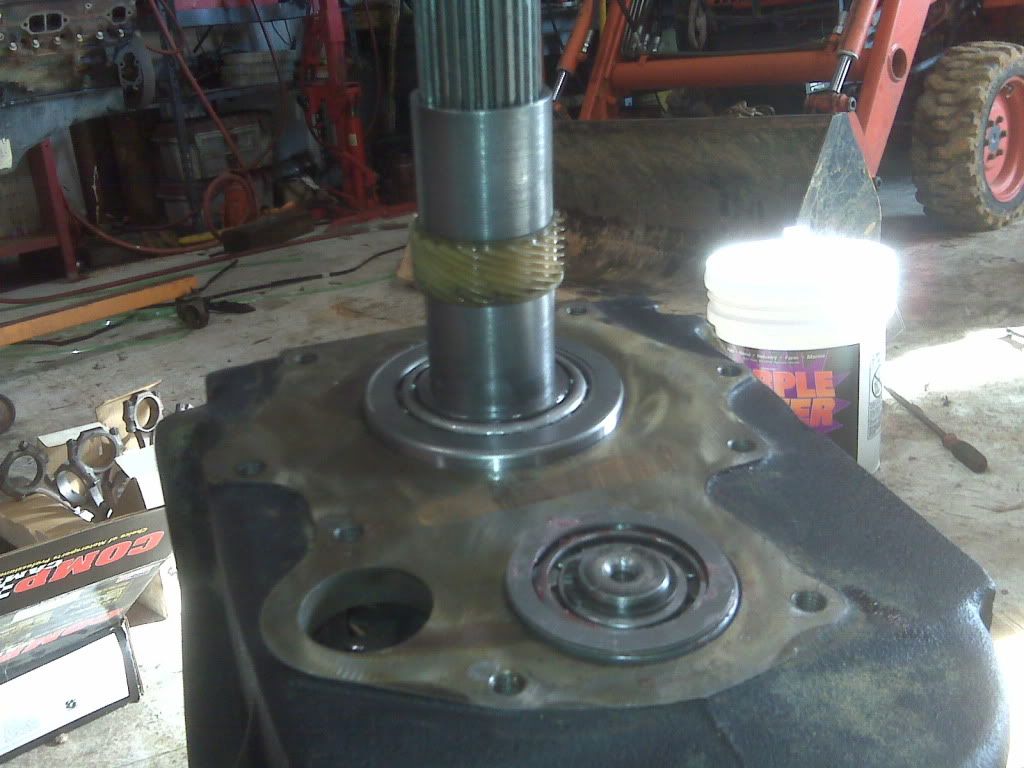
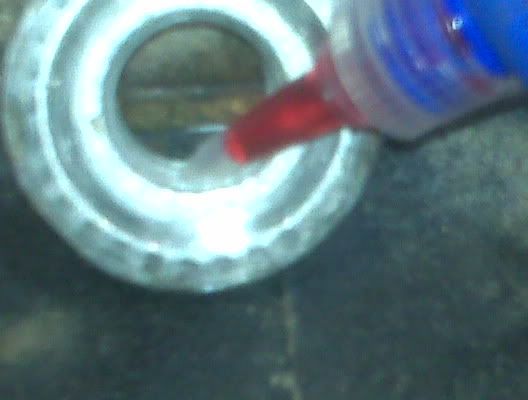
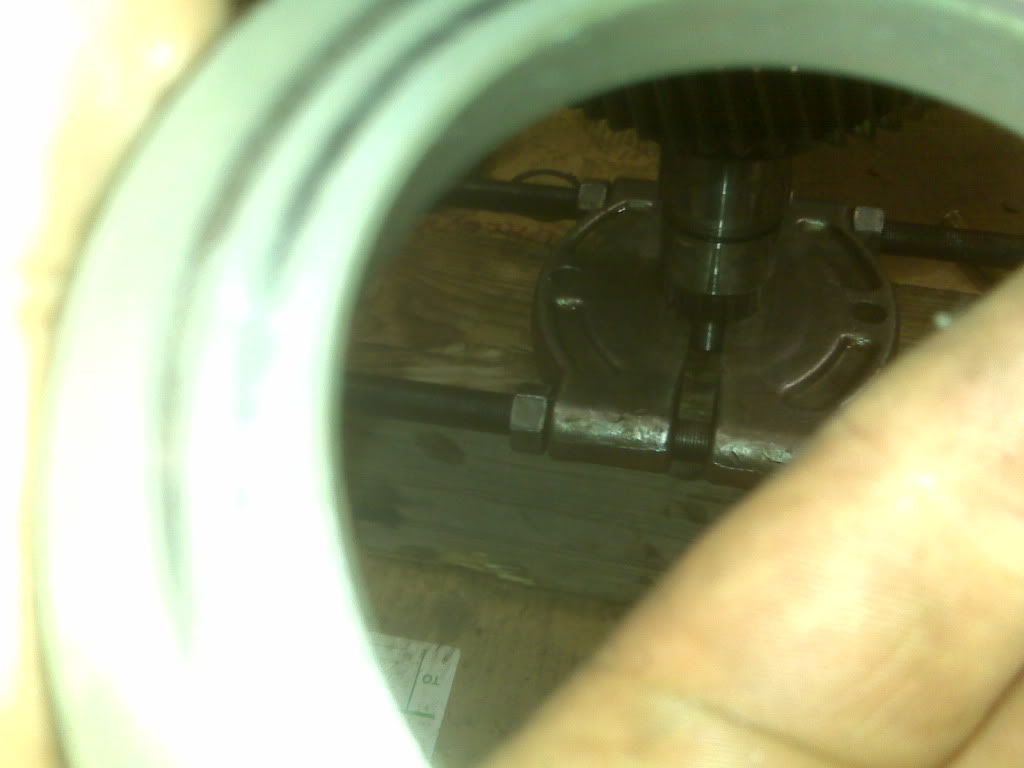
 main shaft bore..