'90 W250--'89/91/92 Ramcharger

How to make it go fast

Moderators: Greenleaf, KTA, BC847, Richie O

Re: Next stage- Twins (last page)

Postby oldestof11 » Wed Dec 28, 2011 9:27 pm

I didn't realize your truck was so clean! :shock:

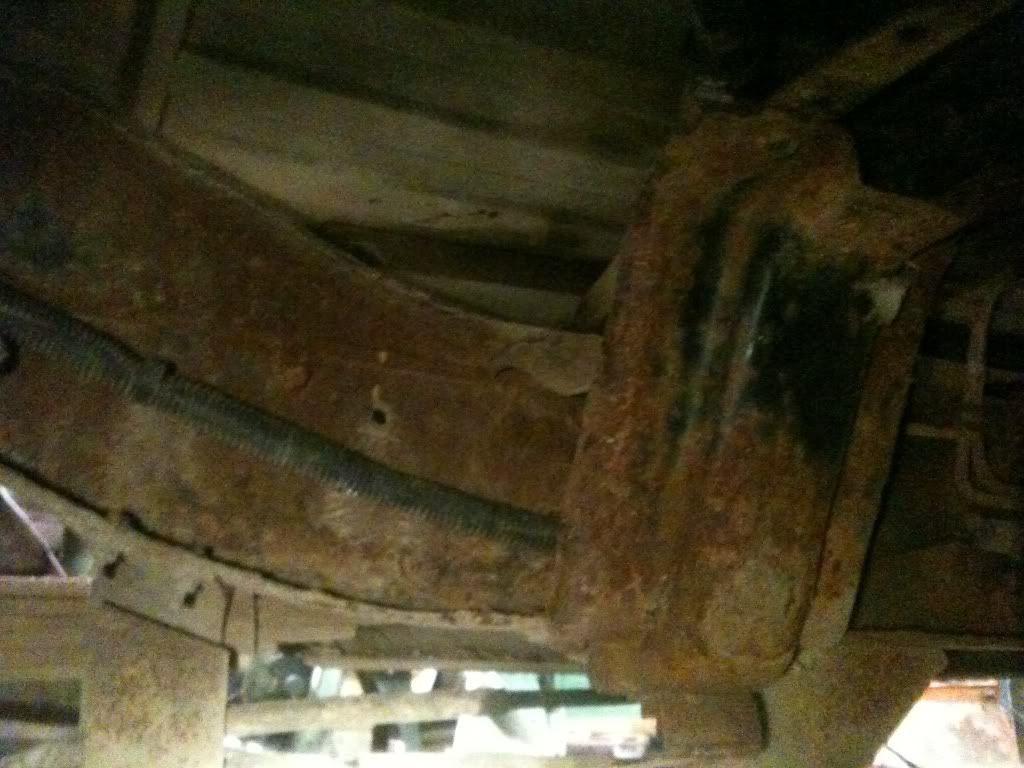
Now I need to get my truck painted on top of all the fueling I want to do...
Jon
93 D250~ Mismatch of cheap parts, trying to look fast going slow
User avatar
oldestof11
14mm rotor
 
Posts: 4147
Joined: Tue Apr 24, 2007 4:46 pm
Location: Northern Illinois

Re: Next stage- Twins (last page)

Postby AHineman » Wed Dec 28, 2011 9:30 pm

:lol:
Andrew

Owner of two old 1stgens and not much else.
AHineman
14mm rotor
 
Posts: 1364
Joined: Tue Aug 11, 2009 7:15 pm
Location: Crown City, Ohio

Re: Next stage- Twins (last page)

Postby Tacoclaw » Wed Dec 28, 2011 9:40 pm

I find the secret isn't so much a clean truck, as it is a crappy camera. ;)

It's got cancer in the front fenders and over the drivers rear tire. I keep the underside sprayed off with our truck bed washout hose at work, but I don't remember the last time I washed the actual paint side of it. :lol:

I've got new fenders, but bodywork is boring...
1990 W250 4x4
Rattles, growls, whistles, and whines.
User avatar
Tacoclaw
14mm rotor
 
Posts: 4120
Joined: Wed Mar 11, 2009 7:50 am
Location: Cheshire, OH
Top

Re: Next stage- Twins (last page)

Postby ahale2772 » Thu Dec 29, 2011 3:37 pm

got all the stuff lined up for the cam swap?

Gona do valve springs while your in there? I ordered 60lb overs today, dont feel like coffing up the big money for hamilton stuff just yet.

what studs did you do?
84 CCLB W350 project
94' W350 Dually, Diesel, Auto 1080HP/1980FTlbs
User avatar
ahale2772
14mm rotor
 
Posts: 2353
Joined: Tue Jul 21, 2009 9:43 am
Location: massachusetts
Top

Re: Next stage- Twins (last page)

Postby Tacoclaw » Fri Dec 30, 2011 7:41 am

Yup. I've got everything I need for the cam besides the actual cam itself.

I already grabbed some 60lb springs and I'm going to do A1 studs. I'm waiting to order them until I get a call about the cam.

:EDIT:
Image

8)
1990 W250 4x4
Rattles, growls, whistles, and whines.
User avatar
Tacoclaw
14mm rotor
 
Posts: 4120
Joined: Wed Mar 11, 2009 7:50 am
Location: Cheshire, OH
Top

Re: Next stage- Twins (last page)

Postby ahale2772 » Fri Dec 30, 2011 4:28 pm

why are you doing the headgasket? is it blown or are you just worried about it?

I'd like to see the bottom section of an A-1 stud and see if its got any more thread than an arp. I said it on CompD, but I did find that the ARP's bottomed on the shank of the thread before they got even close to bottoming in the block. I'd recon there is about 1/2 of an inch of extra thread in the block (at least) that the arp's do not use. Seems like BC hit thr nail on the head when he said ARP just took a variety of studs that "kind-of" work and called it a kit.

that being said, if the A-1's have more that 1 inch of thread on the bottom of the stud...then they are definently better than ARP's.

What did you work out for tools to do the cam swap? if your going to have the head off, I would do the lifter install then. Biggest PITA of the cam swap job was dropping the lifter install plug down the head and through the lifter bore. it would be 100% easier with the head off. BTW the engine has to be level otherwise you will never get the string down the hole.

either way... better pay someone in beer, its a bitch of a job to do alone
84 CCLB W350 project
94' W350 Dually, Diesel, Auto 1080HP/1980FTlbs
User avatar
ahale2772
14mm rotor
 
Posts: 2353
Joined: Tue Jul 21, 2009 9:43 am
Location: massachusetts
Top

Re: Next stage- Twins (last page)

Postby Tacoclaw » Fri Dec 30, 2011 5:31 pm

one other issue with just making the threads longer is the load will still be placed in the same spot as it is now.

with the grade of fasteners we are using about 35% of the load is placed on the first fully engaged thread, then goes down and is about 5% by thread 6. This does not help us with getting a lower "bite" into the meatier part of the block


A quote off Turboford.org on a thread about longer studs there. I don't know what material our/their studs are, but it makes sense to me that the stud will stretch as it's tightened and that will put the most load on the first few threads. There's a point of diminishing return with longer studs, and I wouldn't be surprised if it's a lot shorter than even the ARP studs are. Regardless, I'm getting the A1s since I know they'll fit and I won't have to worry about leaving enough thread out for the nut. It's probably extremely simple, but not something I'm willing to risk.


I'm just replacing the HG for peace of mind. This one has over 200k miles on it so I wouldn't reuse it even if it looked brand new. I do plan on doing it all at once, since I'll have the head off anyways. I don't have any tools sorted out yet, but I'll get around to it soon. I've got a whole winter to burn, so I'm not beating myself up yet. :grin:
1990 W250 4x4
Rattles, growls, whistles, and whines.
User avatar
Tacoclaw
14mm rotor
 
Posts: 4120
Joined: Wed Mar 11, 2009 7:50 am
Location: Cheshire, OH
Top

Re: Next stage- Twins (last page)

Postby Tacoclaw » Sat Dec 31, 2011 11:40 am

And so it begins. 8)
Image

I found a big cancer spot on the framerail behind my tank. My external lubrication system has kept the frame completely rust free, but it must not make it back here. Here's the line where the oil stops and the tank starts.
Image

It just gets worse from there 'till the other end of the tank.
Image
Image

First surprise was the steel screw clamp that held my lid on. I assumed it'd be one of the big plastic nuts that pop right off with some taps from a drift. Not this fellow, this was a 1/2 hour long battle between rust, penetrating oil, brake cleaner, and a 6 point socket. I emerged victorious, though the emotional scars may stay with me years from now...
Image


Finally wriggled the sender out of the tank and got it on the table. To pop the plastic piece off the bottom you just loosen this holder
Image
and this one as well
Image

Then you get to enjoy whatever is stuck to your inlet screen. I hope yours doesn't look like mine.
Image
I scraped all the clear goopy stuff off and piled it up, then took a pic of the actual dirt/grit in the screen
Image
And here's the bypass valve that gets used if the screen gets clogged. I may need a bypass for my bypass...
Image

I'm brainstorming ideas for how to run the big line in there while retaining the bypass and perhaps the screen, if I can find a new one. I've read the sticky on it at DTR, but I may go in a slightly different direction with mine.
1990 W250 4x4
Rattles, growls, whistles, and whines.
User avatar
Tacoclaw
14mm rotor
 
Posts: 4120
Joined: Wed Mar 11, 2009 7:50 am
Location: Cheshire, OH
Top

Re: Next stage- Twin Support Mods (last page)

Postby JustinRhodes » Sat Dec 31, 2011 1:14 pm

lookin good 8)

my frame was the same way behind the tank except worse.

your piece that goes inside the tank is different from mine, I thought they was all the same.
91 Dodge W250 Pee Pumped Cummings
JustinRhodes
fuel screw!!!!
 
Posts: 390
Joined: Fri Feb 25, 2011 7:59 pm
Location: Cheshire, Ohio
Top

Re: Next stage- Twin Support Mods (last page)

Postby PToombs » Sat Dec 31, 2011 5:18 pm

Levi, make sure you cut the filler vent tube in the tank while it's open. Just reach in and feel it, you'll see what I mean.
pete

Just enough power to break everything behind the crankshaft.
User avatar
PToombs
14mm rotor
 
Posts: 11369
Joined: Sun Jan 07, 2007 6:13 pm
Location: Syracuse NY. Snow central!
Top

Re: Next stage- Twin Support Mods (last page)

Postby BC847 » Sat Dec 31, 2011 5:29 pm

Image

Every day you drive with that nasty engine, a little fuzzy kitten is killed.

Save the kittens. :shock:
David

1993 12mm VE Fueled W250 CC, Green
12.67 @ 103.35
Your basic farm truck ;)
BC847
Administrator
 
Posts: 2205
Joined: Wed Jan 03, 2007 5:22 pm
Top

Re: Next stage- Twin Support Mods (last page)

Postby Hansen01 » Sat Dec 31, 2011 5:42 pm

BC847 wrote:Image

Every day you drive with that nasty engine, a little fuzzy kitten is killed.

Save the kittens. :shock:

:lol:
1990 dodge W250 cummins 6 speed. 4in diamond eye, a turbo,and a pump :D
Under construction...
Hansen01
14mm rotor
 
Posts: 1125
Joined: Tue May 17, 2011 6:34 pm
Location: Tekamah NE
Top

Re: Next stage- Twin Support Mods (last page)

Postby ahale2772 » Sat Dec 31, 2011 5:56 pm

There would be no kittens left if that was true.... :lol:

shes messy, but the inside of it is spotless. truth is, the pressurewasher didnt exit the container all summer, all of our rigs are filthy.

Levi, thats really interesting about the stud length VS load thing, puts a new spin on things
84 CCLB W350 project
94' W350 Dually, Diesel, Auto 1080HP/1980FTlbs
User avatar
ahale2772
14mm rotor
 
Posts: 2353
Joined: Tue Jul 21, 2009 9:43 am
Location: massachusetts
Top

Re: Next stage- Twin Support Mods (last page)

Postby Tacoclaw » Sat Dec 31, 2011 6:15 pm

I'll check that out tomorrow, Pete. I'm always looking for an excuse to do some blind groping.

I'm far from an expert on studs or their operation, but it makes sense to me, ya know? :/
1990 W250 4x4
Rattles, growls, whistles, and whines.
User avatar
Tacoclaw
14mm rotor
 
Posts: 4120
Joined: Wed Mar 11, 2009 7:50 am
Location: Cheshire, OH
Top

Re: Next stage- Twin Support Mods (last page)

Postby PToombs » Sun Jan 01, 2012 5:01 pm

Tacoclaw wrote:I'll check that out tomorrow, Pete. I'm always looking for an excuse to do some blind groping.
:/

It is fun, isn't it? :mrgreen:
pete

Just enough power to break everything behind the crankshaft.
User avatar
PToombs
14mm rotor
 
Posts: 11369
Joined: Sun Jan 07, 2007 6:13 pm
Location: Syracuse NY. Snow central!
Top

PreviousNext

Return to The good stuff

Who is online

Users browsing this forum: No registered users and 56 guests